Skip to content
Facebook
Instagram
YouTube
Pinterest
SEARCH
Search
[All-Access]
PATTERNS
Expand
ACCESSORIES
ARMS + HANDS
BABIES + KIDS
BUFFALO PLAID
FEET + LEGS
FOR HOME
HEADWEAR
HOLIDAYS
NECKWEAR
TOYS
TIPS
Expand
COLOR WORK
QUICK FIXES + HACKS
CROCHET BASICS
Reviews
ABOUT
Toggle Menu
SEARCH
Search
Tips
How to Create Neater Seams with Stripes
How to Hide your Carried Yarn
Fair Isle/Tapestry Crochet Hybrid
How to Work a Surface Slip Stitch
Front and Back of Stitches Explained
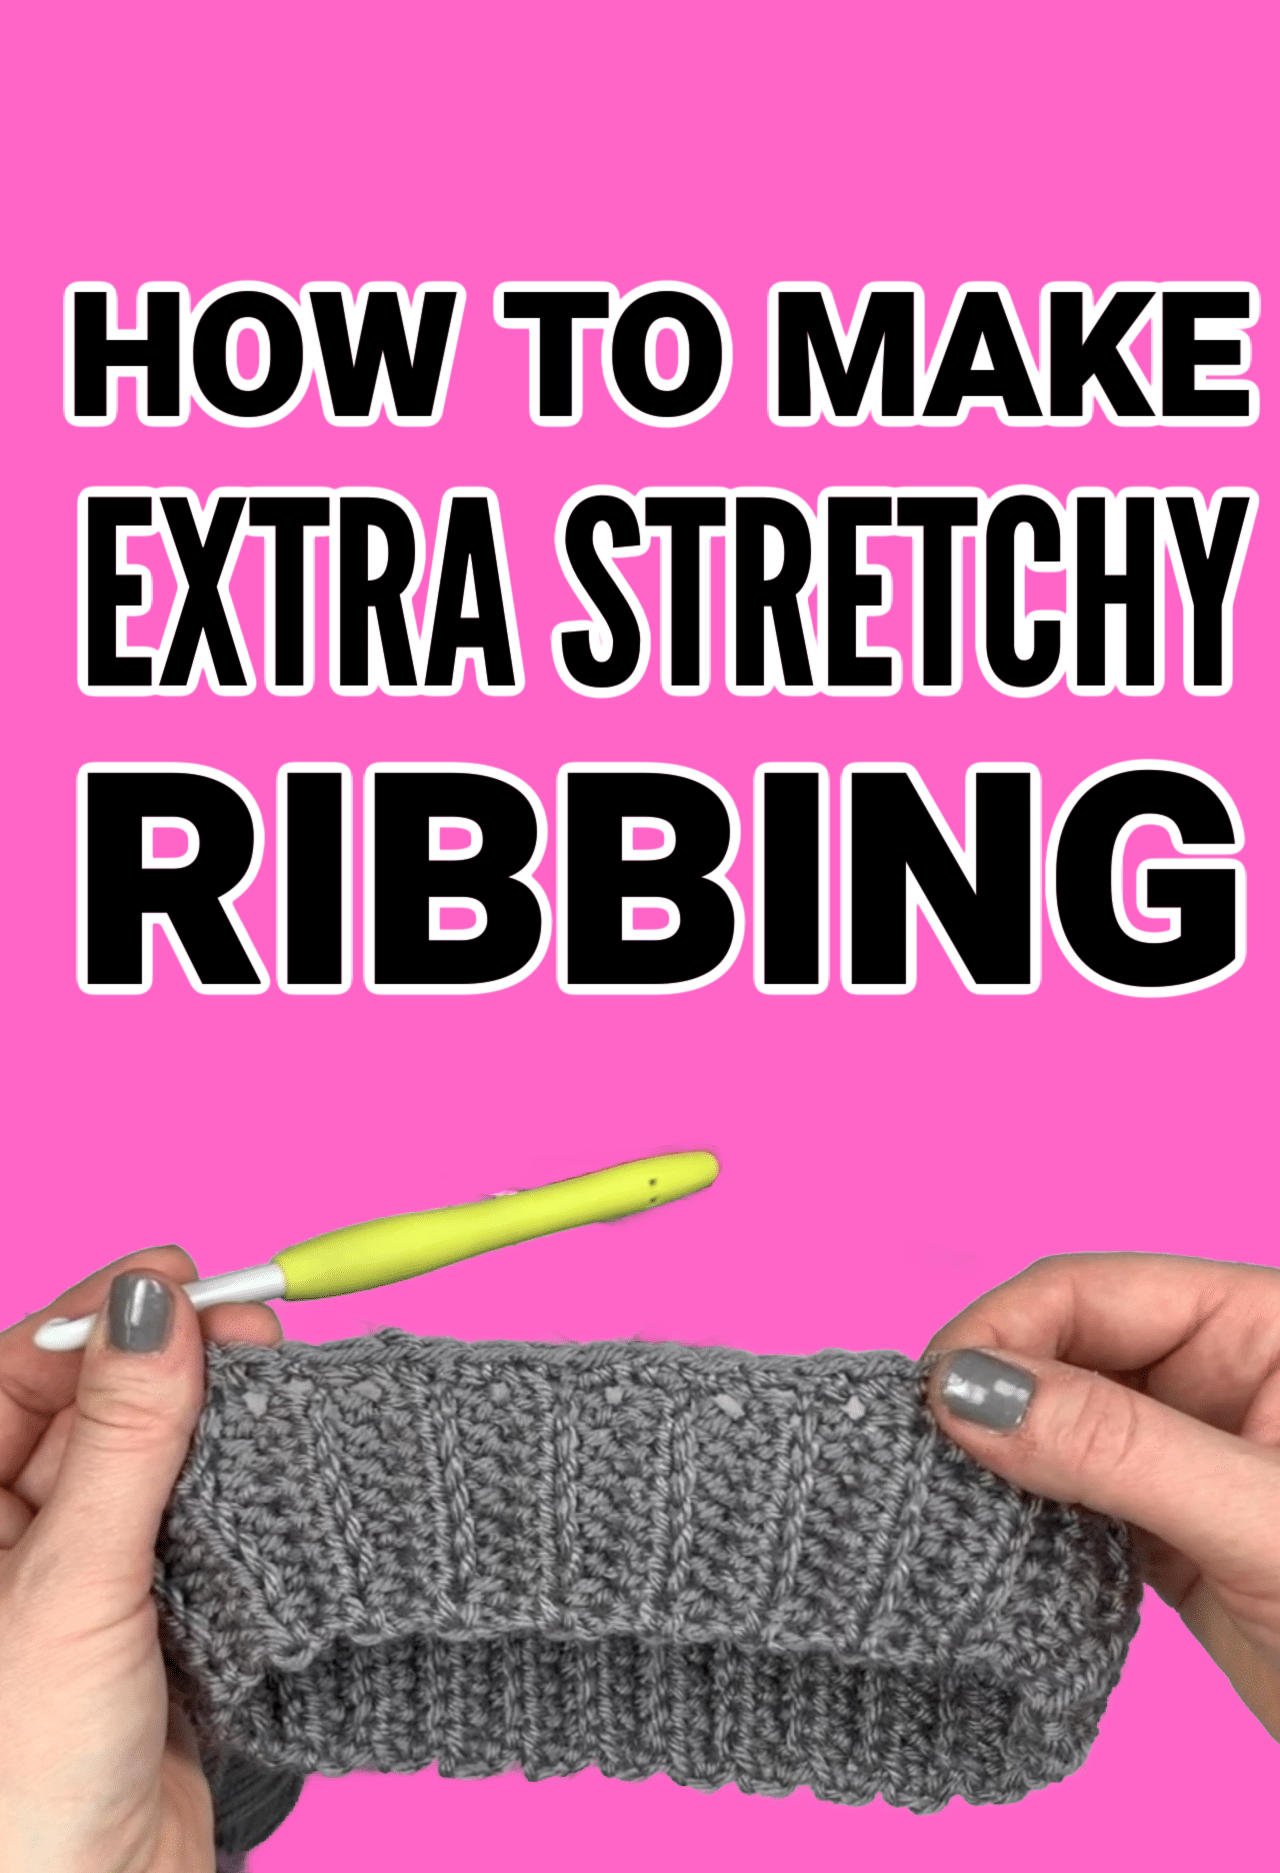
How to Make Extra Stretchy Ribbing
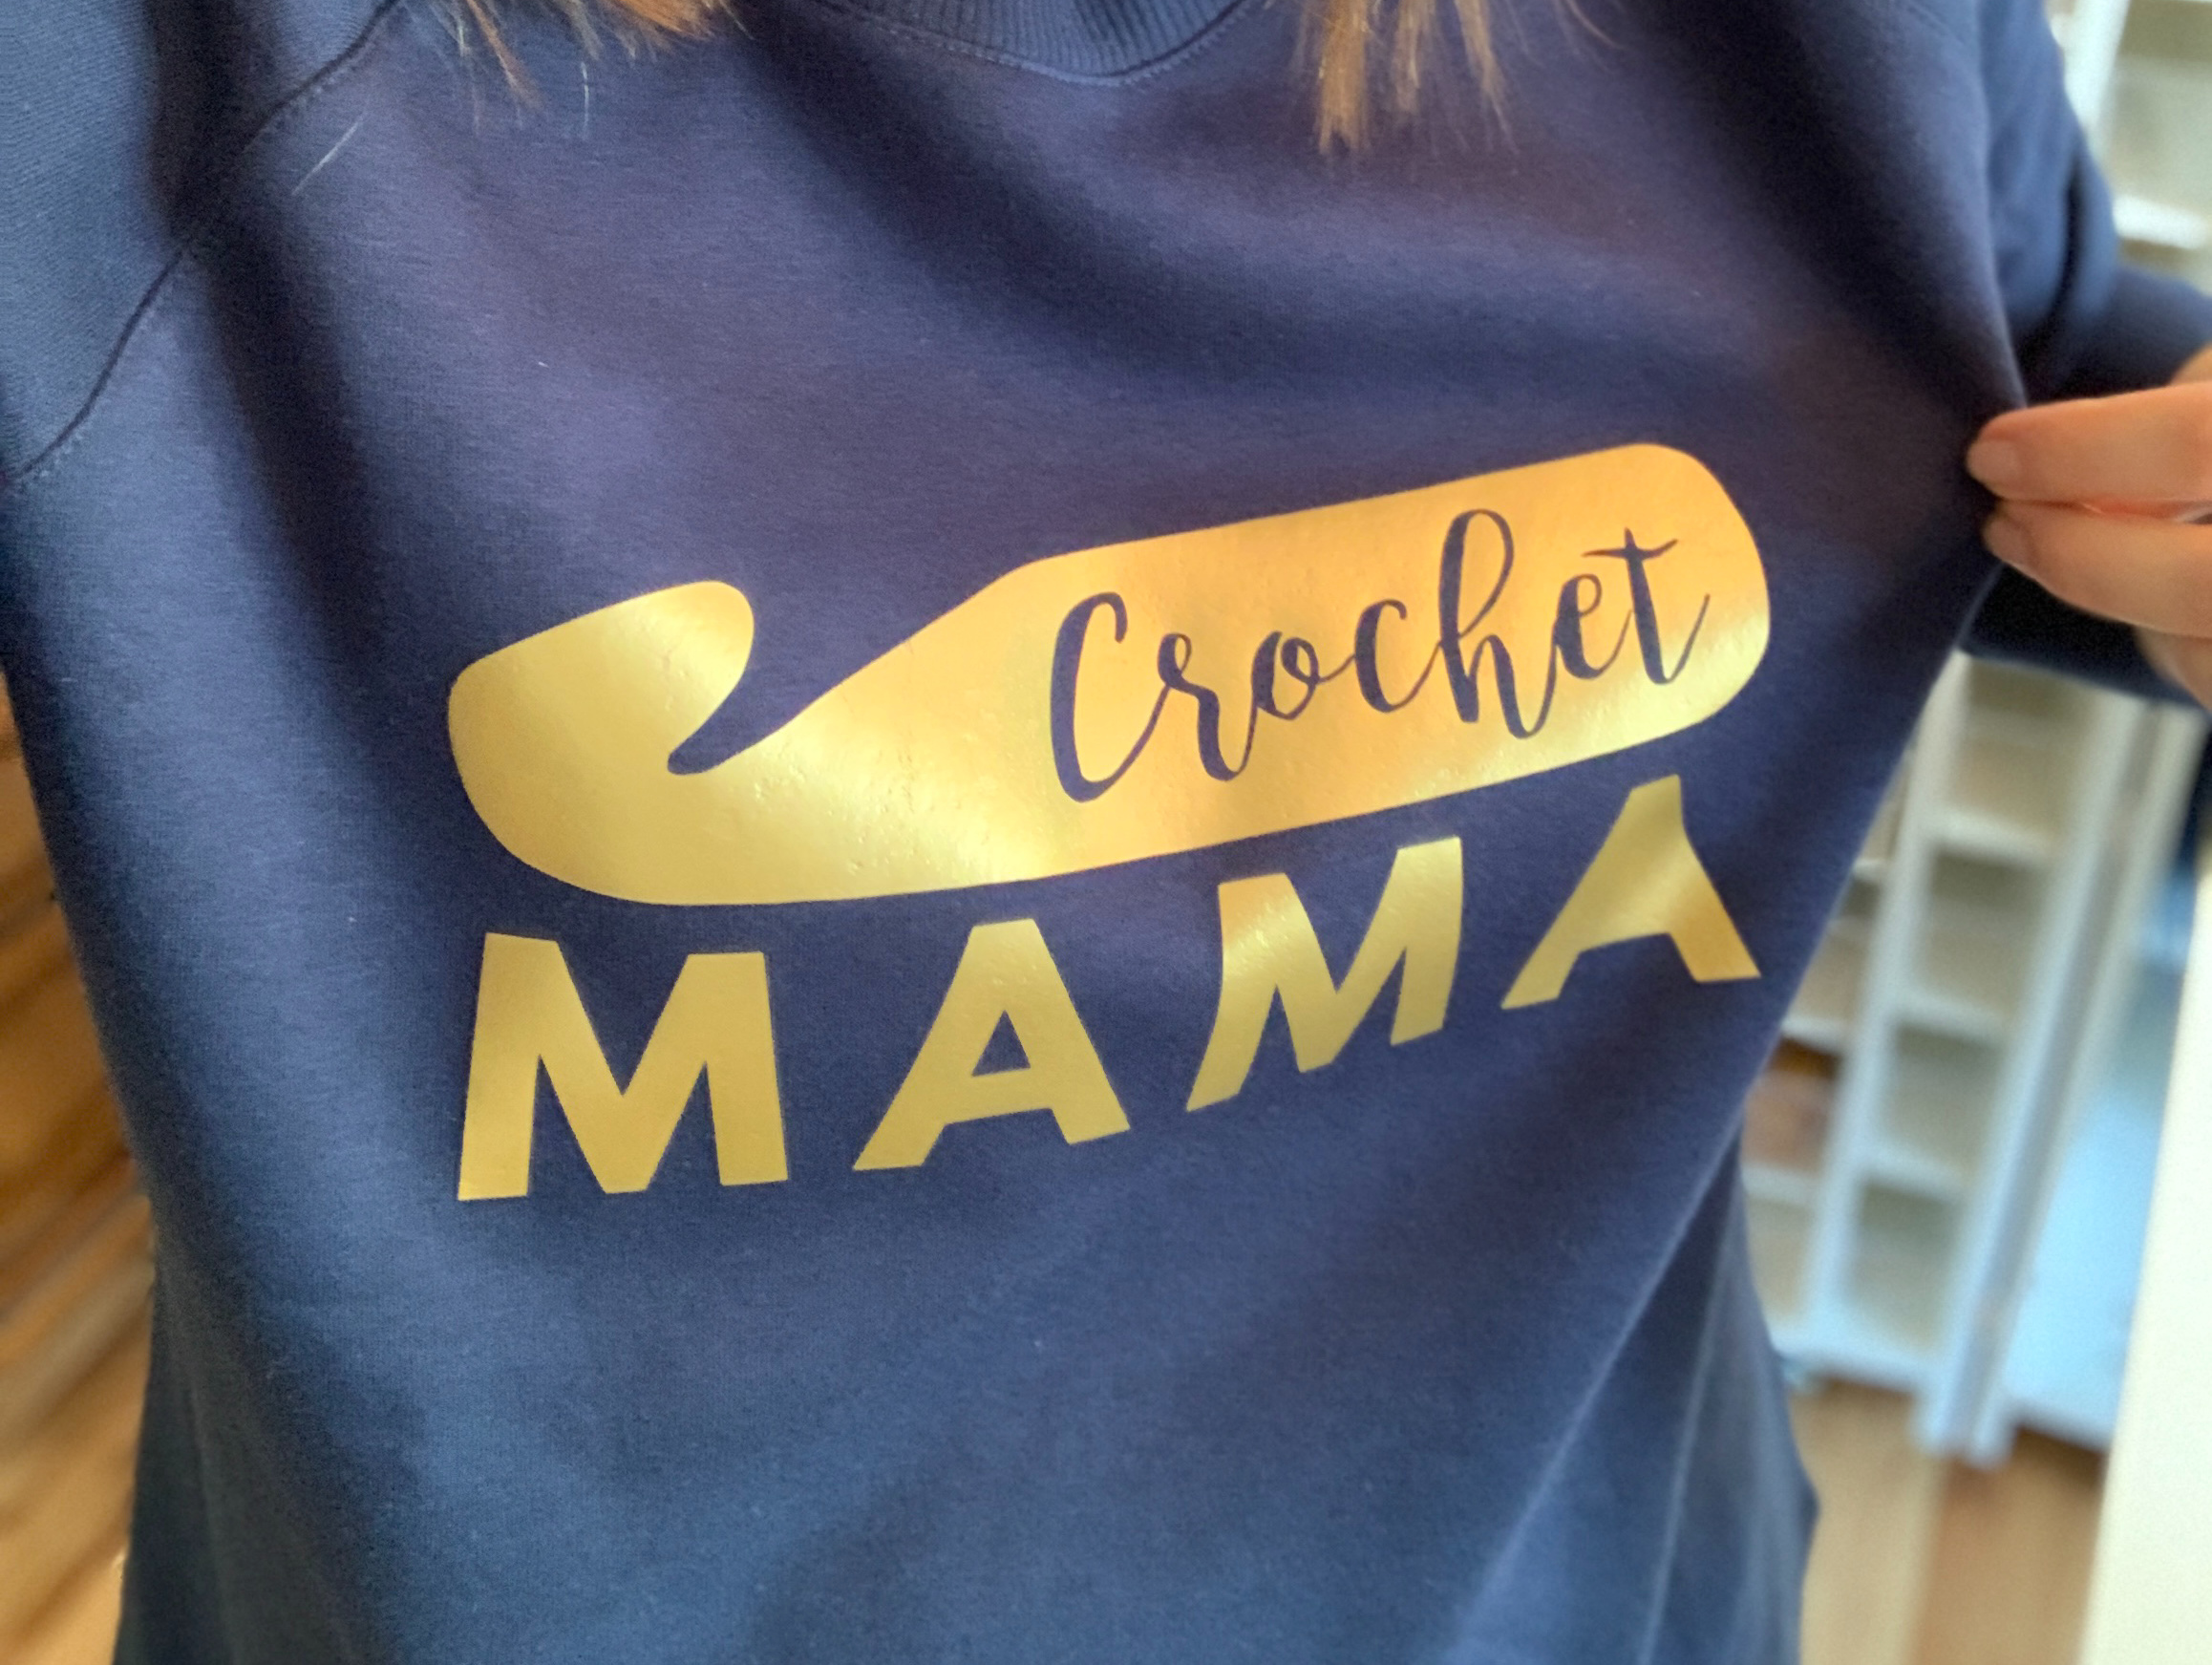
How to use graphics to make your own shirts (and everything else!)
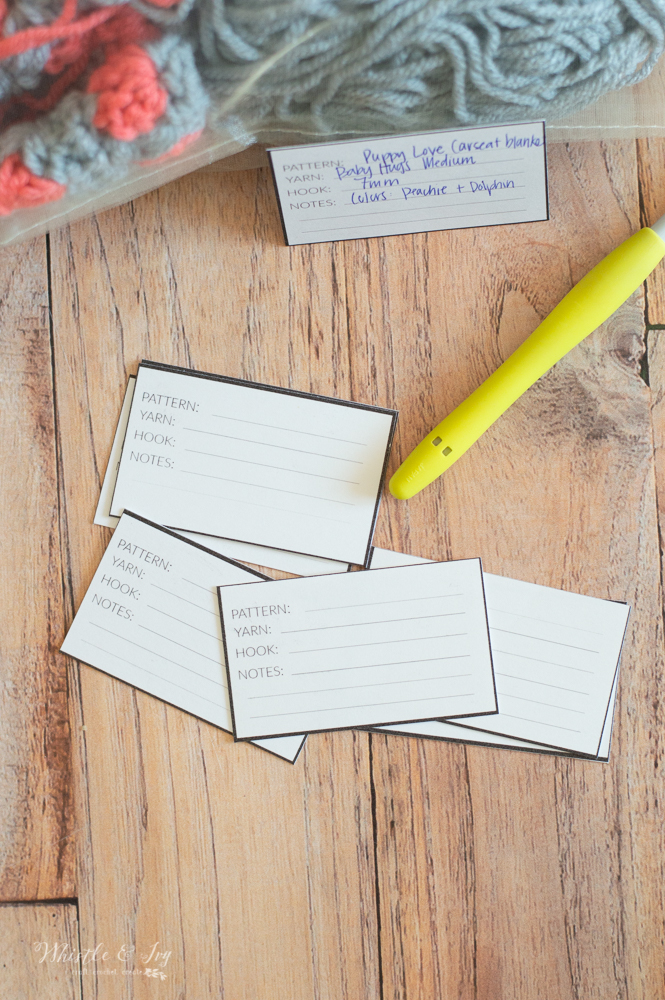
Crochet Project Labels – Free Printable
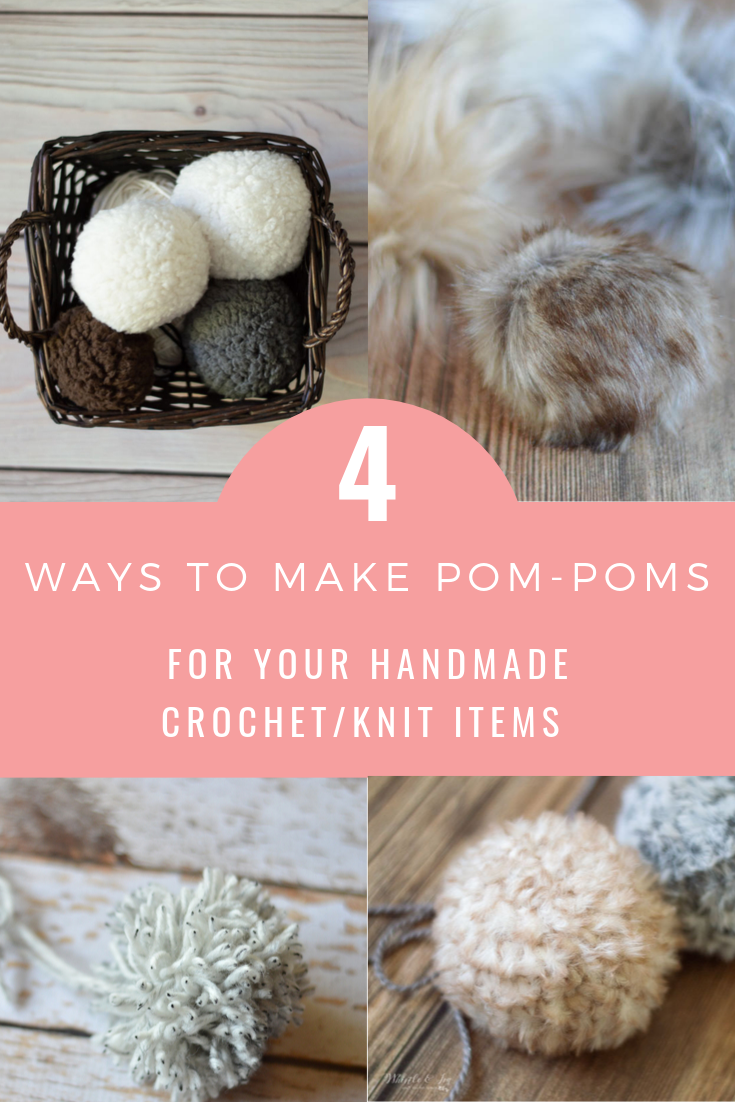
Four Ways to Make Pom-Poms
Crochet Tartan Plaid Technique – Learn how to crochet tartan
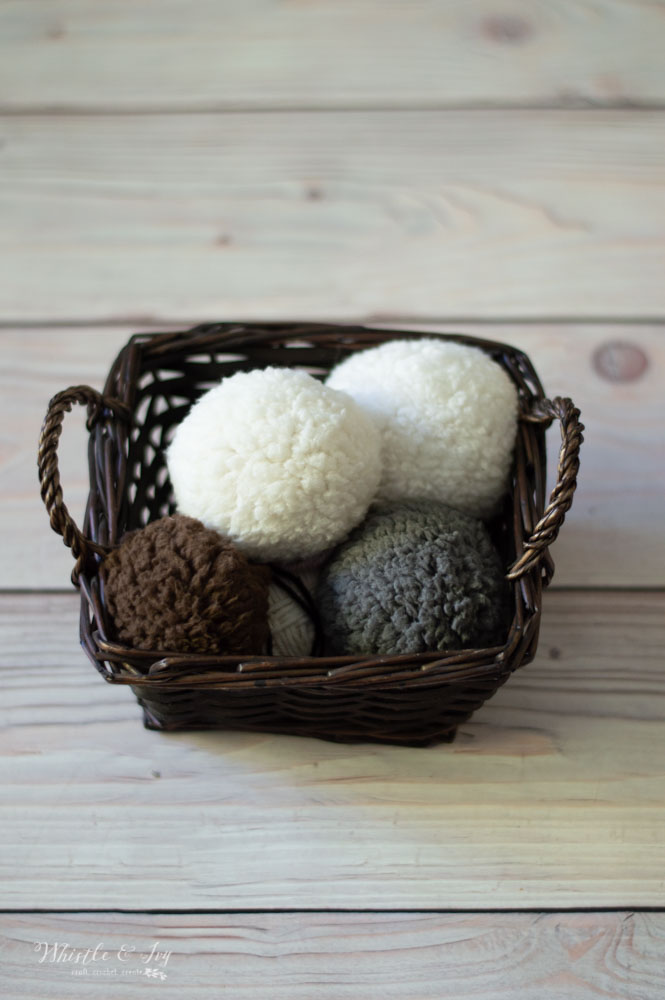
DIY Sheepskin Pom-Pom Tutorial
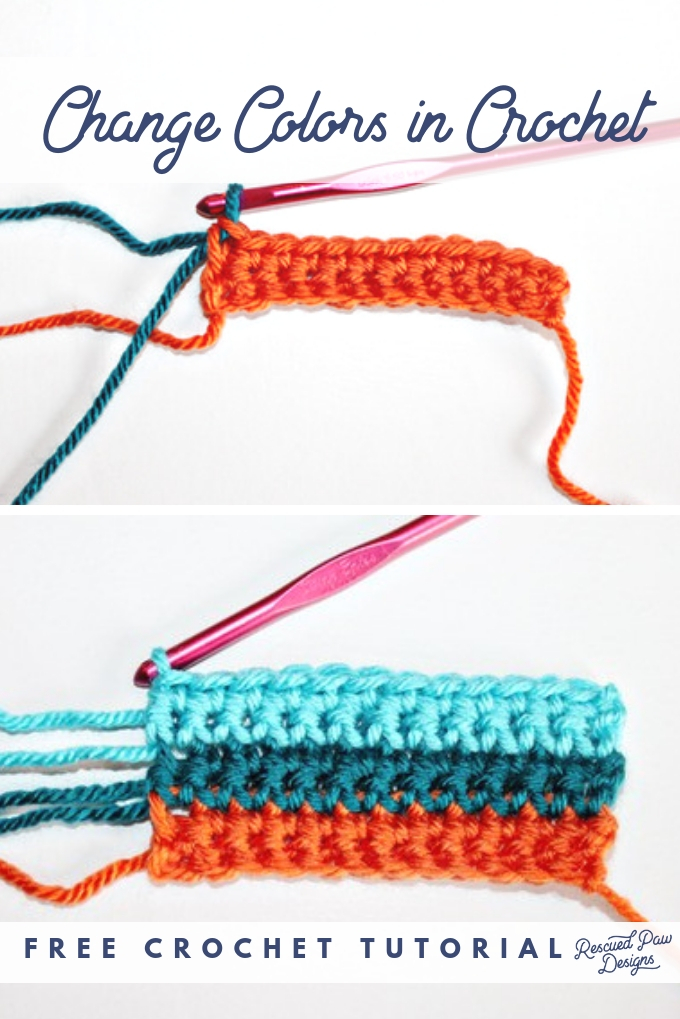
Crochet Tip: How to change colors in rows
Page navigation
1
2
3
Next Page
Next
FREE Mini Course
Make your crochet simpler and more enjoyable with easy and actionable hacks.
SUBSCRIBE!
Success! Check your inbox!
[All-Access]
PATTERNS
Toggle child menu
Expand
ACCESSORIES
ARMS + HANDS
BABIES + KIDS
BUFFALO PLAID
FEET + LEGS
FOR HOME
HEADWEAR
HOLIDAYS
NECKWEAR
TOYS
TIPS
Toggle child menu
Expand
COLOR WORK
QUICK FIXES + HACKS
CROCHET BASICS
Reviews
ABOUT
Toggle Menu Close
Search for:
Search