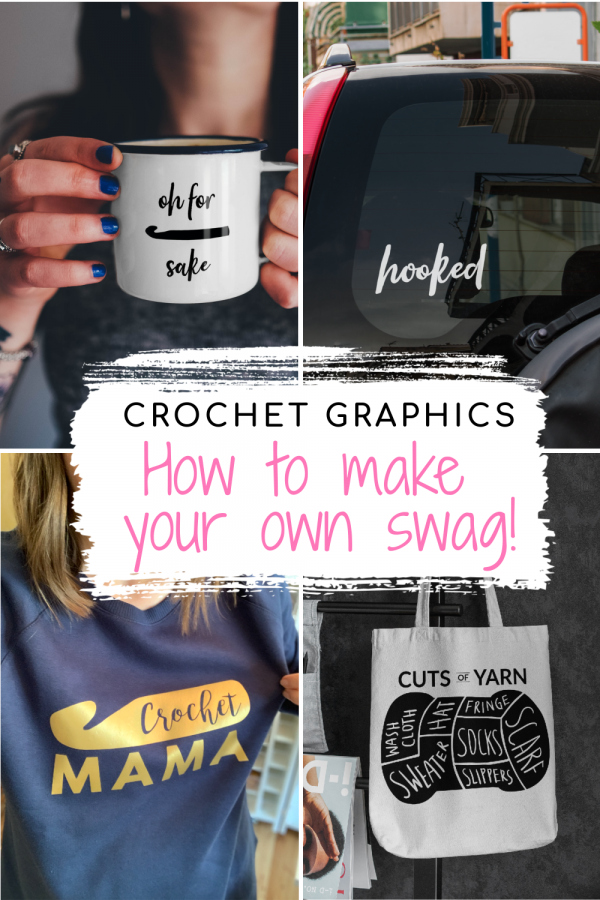
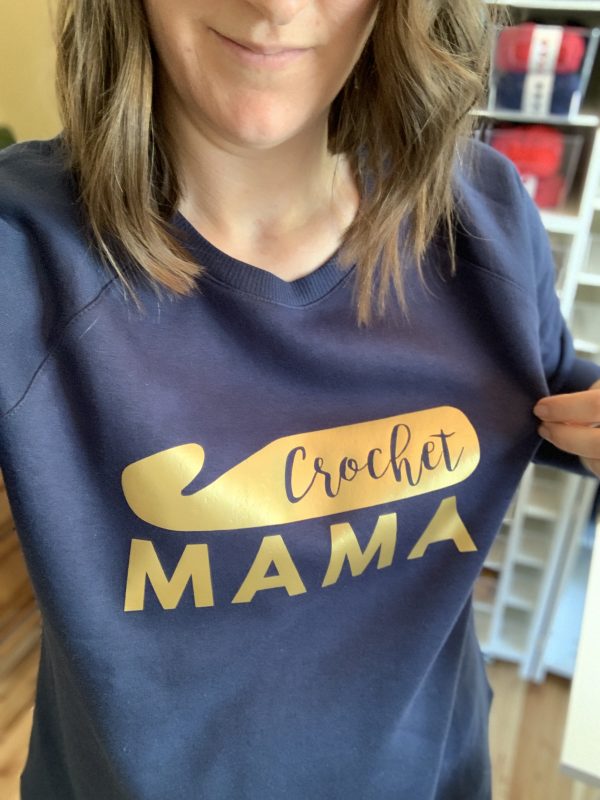
Show off your craft with DIY crochet themed swag! Use these cut files to make your own totes, hats, mugs, sweatshirts, car decals, literally anything you can think of! These files can be purchased individually or you can get them all (along with my entire pattern and video library) in my Endless Bundle! It keeps GROWING every month! Learn more here.
The post includes affiliate links, thanks so much for your support!
Emails are the best. Emails tell me a lot about how I am doing with Whistle and Ivy. They tell me where my blind spots are, where I can improve, where I am doing well. Seeing the blindspots is particularly helpful because I can work to fill those spots with helpful content.
One of those blind spots is explaing HOW to use my cut files.

You’re tired of sifting through complicated tutorials and patterns that leave you feeling overwhelmed.
Let me help.
PICTURE THIS:
Instant access to a library of modern, easy-to-follow patterns
Gifting your handcrafted treasures to your loved ones.
Feeling accomplished by your beautiful makes
It’s time to make your crafting experience as joyful as it should be.
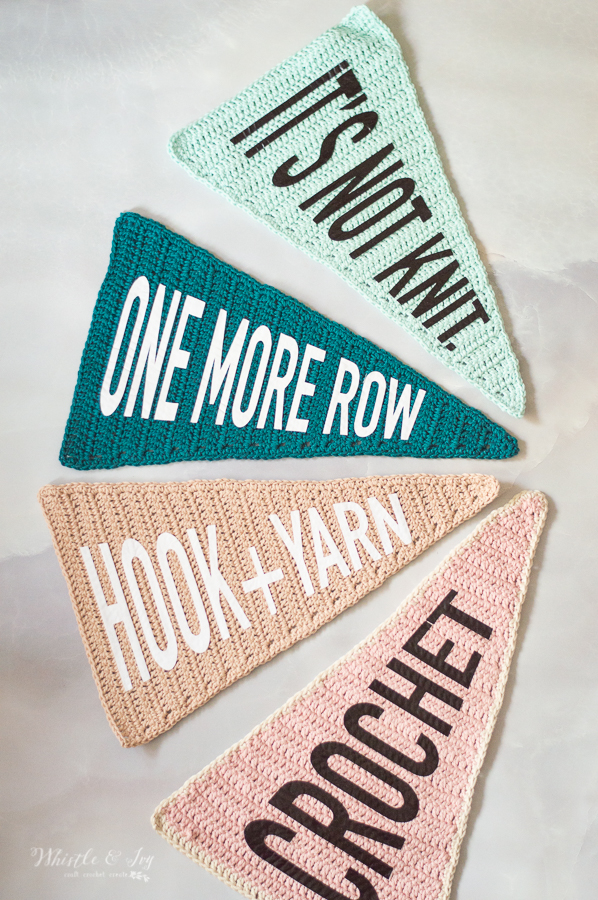
This year I launched my new line of crochet-themed cut files. I have seen a despairingly different number between knit and crochet-themed items on the market and I set out to change that.
SIDE NOTE: all my cut files can be purchased separately, OR you can join my Endless Bundle and get ALL OF THEM, Plus my entire library of patterns, videos and courses!
I started with my Stash Bustin’ tote. I decided that selling physical items maybe wasn’t up my alley, but I would LOVE to sell my files so you can take them and make whatever you want with them.
But how?
There are a few ways and I wanted to share them with you. I think you will enjoy DIYing your crochet swag, maybe as much as you enjoy crochet!
HOW TO USE GRAPHICS TO MAKE YOUR OWN SHIRTS (AND ANYTHING ELSE!)
1. Heat Transfer Vinyl
This one is my favorite. It has great results, low learning curve and quick turnaround. You need some sort of digital cutting machine for this method (Silhouette, Cricut, ect.)
You also need special vinyl that is heat transferable. I get all my vinyl from Expressions Vinyl (adhesive, removable, HTV, all of it!) It is high quality but much lower in cost from local craft stores. Check them out!
My friend Alexis from Persia Lou has created a wonderful tutorial for how to use HTV, so head over there and learn how. She is also a wonderful resource for customizing things with vinyl, so you may even get more ideas from here! Be sure to peruse around while you are there!
DON’T HAVE A CUTTING MACHINE?
You can also order a pre-cut design from Outdoor Design Co.! I have already checked with her and she does beautiful work.
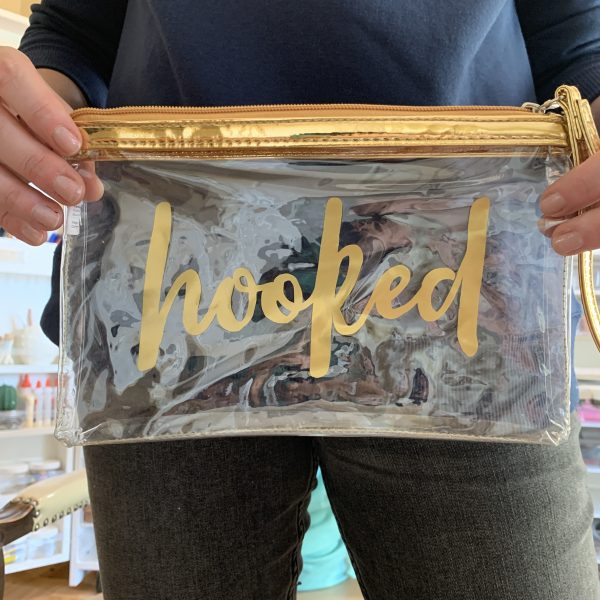
2. Permanent Adhesive Vinyl
This works great for non-cloth items like a vinyl make-up bag or as a wall decal. You would simply cut it with your cutting machine and place it wherever you want it!
Here is a in-depth how-to for adhesive vinyl.
3. Freezer Paper
I used this method for YEARS before I got a digital cutting machine. I made many, many custom onesies and baby bibs for The Boy with this method. It is a labor of love and definitely takes more time, but it is really fun and gives you a great result.
The basic method begins with tracing your design onto freezer paper, then cutting it with a precision knife, then ironing it onto your item. Finish by painting it like a stencil. It’s actually a lot of fun!
Get in in-depth tutorial here.
4. Transfer Paper and your Home Printer
This method is super easy! You can buy special print and iron paper, print off your design and iron it to your bag, hat or shirt. Easy peasy! This works really well with full color designs.
Note that you will need 2 different kinds depending on whether your item is dark or light.
This is the dark cloth transfer paper. This is the light cloth transfer paper.
5. Order it
The easiest of all of these (although you will have a processing and shipping wait time) is to order your items from an online shop that specializes in custom items like Zazzle.
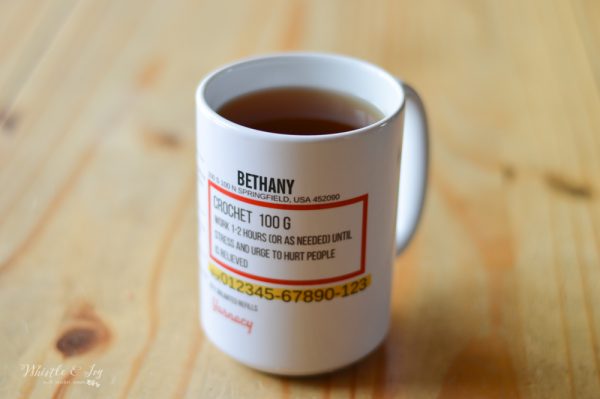
This is where I ordered my Crochet Prescription mug with my design on it. I wouldn’t know how to DIY that one, as the file is pretty complex. But I would LOVE to see your version. You can certainly use the Transfer Paper method for a shirt.
I hope you enjoy making some of your own swag!
I also have a few crochet patterns that use HTV as well. Check them out here:
Happy crafting my friends!