
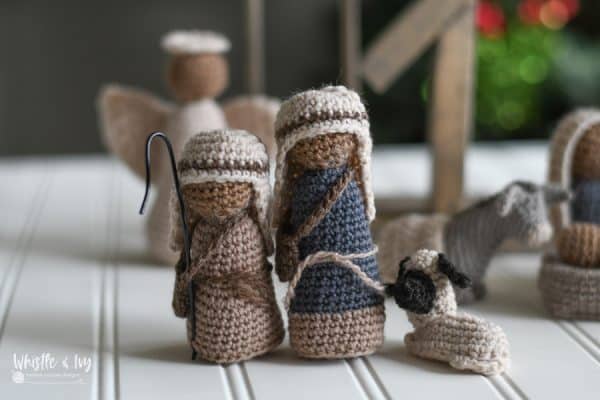
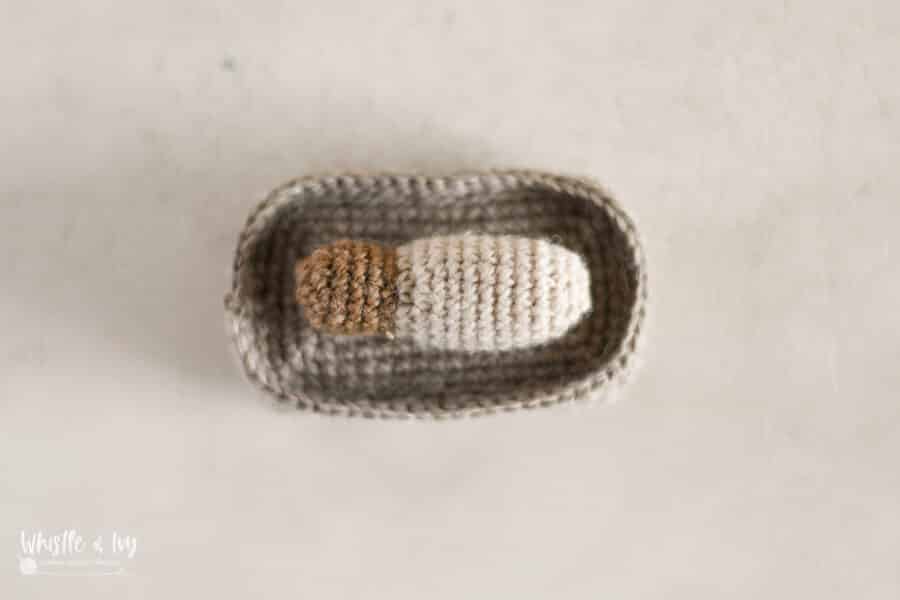
Crochet Joseph part of the FREE Mini Nativity Set pattern.
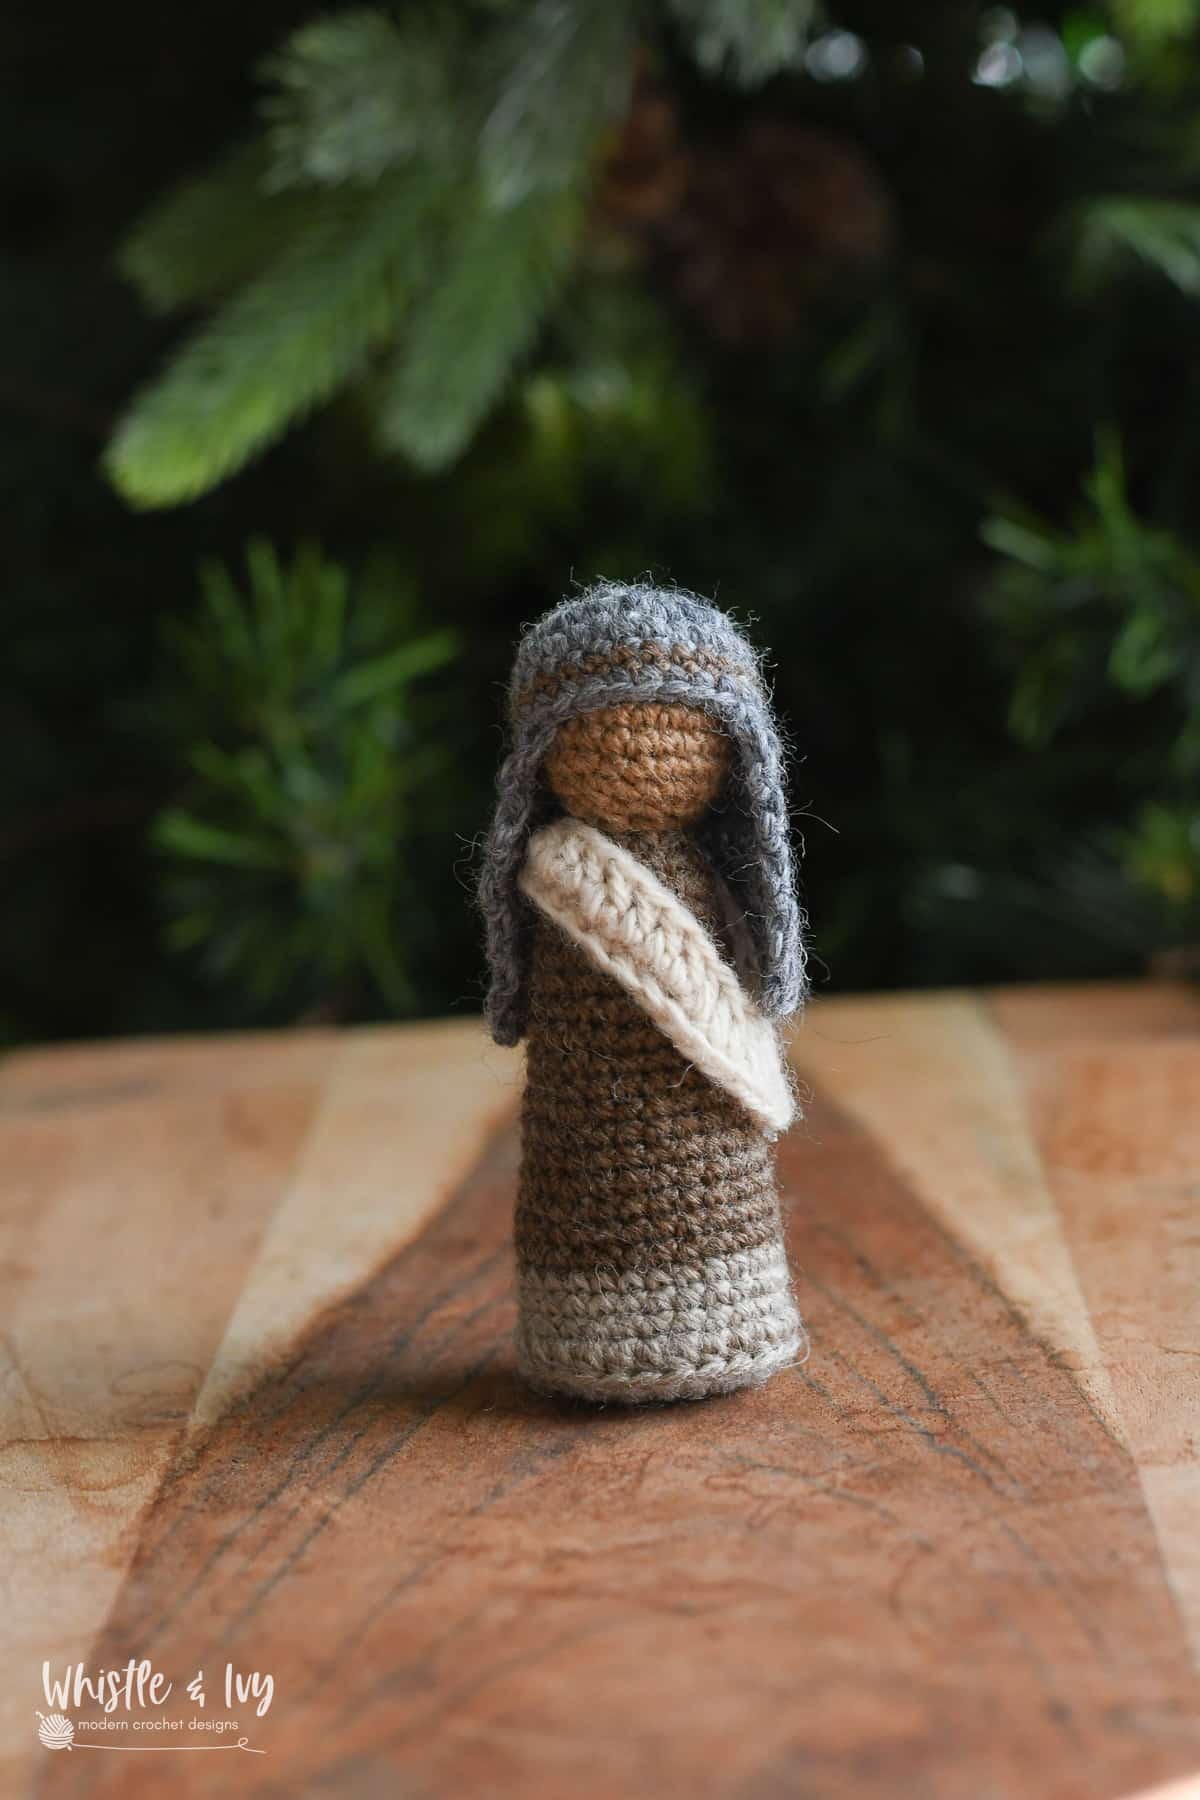
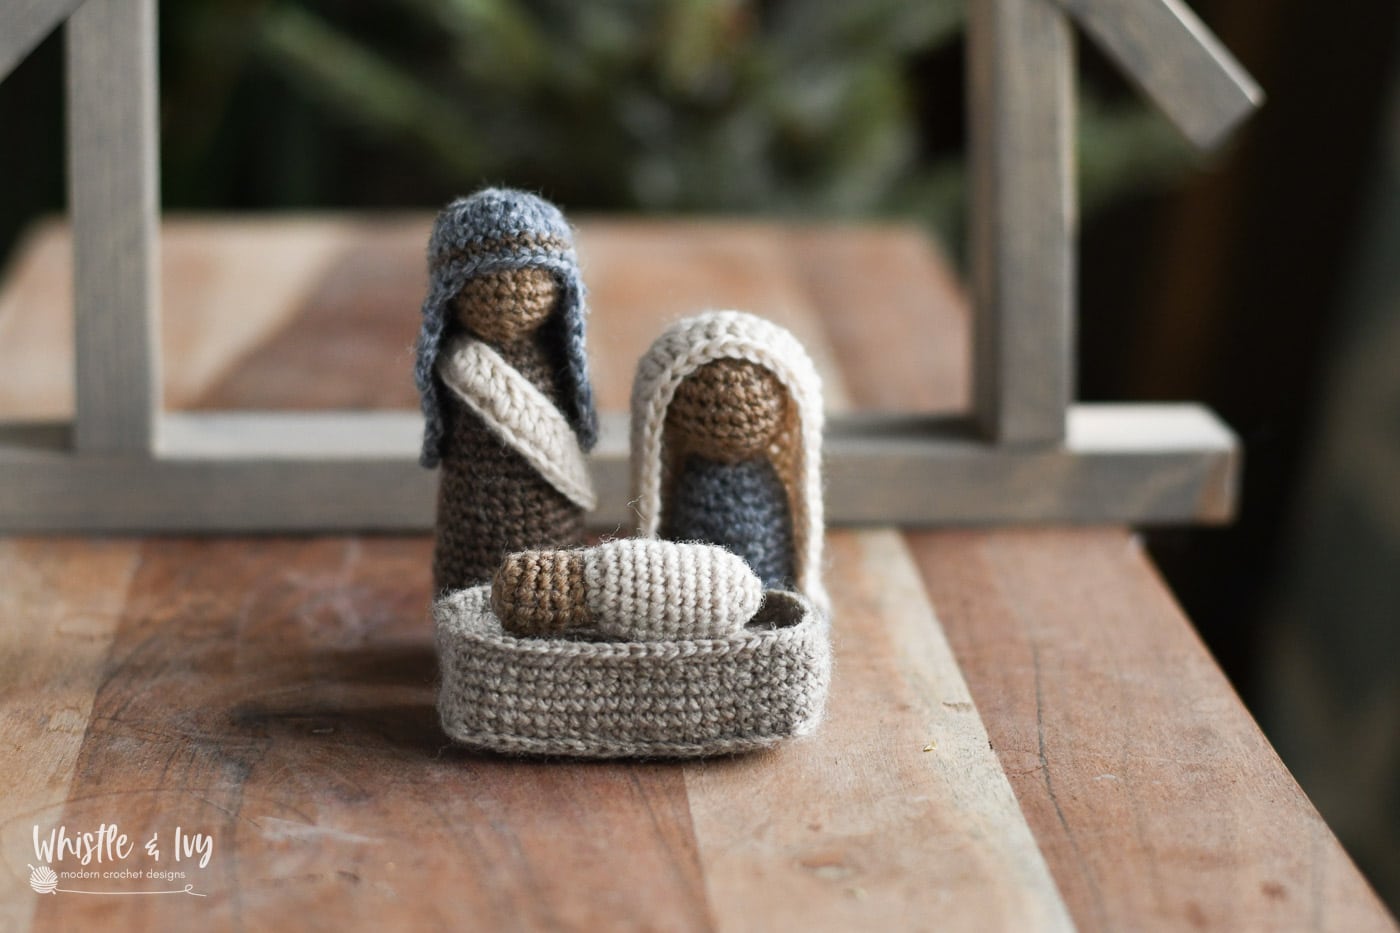
Joseph is the final figure in the mini nativity set. This figure stands tall and watches over Mary and the precious Baby.
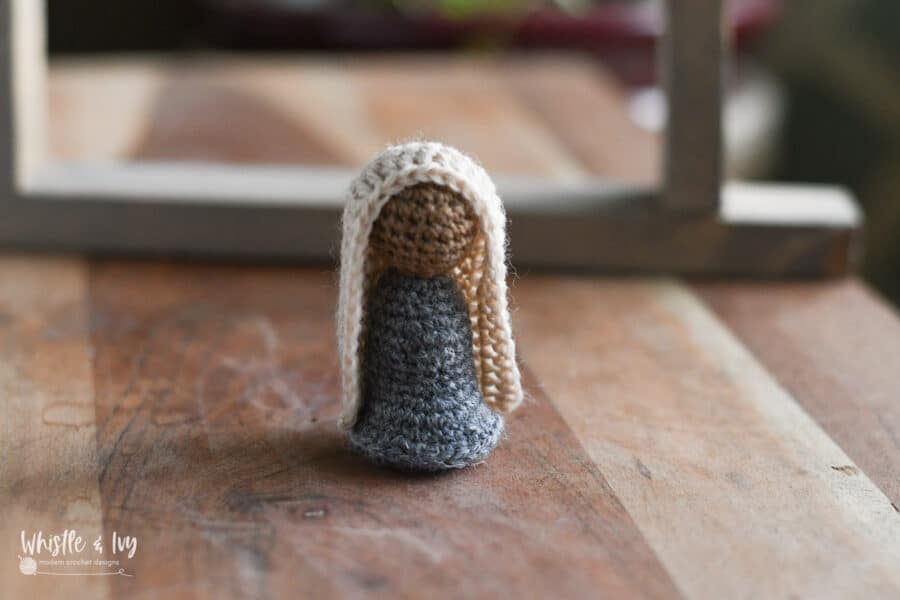
This year, I made a few tweaks to the pattern. The body is unchanged, but I made a few changes to his headscarf/cloak and I added a sash.
I hope you like the changes!

You’re tired of sifting through complicated tutorials and patterns that leave you feeling overwhelmed.
Let me help.
PICTURE THIS:
Instant access to a library of modern, easy-to-follow patterns
Gifting your handcrafted treasures to your loved ones.
Feeling accomplished by your beautiful makes
It’s time to make your crafting experience as joyful as it should be.
CROCHET NATIVITY – JOSEPH
Please remember: You are free to use this pattern to make and sell, but do not republish or distribute this pattern in any way. DO NOT use my photos in your listings. Please do share my blog links! It’s a quick and FREE way of supporting Whistle and Ivy and more free crochet patterns in the future.
PLEASE read my Disclaimer before working my free patterns!
What you need: (affiliate links)
-Fingering Weight Yarn (Palette Yarn)
[Briar Heather, Wheat Heather, Marble Heather (or Ash) , Bittersweet Heather, Hare Heather]
– 3.25mm Hook
– Darning Needle
Abbreviations: (American terms)
Ch – Chain
Sc – Single Crochet
Sc2tog- SC decrease
St – Stitch
Gauge: Not important, make sure your stitches are tight enough that you can’t see stuffing or spaces between the stitches – Joseph Stands approx. 5″ tall
Ready to make the full set? Get yours in my shop!

RUSTIC CROCHET NATIVITY – FULL SET CROCHET PATTERN
$8.50
Notes: Ch 1 does not count. Work the first st in the same st as the chain. Always join with the first st, not the chain. :
HEAD:
Use Wheat Heather
Magic Ring
1. Ch 1, sc 8 in ring. Join. (8 sts)
2. Ch 1, work 2 sc in each st. Join. (16 sts)
3. Ch 1, wc in same st. *Sc in next 2 sts, work 2 sc in next st* work 5 times. Join. (21 sts)
4. – 6. Ch 1, sc in each st. Join. (21 sts)
7. Ch 1, sc in next 3 sts. *Sc2tog, sc in next 2 sts* work 4 times. Sc2tog. Join. (16 sts)
Stuff Head.
8. Ch 1, sc2tog 8 times. Join. (8 sts)
9. Ch 1, sc in each st. Join. (8 sts)
Cut Wheat Heather
Join Briar Heather
Body:
1. Ch 1, work 2 sc in each st. Join. (16 sts)
2. Ch 1, sc in each st. Join. (16 sts)
3. Ch 1. *Sc in next 3 sts, work 2 sc in next st* work 4 times. Join. (20 sts)
4. – 7. Ch 1. Sc in each st. Join. (20 sts)
8. Ch 1. Work 2 sc in same st. Sc in next 9 sts. Work 2 sc in next st. Sc in next 9 sts. Join. (22 sts)
9. – 11. Ch 1. Sc in each st. Join. (22 sts)
12. Ch 1, *work 2 sc in next st, sc in next 10 sts* work twice. Join. (24 sts)
13 – 14. Ch 1, sc in each st. Join. (24 sts)
15. Ch 1, *work 2 sc in next st, sc in next 11 sts* work twice. Join. (26 sts)
16. – 18. Ch 1, sc in each st. Join. (26 sts)
Cut Brian Heather
Join Hare Heather
19. – 21. Ch 1, sc in each st. Join. (26 sts)
22. Ch 1, hdc in each st around. Join. (26 sts)
23. Work in Third Loop:
Ch 1, sc in same st, sc2tog. *Sc in next st, sc2tog* work 7 times. Sc in last 2 sts. Join. (18 sts)
Stuff. Place small stones or weights.
24. Ch 1, sc in same st, sc2tog. *Sc in next st, sc2tog* work 5 times. Join. (12 sts)
25. Ch 1, sc2tog 6 times. Join. (6 sts)
Cut yarn, leave a long tail. Sew the small remaining hole shut with tail.
Weave in all ends.
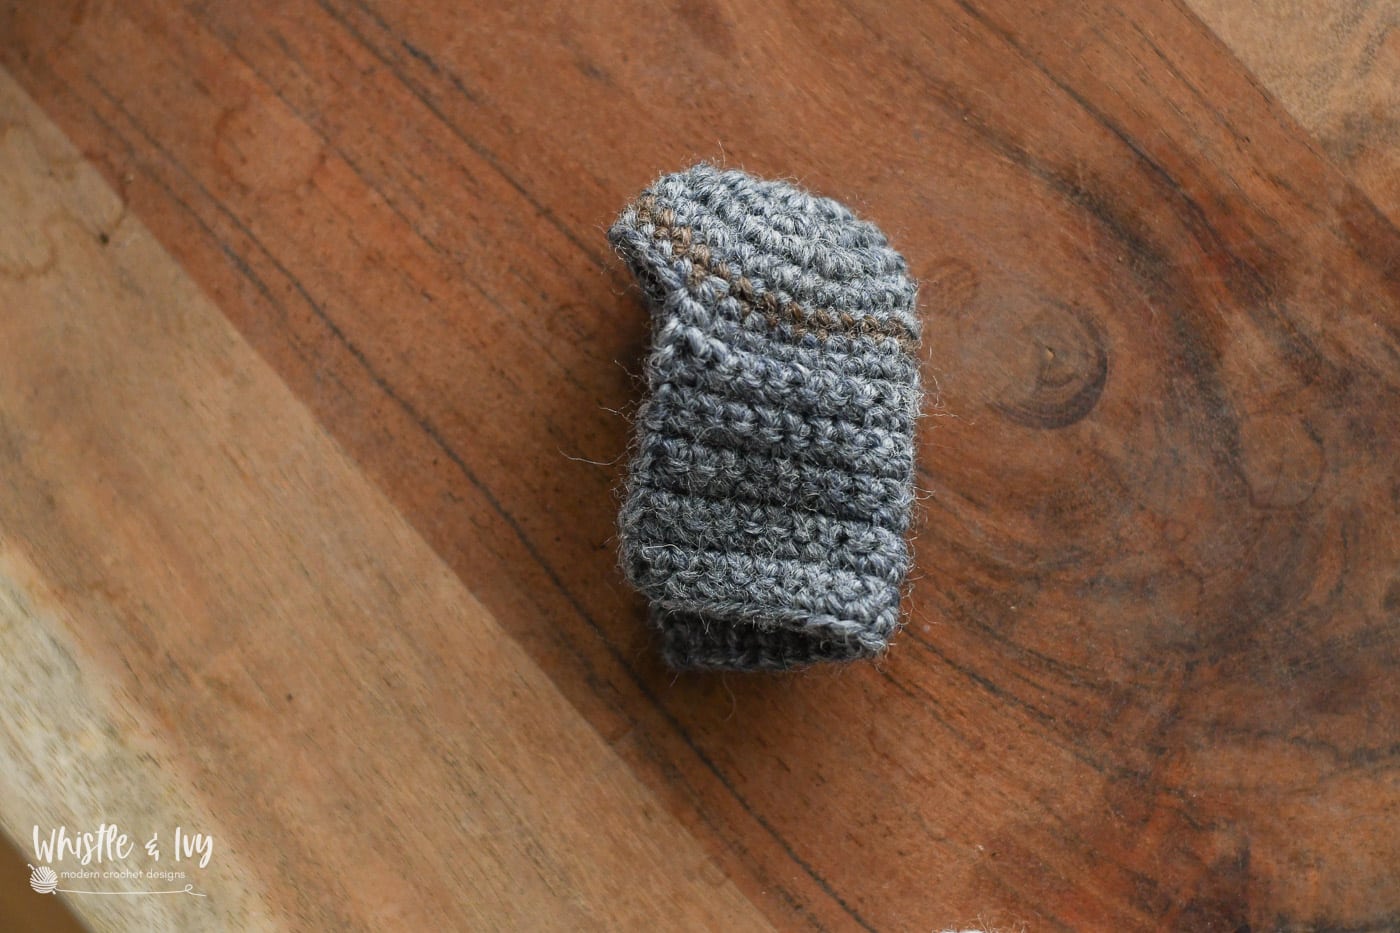
HEADSCARF: Begin with Marble Heather
Start with a Magic Ring
1. Ch 1, work 10 sc into ring. Join. (10 sts)
2. Ch 1, work 2 sc in each st. Join. (20 sts)
3. Ch 1, *sc in next 2 sts, work 2 sc in next st* work 6 times. Sc in last 2 sts. Join. (26 sts)
4. Ch 1, sc in each st. Join. (26 sts)
Drop Marble Heather.
Join Bittersweet Heather.
5. Ch 1. Sc in each st. Join (26 sts)
Cut Bittersweet Heather
Pull up Marble Heather.
6. Ch 1. Sc in each st. Join. Tie off. (26 sts)
Cut Marble Heather
From here, you will work in turning rows, instead of working all around the circle.
Join Marble Heather in the 8th st to the right of the join.
7. Ch 1. Sc in next 19 sts, treating the join as a stitch. Turn.
(19 sts)
8. – 17. Ch 1, sc in each st. Turn. (19 sts)
Tie off, weave in ends.
The ends of the cloak tend to curl a tad, so you can wet block it if you need. I secured it to Joseph’s head with a small dab of hot glue in each bottom corner (I know my kids will play with all the accessories and undoubtedly lose something, so I am nipping that in the bud).
SASH:
Use Oyster
Ch 30, join with first ch forming a loop.
1. Ch 1, sc in next 7 chs. Sc2tog 4 times. Sc in last 15 chs. Join. (26 sts)
2. Ch 2, dc in next 3 sts, dc2tog 5 times, dc in next 8 sts. Sc2tog twice, dc in last st. Join. (19 sts)
Tie off, weave in ends.
For best results, tack the sash in place with a tiny dab of glue (or with a couple well-placed stitches. Consider using a toothpick for extra precision.

Ready for the other pieces? Links to the patterns are below!
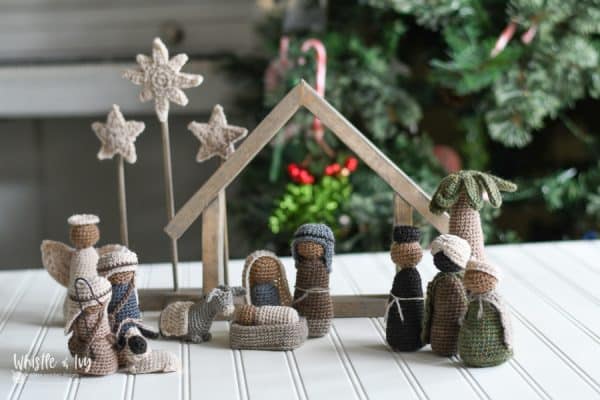
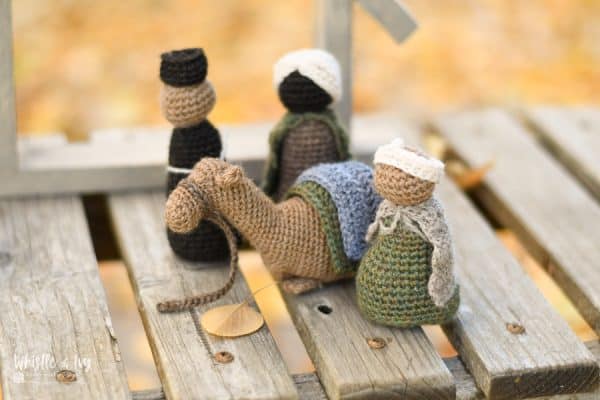
RUSTIC CROCHET NATIVITY- FREE MINI SET


I love this pattern I’m making a couple of sets. I downloaded the new modified pattern with the donkey and I started a new Joseph and the new pattern for his body is missing parts 19-21. It didn’t make any difference to me because I have finished him before but it might confuse someone new to the pattern. Thank you so much for the addition of the donkey, love it.
Hello! So glad you love the little donkey!
I checked my files and those rows are there on page four at the very top of the second column. Maybe your file was corrupted during the download? Send me an email I will get you a fresh copy.
Hi Beth, was looking in my raverly library this a.m. at my nativity pattern snd it seems like pages are missing and not in order. I do not know how to prove that I purchased it however it is in my library and I have made several sets padt Christmases as gifts. What do I do to show proof of purchase or correct my situation. Thank you so much for your creativity and the beautiful pattern.
Hi Bonnie! You should have received an email to your ravelry already with the update :)
Hello, my daughter purchased this pattern for me and i am suuper excited to finish it. My Mary is a bit odd shaped. is she kneeling or have i made a mistake?
Yes she is kneeling! You can adjust the shape a bit with strategic stuffing.
I made this set for myself last winter while I was recovering from major surgery. I absolutely love it. I did it in gingerbread colors and it turned out beautiful.
Sounds wonderful!! I hope you are fully recovered this year!
Loving this so much. This is my first project using anything other than chunky yarn and I didn’t realize how tiny fingering yarn was until it arrived. It’s been a challenge getting use to the small hook and tiny yarn but I am getting there and have just finished Joseph. Thank you so much for this pattern. My nana is going to love it!
Hello again! For rows 4 and 5 for Joseph’s cloak should I do Ch1 in the beginning of each row?
Yes! sorry about that.
Thank you! You’re so talented! I love how easily Joseph worked up. I’m gifting this set to my mother who could definitely use some Christmas spirit. Thanks again and happy holidays!
You are so welcome! I am so happy you like it!
Hello! Thanks a million for making and sharing these beautiful patterns! I have a question about Joseph. In row 22 do I still join at the end of that round?
Yes you will join.
I’m loving this CAL. Could you tell me where you purchased the simple wood frame stable? I completes the rustic look so well.
Thank you
Yes! It’s called JJLadells, I have a link on the main CAL page.
Stones aren’t in the materials list. I’m confused what these are and what they are for. Thanks for the excellent patterns and the help!
They are used to weight down the figure so it’s stands better.
They are in the main CAL materials list
Are all of the sc’s in row 23 supposed to be worked in the 3rd loop?
Yes, work the entire row in 3rd loop.
What does that mean, “in the third loop”?
The third loop is the loop on the back of the stitch, behind the two loops on the top.
What brand yarn did you use?
I have a link in the materials list!
Oh, thank you so much! I so want to make this nativity set. This will help teach my 2 year old grandson how baby Jesus was born and the true meaning of Christmas. Thank you so much for sharing this.
You are welcome!
Hi Bethany! I love this nativity! I have a question though. For the head, once you’ve completed a round you join and then to start the next round, chain one and then single crochet…Do you begin the SC in the same stitch? Like in the stitch you joined to, or in the following stitch?
If you are not counting the chain as the first st (which the pattern doesn’t) you will work the first st in the same st as the Chaim. Does that make sense?
I just finished Joseph tonight! I used a 1″ glass cabochon to stabilize the bottom and it worked very well! This is a simple and easy to understand pattern. Thank you for helping bring the true meaning of Christmas into our homes.
Thank you Stacey! That is a great idea!
Is there a reason you chose to join each round rather than working continuously? I’m not wild a out the crooked seam it produces.
So the bottom would be flat and not slanted at an angle. You can definitely do continuous rounds for your pieces.
Finished Joseph last night :) I have been wanting a nativity set that our kids can play with ever since our oldest was born…9 years ago lol
Patiently waiting for Mary :D
Yay! They will love it :)
Hi! I love this idea! My question is in the body, 22. and 23. – hdc is half double crochet, right? So when you say, ‘work in third loop’, for some reason I am confused with this? Can you elaborate please and thank you so much for all of these patterns!!
Hello! it’s the loop behind the 2 loops on top, at the back of the stitch.
Bethany, this is where I’m stuck, too. So we are to work on the ‘back’ third loop so the V’s we would normally use to stitch will be turned in and will not show, correct? Sorry for the question, but I’m new at this. Thank you for your help.
No the back loop is farthest from you, so the v’s will still be facing toward you. Doe that make sense? You won’t turn your work, just flip your project down a bit to see the back of the stitch, but you still want the front of the stitches facing you.
For Joseph’s cloak, the end of round 6 says to pull up ash gray. Ash gray is not on the list of colors needed for Joseph. Did you continue the cloak in the marble heather or the ash gray?
Typo! Sorry! It should be Marble Heather
Love this set!
Thank you!
Oh, thank you so much! I so want to make this nativity set. When my children were small, we made little figures from papier mache and dressed them in little pieces of material and silver paper from cigarette packets. This brings back the joy and excitement we had in preparing for Christmas. My kids are all grown up now and far away. They will be together for Christmas and I would like to send them this set all crocheted. They all have blankets I made for them too. Regards and thanks Julia Fraser
Aw, that is so fun! I love the idea of making them together as a family. They will love their little sets, I am sure!