
This post contains affiliate links, click here for more info.
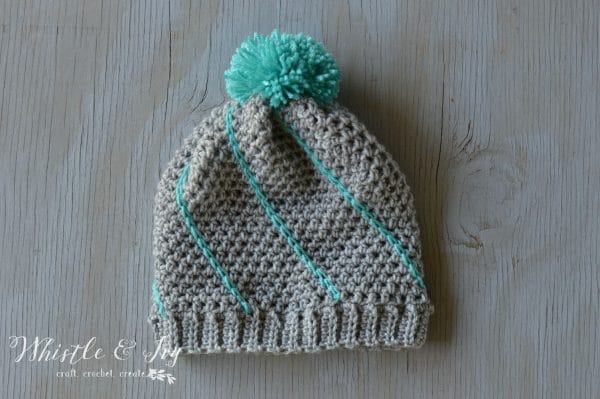
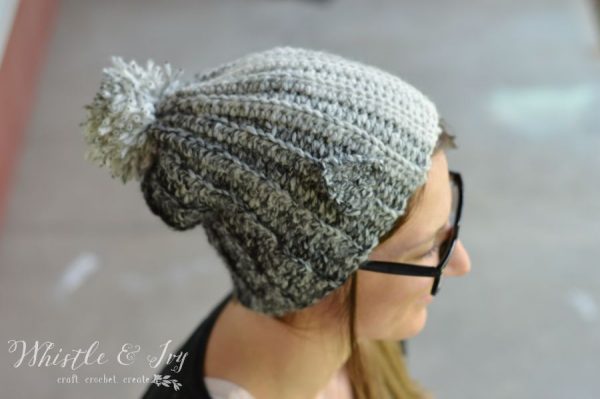
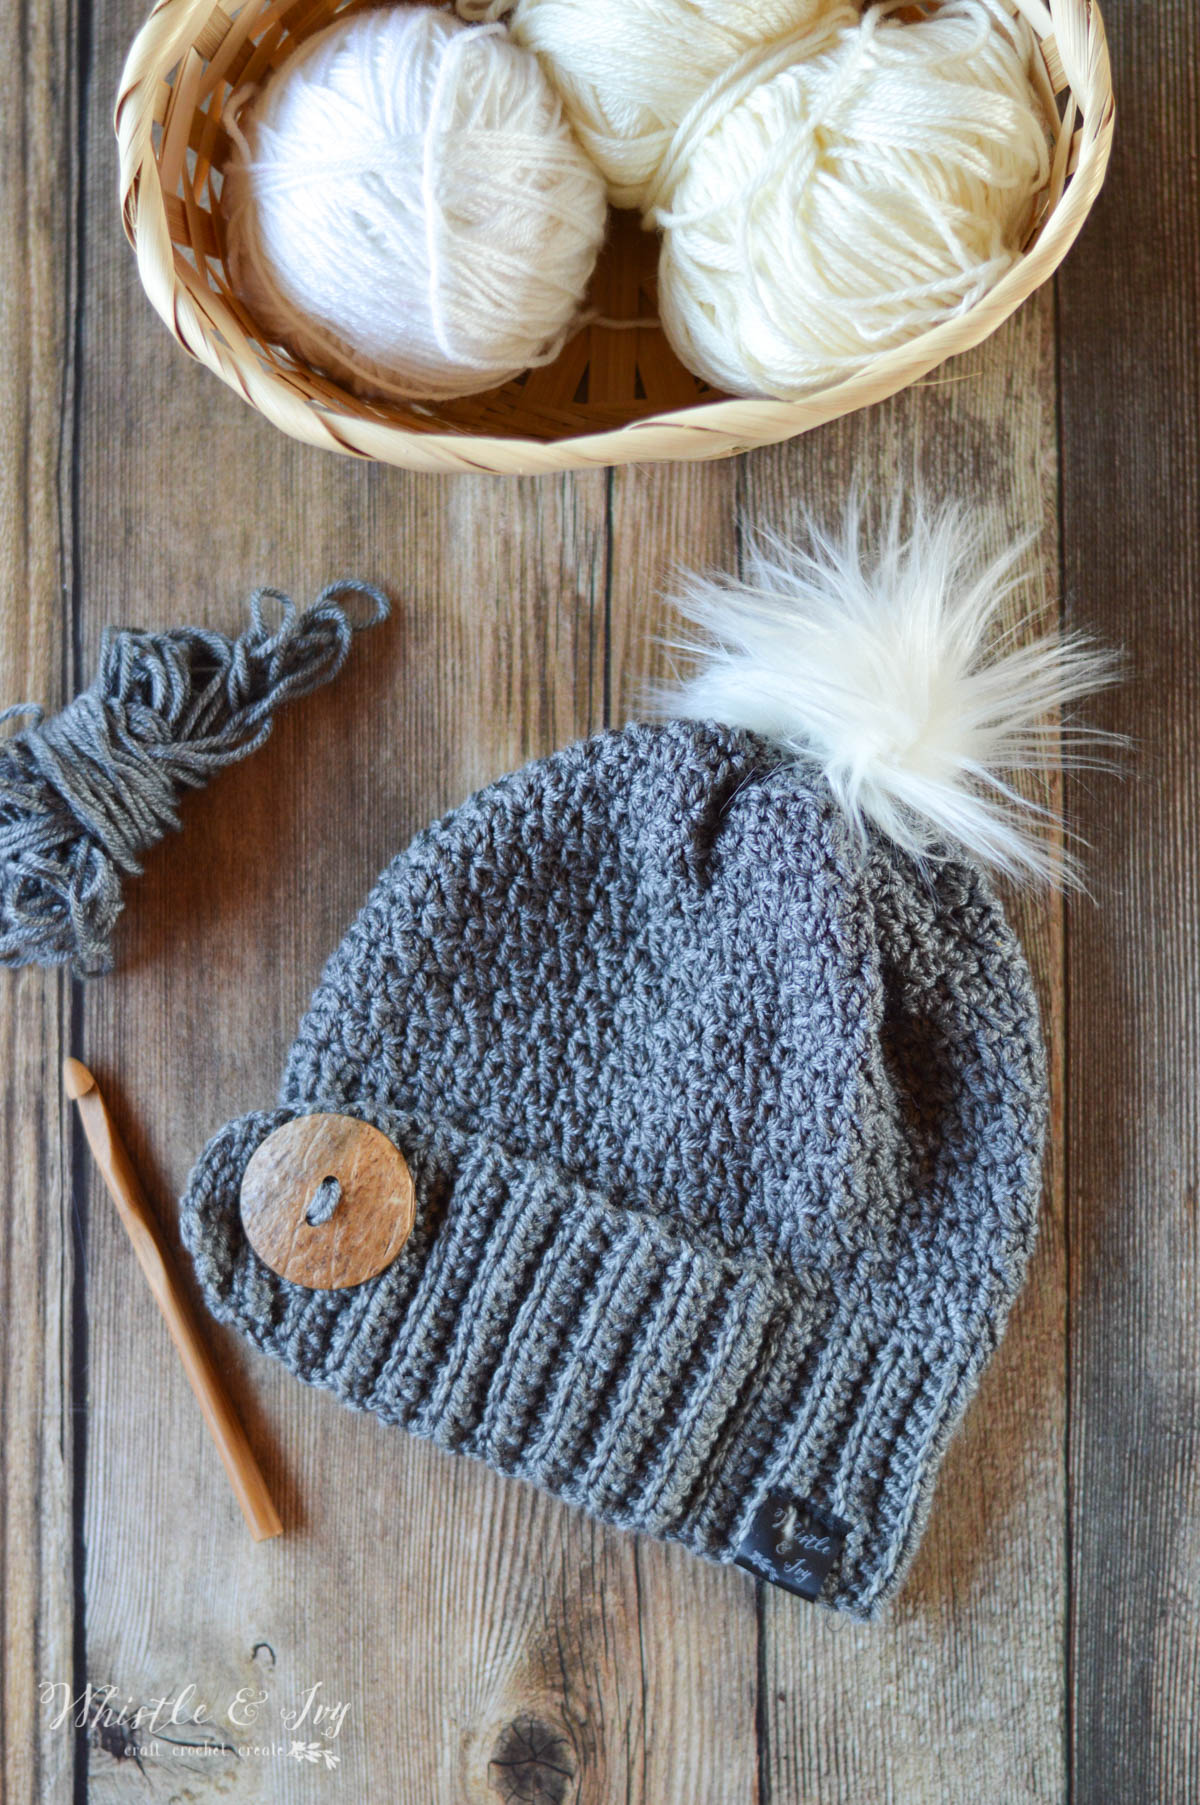
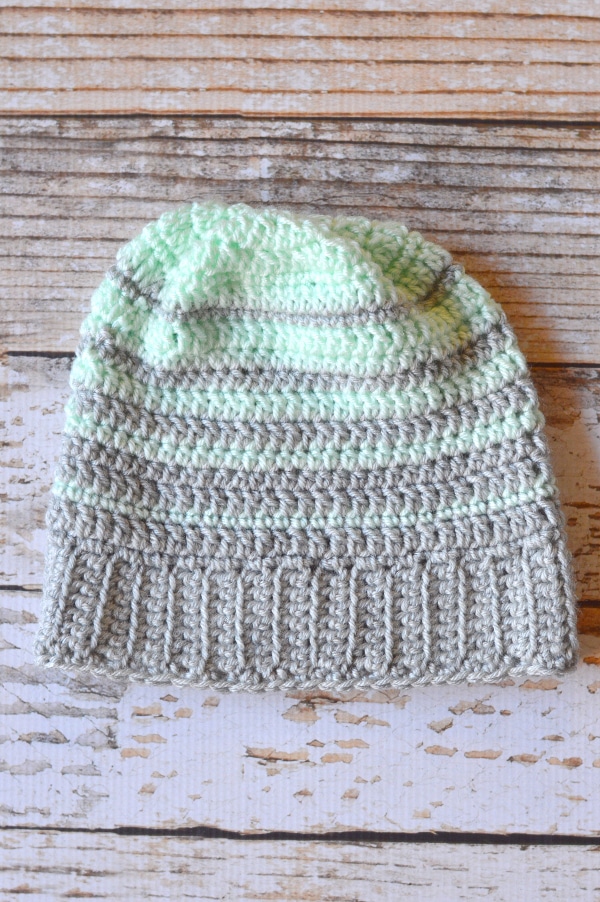
This week we finally did something I have been planning on doing since we moved into our first house; we ripped out the two overgrown and matted evergreen bushes in the front yard! I won’t bore you will the details, but suffice it to say, we were able get rid of them for free, but with a massive amount of elbow grease. I am so excited to plant some bulbs for spring time and have a bit neater looking front yard. Our house was built in the 50’s, so it will take quite a few projects to update it a bit. Even though we have been working on the shrubs, I was still able to revamp this crochet pattern from last year: the Diagonal Hatch Slouchy Hat.
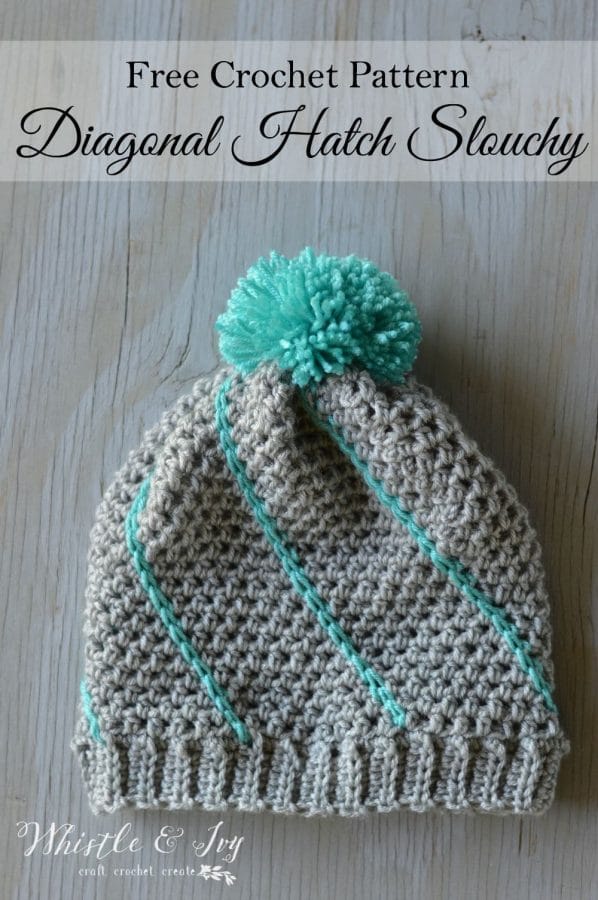
One of my favorite things about this hat is it works up so fast. And because you make the band first, the sizing is completely customizable.

You’re tired of sifting through complicated tutorials and patterns that leave you feeling overwhelmed.
Let me help.
PICTURE THIS:
Instant access to a library of modern, easy-to-follow patterns
Gifting your handcrafted treasures to your loved ones.
Feeling accomplished by your beautiful makes
It’s time to make your crafting experience as joyful as it should be.
Please remember: You are free to use this pattern to make and sell, but do not republish or distribute this pattern in any way. DO NOT use my photos in your listings. Please do share my blog links! It’s a quick and FREE way of supporting Whistle and Ivy and more free crochet patterns in the future.
Abbreviations: (American Terms)
Ch – chain
Sc – single crochet
hdc – half double crochet
Sl st – Slip Stitch
St – stitch
Sk – Skip
BLO – Back Loops Only
Diagonal Hatch Slouchy Hat
What you need:
- Worsted Yarn (Knit Picks Brava – Cornflower, Dove Heather)
- G Hook
- Sharp Yarn Needle (for weaving in ends nicely)
Hat:
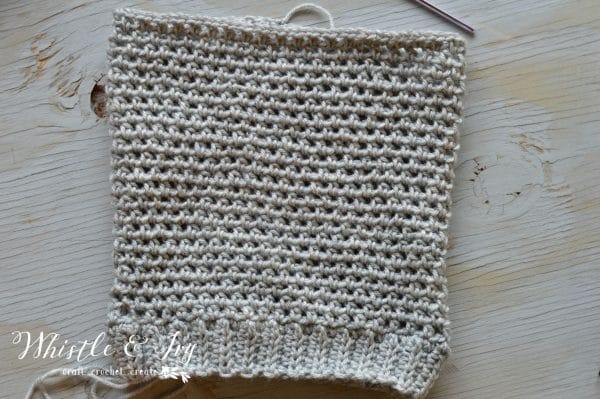
1. Join yarn at the seam. Ch 1 and sc all around the hat. Work about 3 sc sts over two vertical rows for a total of about 76 sc sts. Join with a sl st.
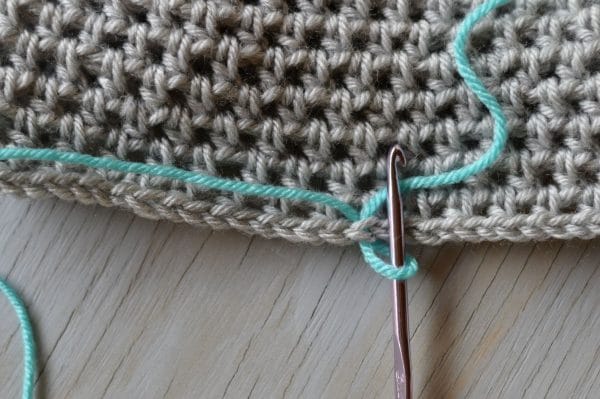
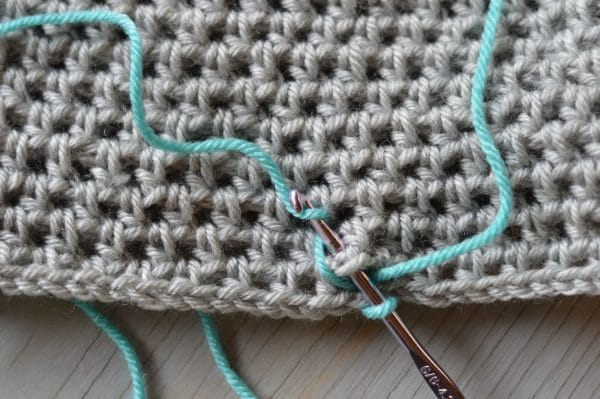
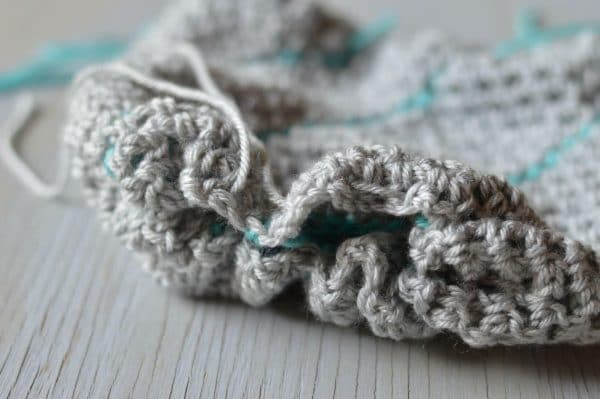
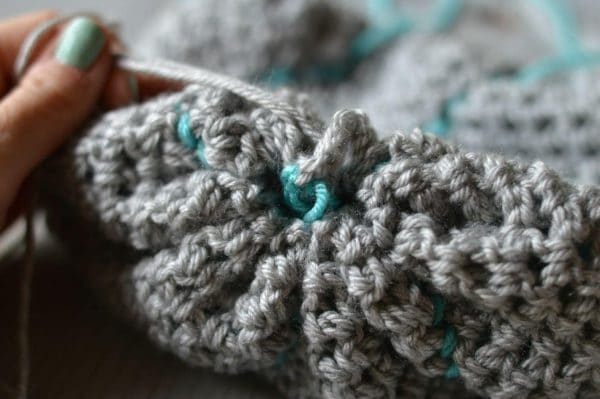
Now, using your second color you can work the hatches. The diagonal hatch is essentially a sl st working through the spaces between the hdc. They look diagonal because that is the shape that the spaces take naturally. Turn your hat upside-down, and work from the top (which is at the bottom) upwards. Start anywhere, pull up a loop in the middle ch of a space.
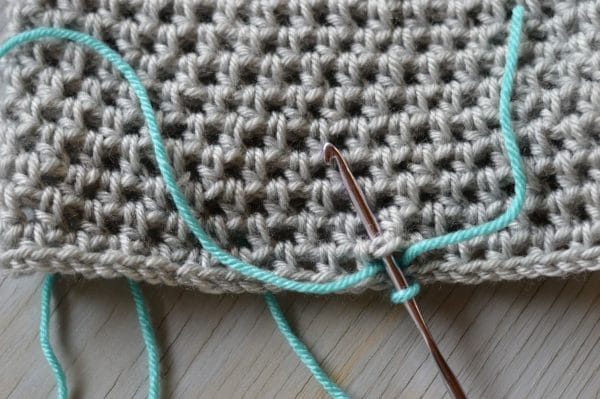
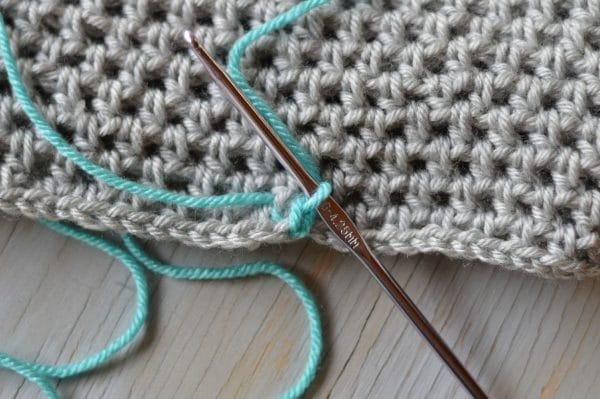
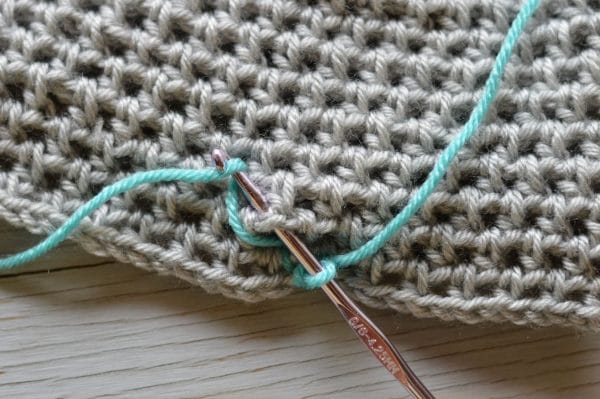
Insert your hook in the space below the ch you started at, and come up through the next space up.
Tie a sturdy knot (weaving-in doesn’t really work with the contrasting colors), and clip ends.
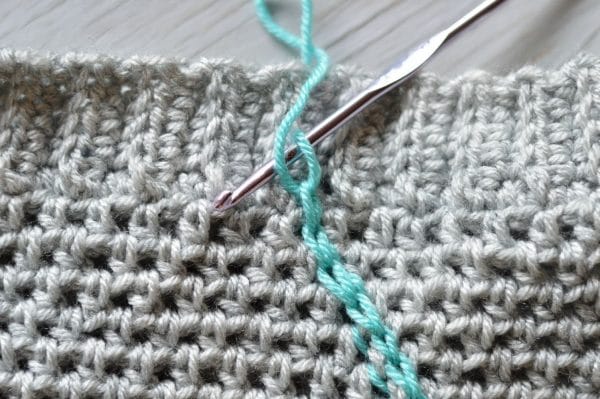
Close the top by taking a piece of yarn, and sewing in and out through the top spaces. Be sure to turn your hat inside-out before closing it. I went in and out through every-other space. Pull it tight to close, and tie a very secure knot.

Don’t miss a pattern or post! Subscribe here.
Happy crocheting!


Hi !
Thanks for this pattern. It’s so quick and easy to work.
I’ve written an article about it on my blog (https://lesdoudousdedoudie.com/crochet-bonnet-chaud).
I would like to know if I can translate your pattern in french for my readers, please ?
Glad you like it! Thanks for the shout out!
However, please don’t republish my pattern on your own site in French, thank you!