
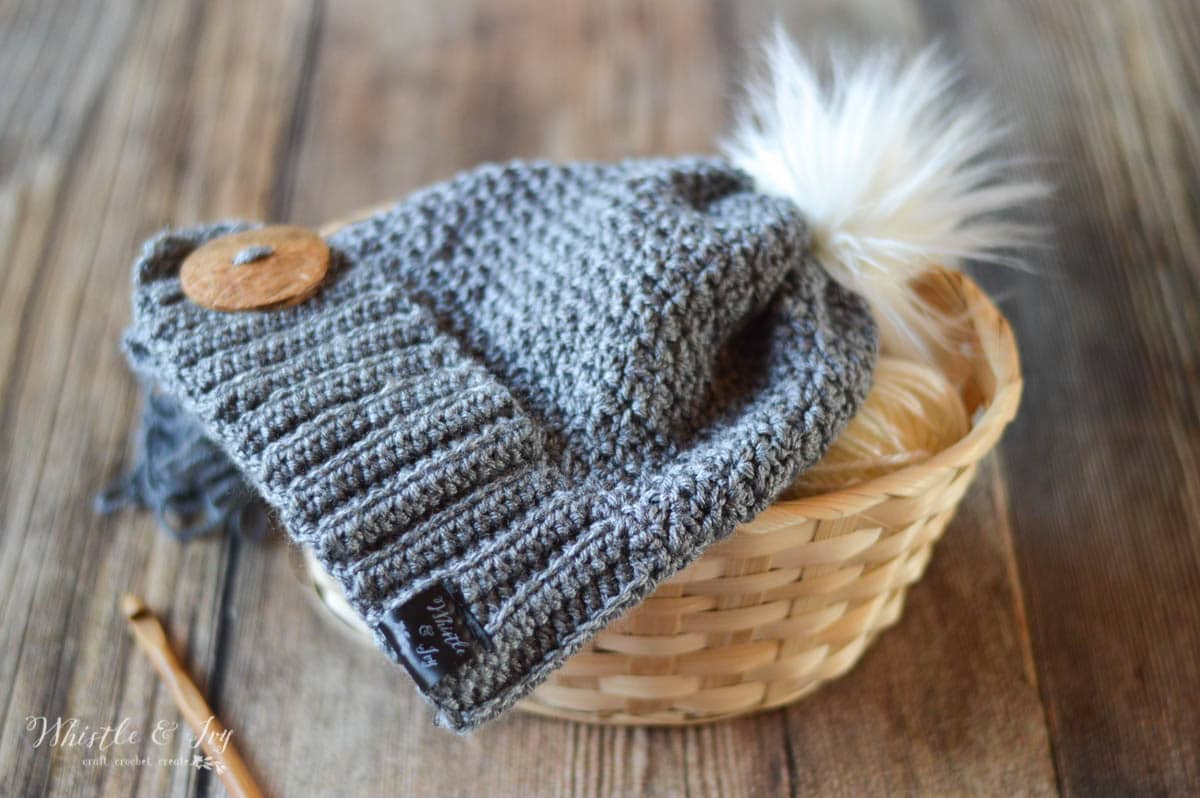
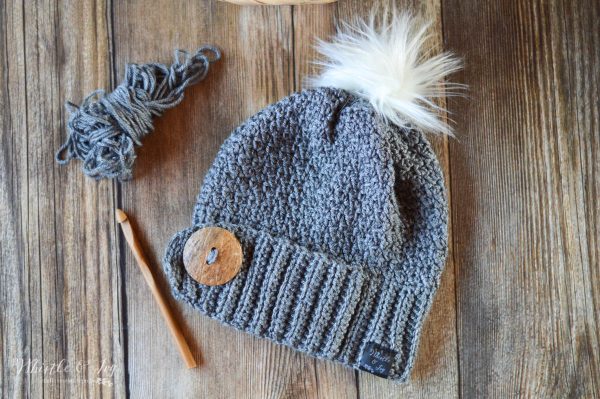
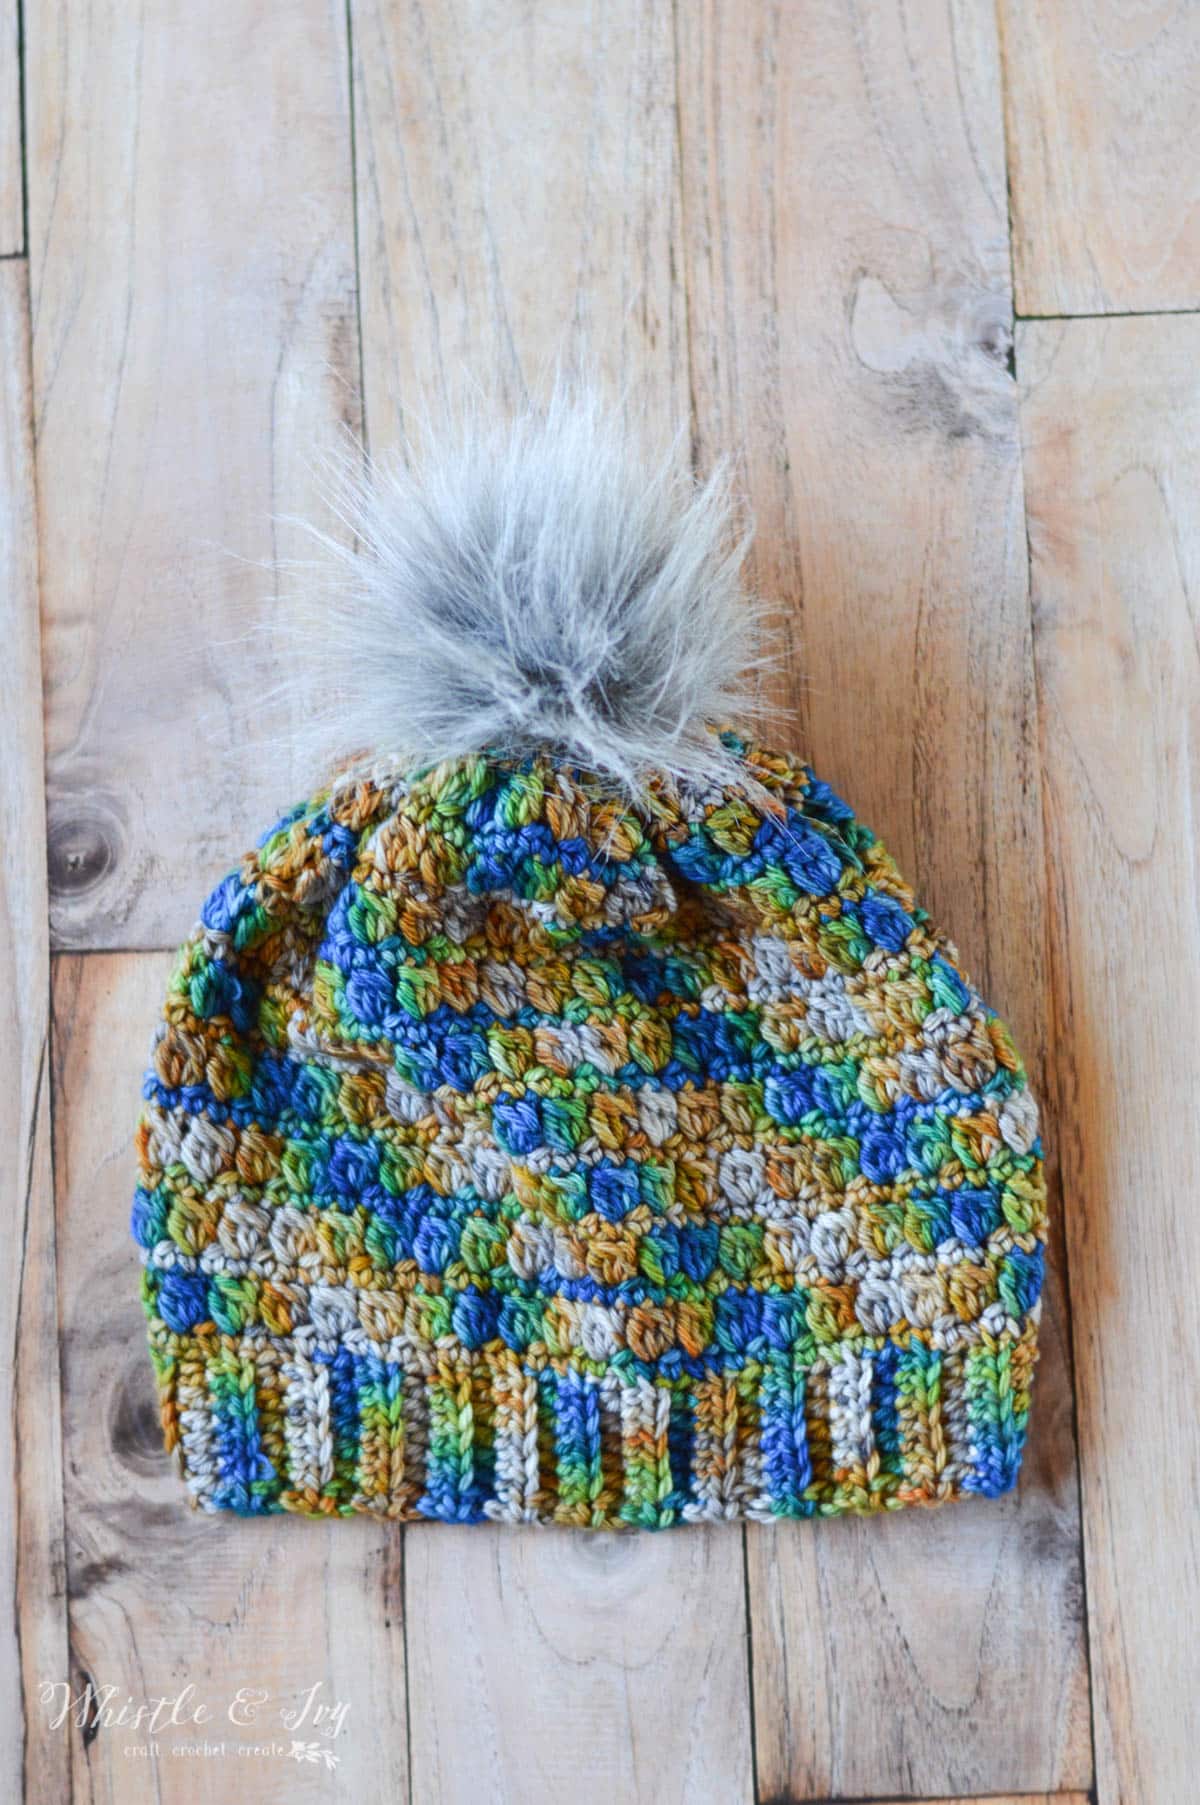
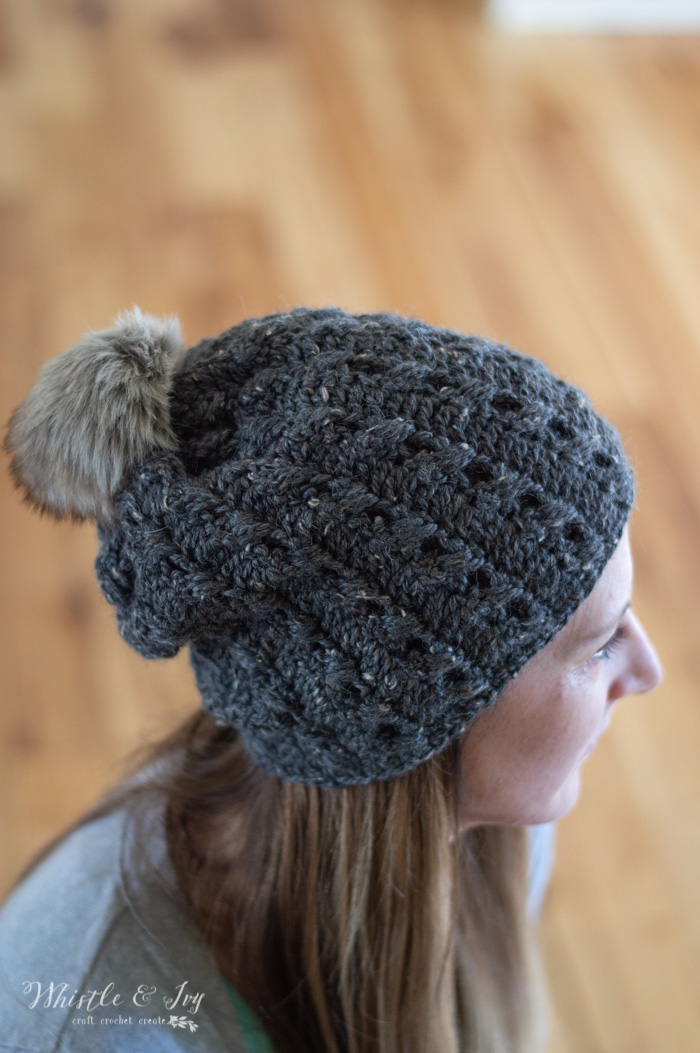
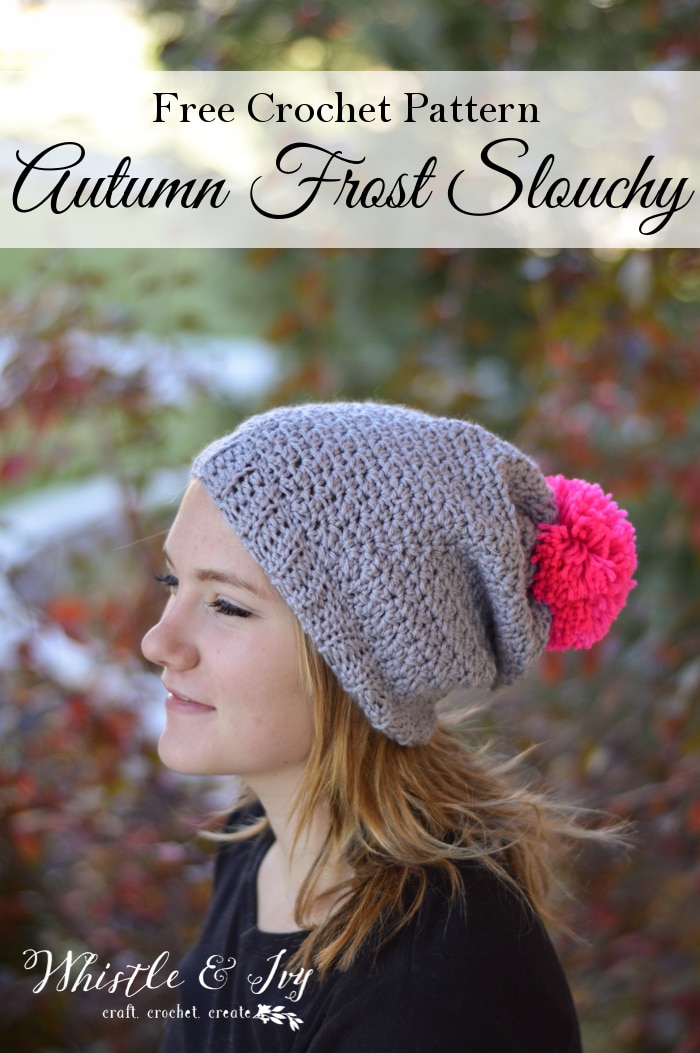
This sweet crochet hat features a lovely stitch texture and a white fur pom-pom that looks just like a little bunny tail! The fold over technique of the brim makes it extra cozy.
This post may contain affiliate links, which means I get a small commission at no extra cost to you. Thanks for your support!
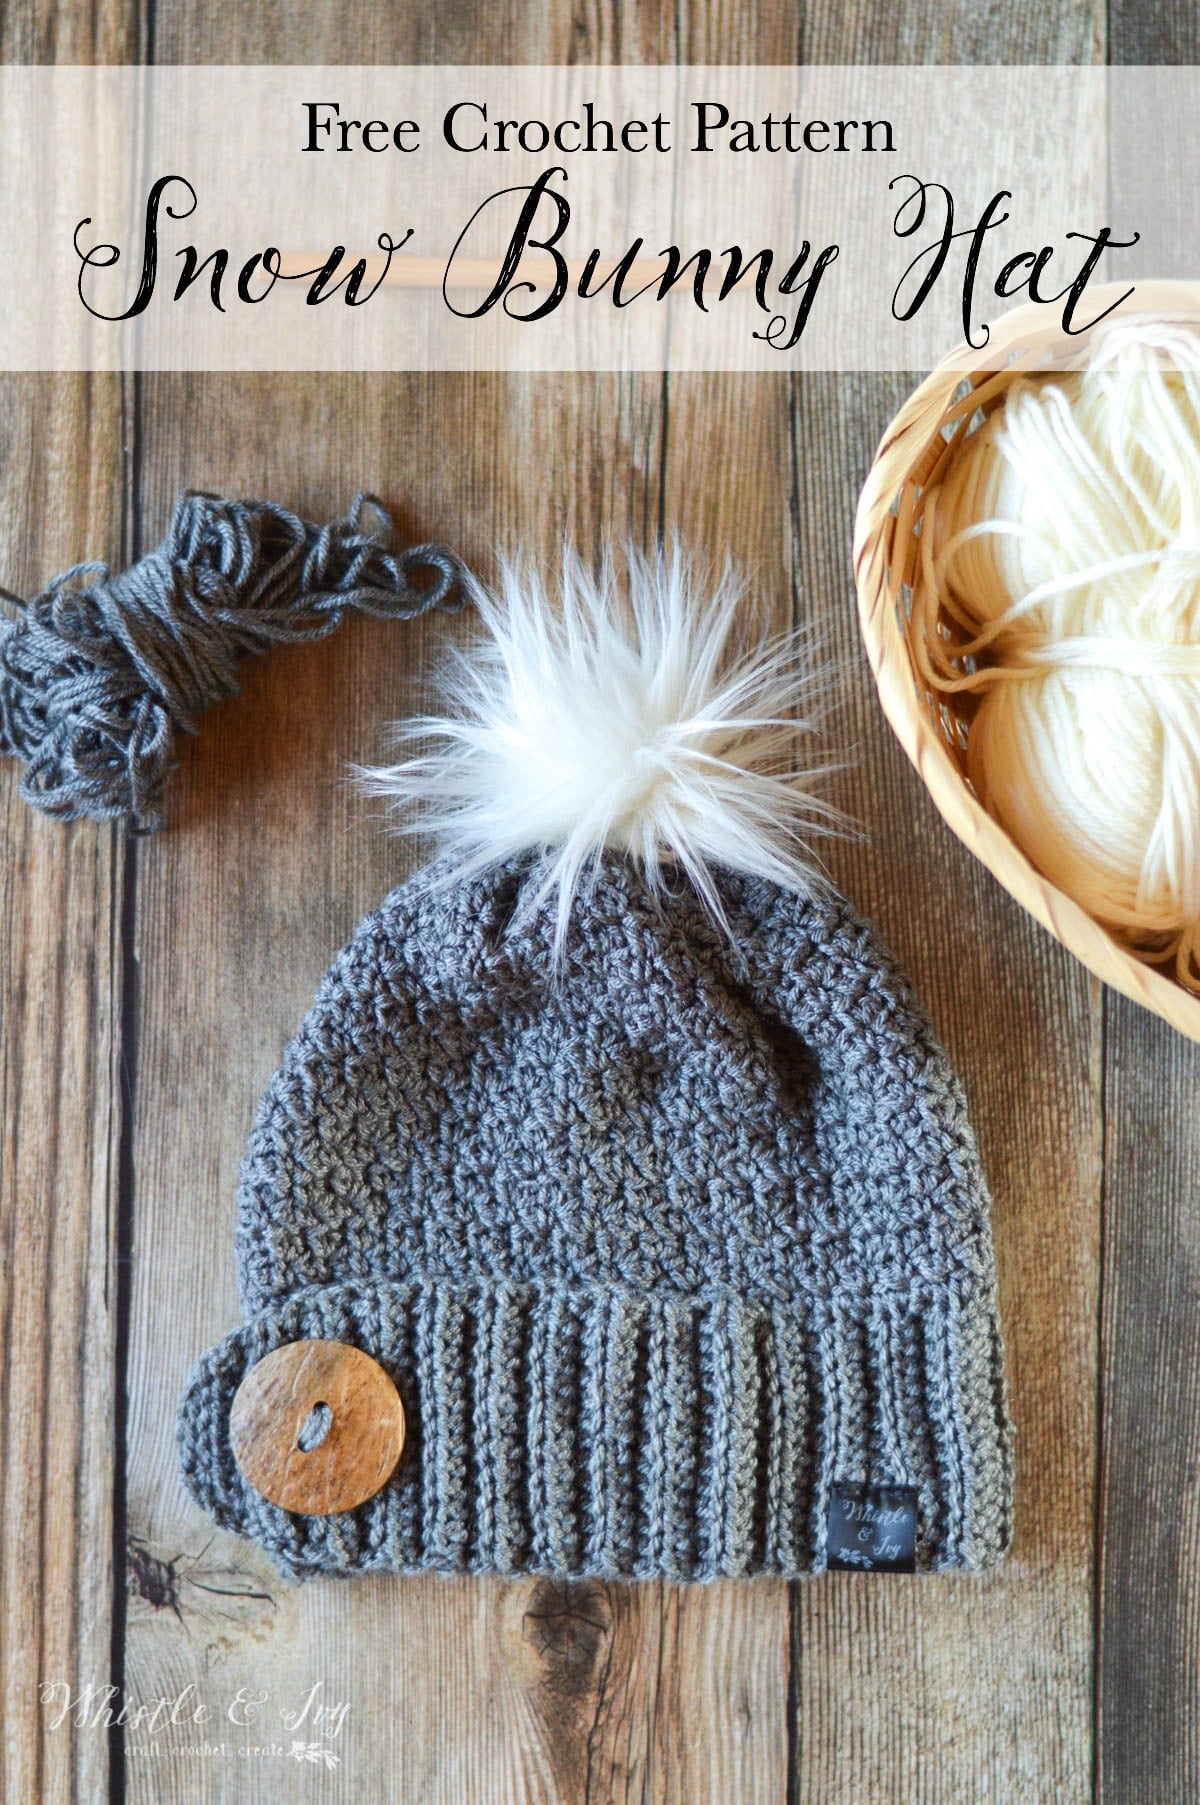
The weather here has been crazy. We are used to below-freezing temps even in the afternoon during this time of year, but it has been so warm. Like, go-outside-and-ride-your-scooter-without-a-jacket warm. This crochet hat almost feels like false advertising. However, I think that there is someone, somewhere who needs to bundle up (and most likely it will be us in April, because Utah weather is like that…), so this Snow Bunny Crochet Hat may just be the perfect crochet hat for a cold soul! Isn’t that white fur cottontail pom-pom so cute?

You’re tired of sifting through complicated tutorials and patterns that leave you feeling overwhelmed.
Let me help.
PICTURE THIS:
Instant access to a library of modern, easy-to-follow patterns
Gifting your handcrafted treasures to your loved ones.
Feeling accomplished by your beautiful makes
It’s time to make your crafting experience as joyful as it should be.
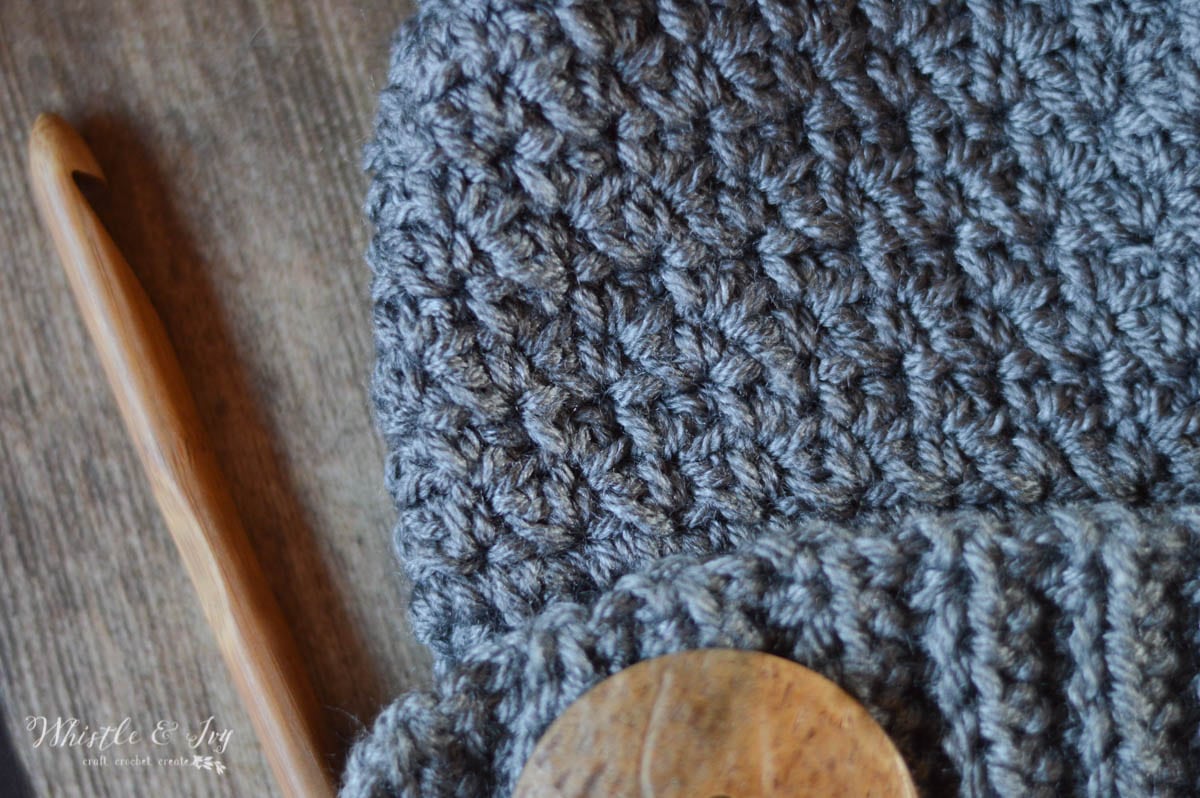
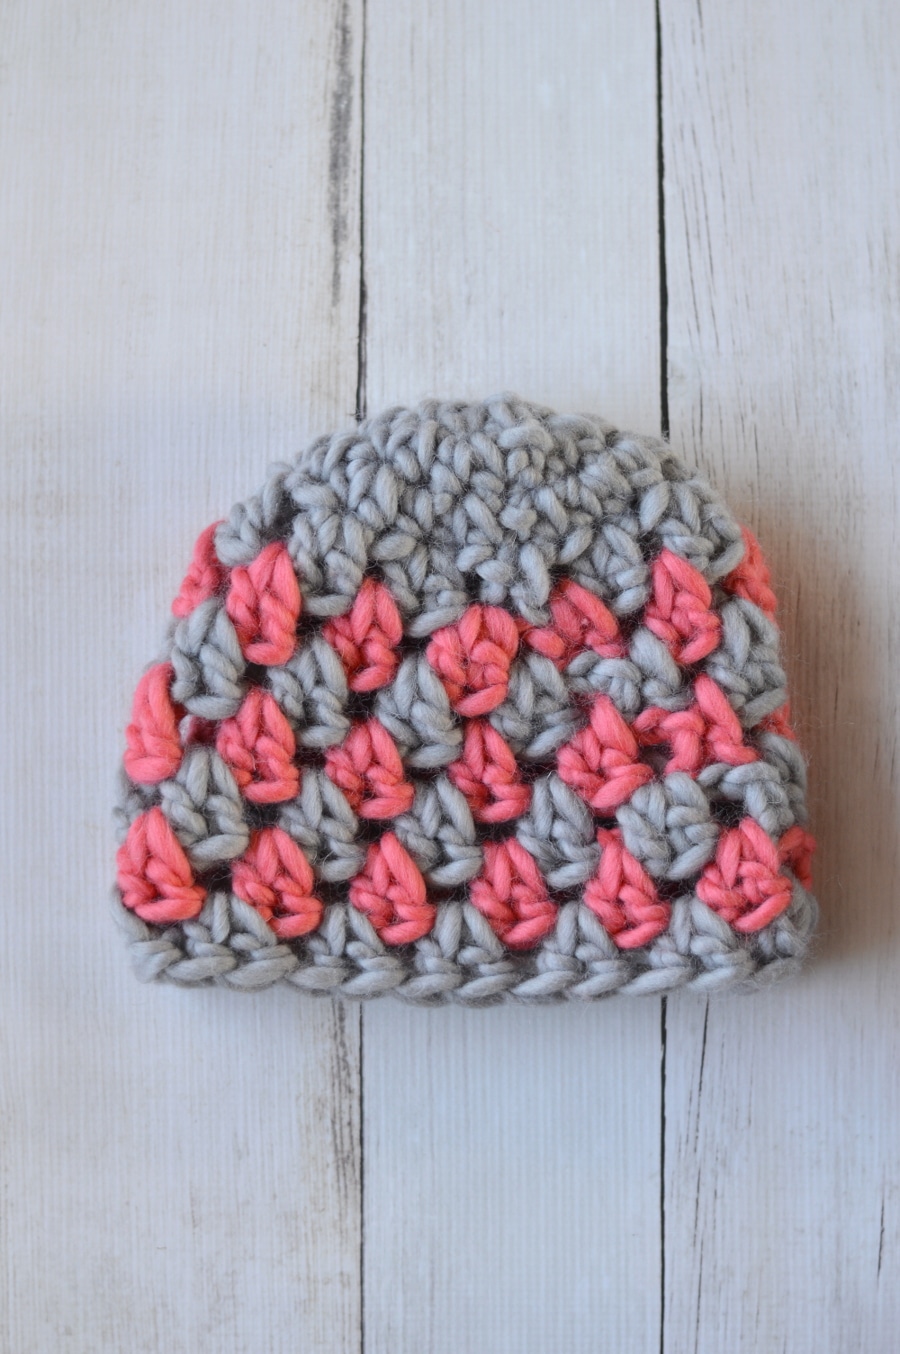
I just love the grit stitch. It has such a lovey and unique texture (that is easily achieved as well). I made my Baby Hooded Cowl with the grit stitch and it looks so pretty in that soft, silky yarn. It’s one of my favorite stitches. The beautiful texture is achieved by alternating the sc first then the dc first so the stitches alternate their direction a bit. The effect is very pretty.
SNOW BUNNY CROCHET HAT
Please remember: You are free to use this pattern to make and sell, but do not republish or distribute this pattern in any way. DO NOT use my photos in your listings. Please do share my blog links! It’s a quick and FREE way of supporting Whistle and Ivy and more free crochet patterns in the future.
PLEASE read my Disclaimer before working my free patterns!
What you need to make this crochet hat: (affiliate links)
– I Hook
– 1 Ball of Knit Picks Brava in Cobblestone Heather (Medium Weight Yarn)
– Pom-Pom (you can make a yarn or fur one)
– Darning Needle
– Tags (optional)
Abbreviations: US Terms
Ch – chain
Sc – single crochet
Dc – Double Crochet
Hdc – Half Double Crochet
Sl st – Slip Stitch
St – stitch
BLO – Back Loops Only
Gauge: 14 dc = 4″ (Gauge Pattern)

LOVE THIS PATTERN BUT HATE THE ADS?
Get an ad-free PDF pattern download! Where would you like to shop today?
Ribbed Band:
Begin with a long tail. Ch 14.
1. Hdc in 2nd ch from hook. Hdc 12. Turn. (13 sts)
2. Ch 1. Hdc in same st. In BLO, hdc in next 11 sts. Hdc in last st, going through both loops. Turn. (13 sts)
Repeat row 2 until your piece is 18″ – 19″ long. You will get this measurement by gently stretching your band and measuring the length, not the pre-stretch length. You want the hat to be snug and due to differences in yarn stretchiness, I am not providing a row count. Instead, use your measuring tape. Place a stitch marker.
Repeat row 2 for another 15 rows.
Tapered End of Band: Work these rows in BLO
1. (This row makes a button hole) Ch 1. Hdc in same st. Hdc 3. Ch 5. Sk 5 sts, hdc into next st. Hdc 3. Turn.( 13 sts)
2. Ch 2. Sk same st. Hdc in next st. Hdc 9 (be sure to work in each chain). Sk next st. Hdc in last st. Turn. (11 sts)
3. Ch 2. Sk same st. Hdc in next st. Hdc 7. Sk next st. Hdc in last st. Turn. (9 sts)
4. Ch 2. Sk same st. Hdc in next st. Hdc 5. Sk next st. Hdc in last st. Turn. (7 sts)
5. Ch 2. Sk same st. Hdc in next st. Hdc 3. Sk next st. Hdc in last st. (5 sts)
Tie off.
Fold the band over until the flat end lines up with the row you marked with a stitch marker. Using your long tail from the beginning, sew in place with a length of yarn and your darning needle.
Hat Body:
1. Flatten the band so the seam that connects the band is in the front. The flap will lay across the seam, like it’s wrapped around, not fold backward itself. Join your yarn directly opposite of the seam on the back. Working from the outside, ch 1. Sc around the top of the band, working 72 sts. Work on either the top or the bottom of the band, depending on which way you want the button and flap to lay. Be sure not to work through both the band and the flap, just work around the main band of the hat.
Note: the keep your seam from shifting, you can begin every other row with 2 sl sts, and this will keep the seam more straight.
2. Ch 1. Sc, Dc in same st. Sk next st. *Sc, Dc in next st. Sk next st* repeat all around the hat. Join with the first sc. (72 sts)
3. Ch 2. Dc, sc in same st. Sk next st. *Dc, sc in next st. Sk next st* work all around the hat. Join with a sl st. (72 sts)
4. – 17. Repeat rows 2 and 3 respectively.
Note: you can work extra or fewer rows here to adjust the slouchiness of your hat.
18. Ch 1. *Sc, dc in same st. Sk 2 sts.* work all around the hat. Join with sl st. (48 sts)
19. Ch 2. Dc2tog 24 times. Join with a sl st. (24 sts)
Tie off. Weave in ends.
Using a length of yarn, sew a loose running stitch across the remaining hole at the top of the hat and cinch closed. Tie a firm knot and clip ends. Attach a pom-pom to the top. Sew a very large button on the hat brim under the button hold of the flap.
I named it the Snow Bunny Crochet Hat, and I thought the white fur pom-pom looked perfect on top! I make my own and they are easier than you can imagine, see a tutorial here.
Be sure to join our Facebook Community!


Hi, I’m confused on the brim, u say u weren’t given row count but then after u measure 17-18” it says to do 15 rows. So I’m at a stand still lol, thank u, love ur work and thanks so much for sharing
Yes, make a band that measures 17-18″, then place a stich marker and work an additional 15 rows after that.
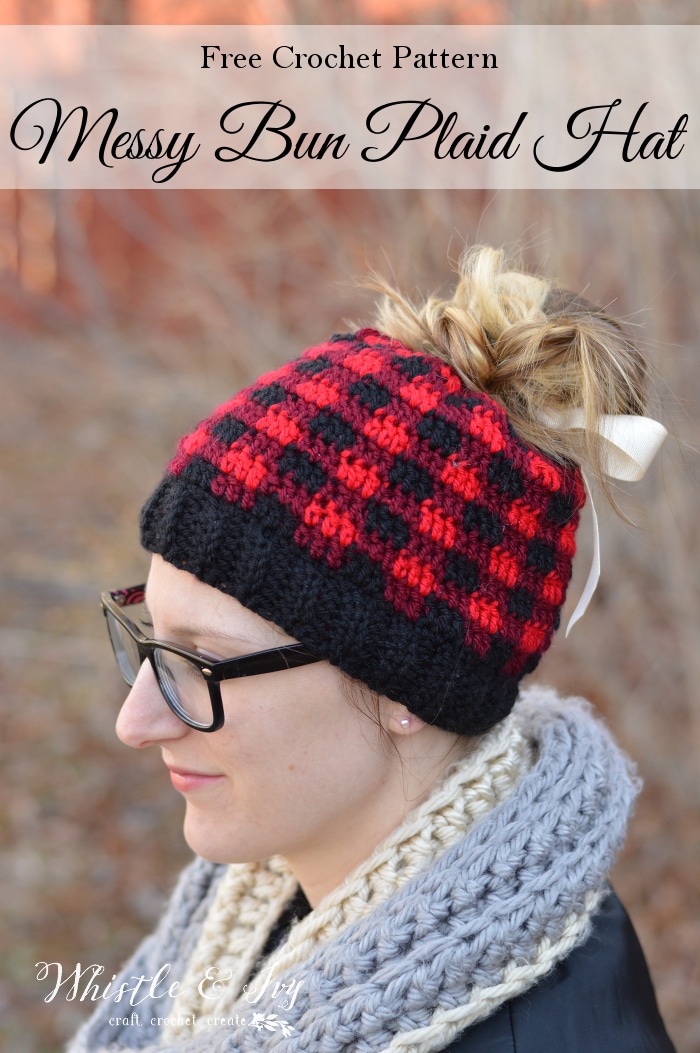
How can you make this into a messy bun hat?
Yes I think you could. You would need to work fewer rows at the top and then work some decreases.
Hi again!! The 72 sc sts around band….. how did you get 72? I got 50 and its hard to see where im crocheting because theres no actual chain to put hook in lol not sure if im understading
Right, it’s a bit weird because you are working into the side of the rows. If you only got 50, then I would go back and work an increase about every 8-10 sts or so.
Where you say “repeat row 2 for another 15 rows” can I make it 7 rows instead of 15? The band already fits me perfectly and if I keep going it will be too big. Please help!!
Perfect! It should fit perfectly at this point. The extra rows are for the part that folds over.
Do i have to use a pom pom? I would love the hat without it.
No you don’t!
Lovely thank you for sharing.
Thank you! You are welcome!
it looks so cute, thanks for sharing!
Thank you!
Can you use bulky yarn
Yes, but you will need to make adjustments because the bulky yarn will make your hat quite a bit larger if you work the exact pattern.
You may have mentioned this somewhere, but is this hat pattern adult sized?
Thanks!
Yes adult size!
I love your crochet!! Your talent is amazing! I was wondering how I could make the Snow Bunny hat in a toddler-child size to have matching hats for me and my daughter?
Hello! Thank so much!
To make it smaller, you can make the brim about 16″- 17″ (using the gentle stretchy measuring method described in the post), then work several more rows to make the flap. Then just make sure the count of the body is even, and make the hat a couple inches shorter. Very easy to size up or down!
Hi, I did a comment a while back (btw this has nothing to do with the hat) (but I do like the hat) about purse patterns for operation Christmas Child, but I forgot where I commented it! Can you either please tell me where to find it (if you remember responding to it) or re-respond here please? Thank you!
Hi Alathia, you can find all my hat patterns by searching “hats”, but don’t have any washcloth patterns, sorry!
https://www.whistleandivy.com/?s=hat
Ok thanks! That Will help so much. Oh, and I was also wondering if you had purse patterns.
I have some clutches!
https://www.whistleandivy.com/?s=clutch
Ok, I’ll check it out, Thank you so much!
This was fun to make and pretty easy to follow. I love the amount of stretch it has, and I used a nice soft wool. So nice!! Just have to get a button for it and put the Pom Pom on!
Yay! Glad you liked it!
Love this — the grit stitch will be a fun change. Thanks for sharing. :)
Thanks so much, glad you liked it!
You keep coming up with the cutest ideas. I love everything you do!!!
Thank you!! Love you!
I’m slightly confused where it says to join the yarn directly opposite of the seam when starting the hat body.
You just want the seam in the back of the hat, so if the brim of your hat is a circle, find the side with a seam (where you sewed the overlapping part) and begin on the opposite side.
Are the stitches being worked in the sk stitch space starting with row 2? Or am I to work the stitch into the top of the previous sc and dc? Thanks!
You work into the previous sc and dc. Because you are changing the stitch you start with, you will be working a dc in to a sc, and a sc into a dc. Does that make sense?
Yes, and I figured it out. Just had a slight blonde moment. Haha. Thank you for the pattern! The hat turned out lovely!
We kind of see my line where you have to join the last stich to the first one. Do you have some tips to not see it ?
yes, the seam will be visible. I don’t have a tip to make the seam invisible, but if you find one, I would like to know!
Where do you get your tags for your hats?
I got them in Etsy! You can find them here (my affiliate link): http://tidd.ly/59716430
I’ve not used this yarn before… what is it similar to that I might find in store? (something more main stream like Lion Brand, or Red Heart?) Thanks!!
Red Heart Soft would be a great option!
Super Cute! Think I might make this one! Thank you!
Thanks Carmen!