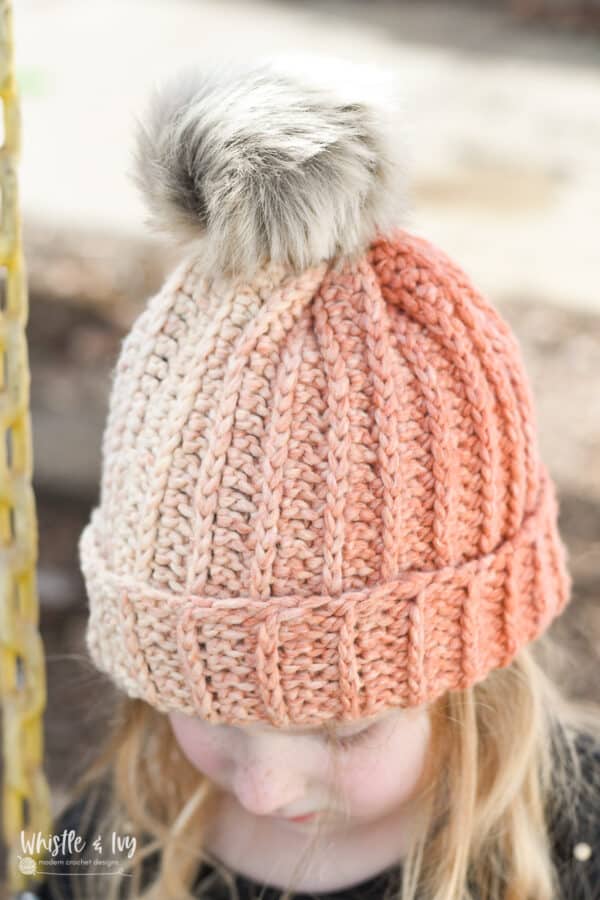
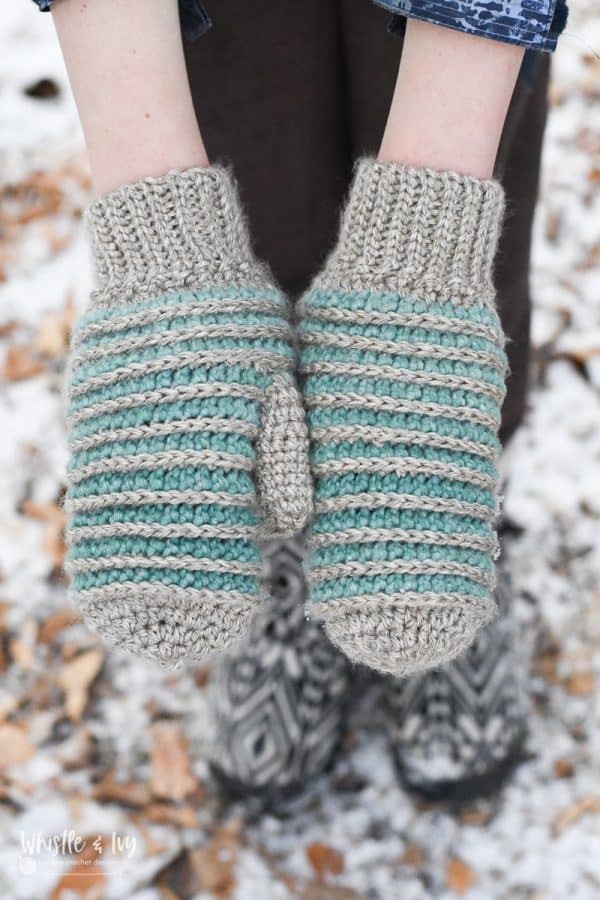
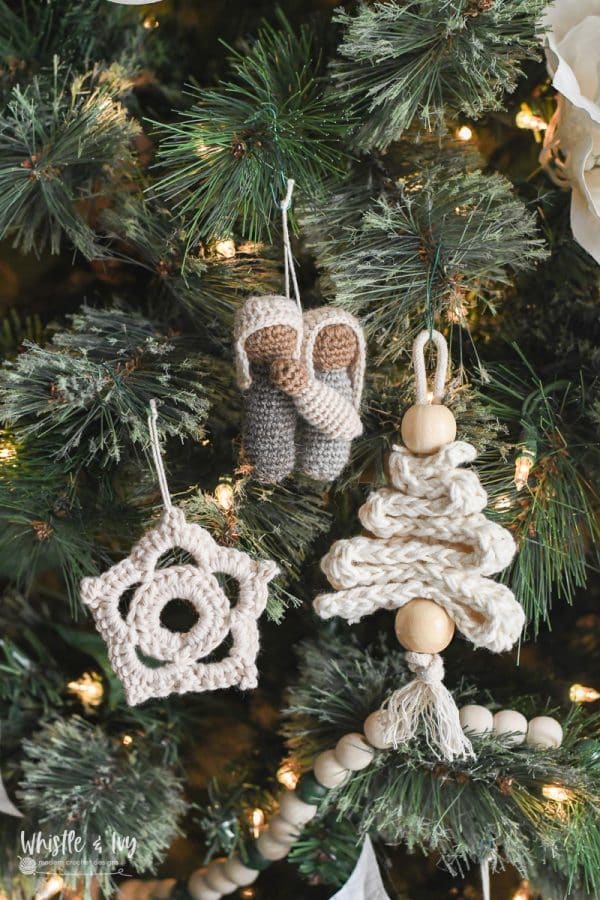
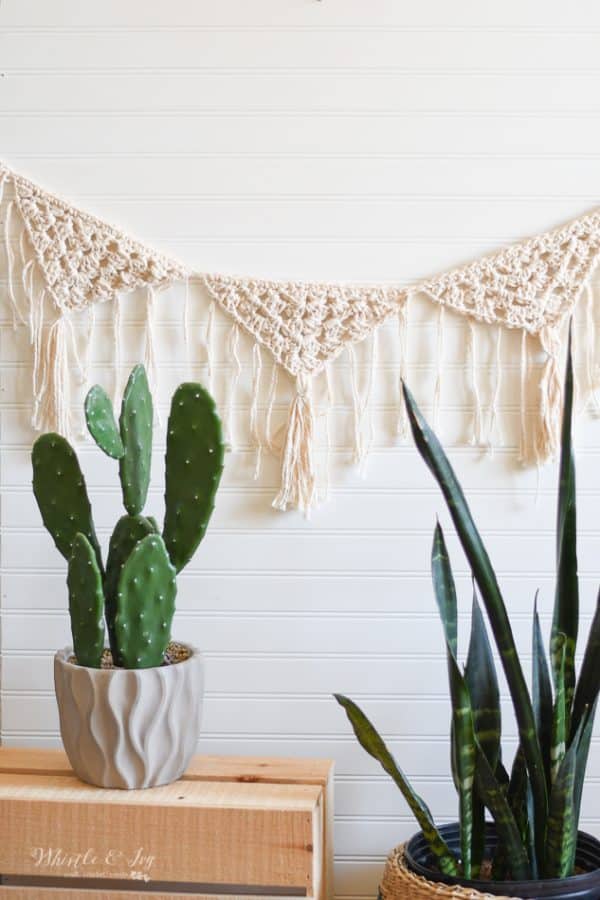
Thursday, May 23, 2013

Mr. Potato Head Quietbook Page Template

A few weeks ago I posted my Mr. Potatohead Quietbook page, but then I had some requests for a pattern. I should have thought to post it with the first post! Anyway, here is a .jpg of the pattern. Feel free to use it!


After you have all your pieces cut, sew the head piece to your page. Then, sew the two pieces of each accessory together. For the mouth, embroider the teeth before you sew the two pieces together. For the eyepiece, sew on the pupils before sewing the two pieces together, and for the bow tie, sew on the knot to the top piece before sewing the two together. 

Hope you enjoy it!


Monday, May 20, 2013

Photog Show and Tell #3

Welcome back to Photog Show and Tell!

There were some awesome posts linked up. I was thrilled to see everyone's talents, as well as learn some tips and tricks.

The most-viewed link from last month's party was The Prison by Six Degrees Photography
Great photos!  Love the post-apocolyptic feel that these photos show of this abandoned prison.


Bethany D.'s pick from last week is Mary Denman's Photo Tip Friday.
She had some really useful tips. I don't know about you guys, but I will be checking back to see what else she posts!


It's Lauren's first video tutorial, and I thought she did a fantastic job!


Now, time to party!

The link party will go live every 3rd Tuesday of the month, and will be open for 3 weeks.  Everyone is welcome to link up their photography posts, or pictures, and hopefully we can learn from each other!
Also, feel free to come back during the 3 weeks and link up your new posts.

Party Rules:
1. Please follow your hosts in some way :)
Whistle & Ivy: {Facebook} {Twitter} {Pinterest} {Google+}
ngnrdgrl: {Facebook} {Twitter} {Pinterest} {Google+}

2. You can link as many posts as you want, but please don't link the same post each time. Also, make sure you are linking to your specific post and not your homepage. Please only link up posts that are family-friendly, and photography related.

3. Please take time to visit at least two other links. Maybe you will make some new photog friends!

4. Please grab our party button and add it either to your post, sidebar or link party page. Spread the love!


<center><a href="http://www.whistleandivy.com" target="_blank"><img src="http://i1307.photobucket.com/albums/s600/BethyDeary/button3500x500_zps92109c2a.jpg" border="0" alt=" photo button3500x500_zps92109c2a.jpg" width= "125" /></a></center>

Each month, the top viewed link, plus TWO Staff Picks will be featured on our blogs and promoted via our social networking site. Yippee!


If you were featured, feel free the grab a button!
Photog Show and Tell - I was featured!!!

<a href="http://ngnrdgrl.wordpress.com/category/photog-show-and-tell" target="_blank"><img alt="Photog Show and Tell - I was featured!!!" src="https://lh5.googleusercontent.com/-tsR6y-BXq_0/UUKqNpjVWbI/AAAAAAAAEJs/cMLdXsPoGoM/s500/Featured3+500x500.jpg" width="200" height="200" /></a>

Fruit and Vegetable Leather

I grew up with several large apricot trees. Picking all the apricots all summer was the bane of my existence, but we didn't complain when my mom made apricot jam, fruit leather, or dehydrated apricots. Fruit leather is one of my absolute favorite snacks, yum!

My toddler has been quite the stinker with eating vegetables, so I have to disguise them. This gave me an idea: fruit and vegetable leather. You taste only the fruit, but you are eating veggies!


Though I am sure you can make this with any combination of fruits and veggies that you want, here is the recipe that I used.

4 oz carrot puree ( leftover homemade baby food)
2 red delicious apples
2 ajous pears
1 sweet potato (steamed)
1/2 C frozen spinach (thawed)
1 cup strawberries
frozen juice concentrate
just enough water for easy blending
8 packets stevia

Chop your fruits and veggies, and puree all the ingredients in your blender. This pretty much filled my blender to the brim. I used the whole recipe for two jelly roll pans, and it was the perfect thickness for me. Line your pans with plastic wrap or parchment paper before pouring the puree.

Turn your oven onto the lowest setting and let your leather dehydrate for about 8 hours. Once it's done, let it cool, then immediately store in an airtight container.

This leather will smell like veggies, but tastes like fruit!

Thursday, May 16, 2013

Tutorial for Sewing a Jogging Armband

I have been meaning to make one of these for while. I have been using a handkerchief, and I usually take about 5 minutes finagling it with my teeth and other hand.

Well, no more!


Materials:
Fabric - this is such a small project, you could probably just use scraps  
Fusible Interfacing
Velcro
Basic Sewing Supplies

Start by measuring the back piece. Make sure you leave a seam allowance. Leave as much as you are comfortable with. You will sew and turn this piece inside out, plus sew the pieces together. I tend to sew quite near the edge. 

Your piece needs to be doubled, so measure it on the fold to save yourself some sewing later. 


Once you have it measured, cut your fusible interfacing (same size as one half of your whole back piece if it was unfolded) and iron it to one side, on the wrong side of the fabric. 


Fold in half again, right sides together and sew around it, leaving a space for you to turn the piece inside out. Your interfacing will be on the outside. 


Turn the piece inside out through the hole, iron it flat, and sew around the edge, taking care to catch both sides of the unsewn part. 


To the sew the front pocket, measure your device across the front, including the thickness as well. Take that number and add your seam allowance, plus a little extra so it can be sewn together. Don't go overboard, the pocket needs to be snug. You need two again, so cut so the fold is on top of the pocket. Fold so the right sides are together, just like the back piece and sew around the edge, leaving a space. I added a small pleat (about 1/4 inch) to the bottom so it would line up better later. This is optional, though. 


Turn the pocket inside out and iron it. Sew across the fold (the top), but don't sew it onto the back piece yet. 

Now, measure your arm for the armband. Make sure you do about 4 extra inches, so the ends can velcro together. I also eyeballed the thickness. Mine is about 2 inches finished, so probably 2 1/4 cut. 

Again, cut so one of the long sides in the on the fold, and cut a matching piece of interfacing. Iron it to one of the sides, wrong side of the fabric. 


Fold in half, right sides together, and sew all around, leaving an unsewn part. Turn it inside out through the hole and sew around the edges. Make sure you catch both sides of the hole that you left unsewn. 


Now, to sew all the pieces together, put the pocket to the front of your back piece. The pocket is wider, so make sure you are sewing the edges together. Pin the pocket in place, and then pin the whole thing to the band. You should be able to sew the whole thing together at once. 


Finish with two pieces of velcro. Don't ask me why royal blue was the only color of velcro I had on hand!


All ready for my next jog!


Monday, May 13, 2013

Homemade Grahams

When I came across this recipe for home made graham crackers, I was super excited to try them! I am really trying to have snacks that are healthy for The Boy, and I hate giving him processed junk food.

Did you know that most graham crackers have high fructose corn syrup as well as hydrogenated oils? Those are bad news.

The only graham crackers that I have found that don't include those nasty ingredients are Annie's Bunny Grahams, which are made with organic whole grain flours, organic cane syrup and no preservatives. Plus, you can find them in most grocery stores, not just organic specialty stores. But they are kind of pricey. I never thought about making my own, and I am so grateful to Nancy for posting her recipe!

I had to tweak her recipe, though. I really hate using white flour. If you haven't looked into the differences between whole wheat flour, and bleached white flour, I encourage you to. It might scare you into not using it anymore, I know it did for me. I also switched out the sugar with stevia extract, and added a little molasses, since the original recipe calls for brown sugar, and cut the butter a bit.


So here is my "tweaked" recipe for Home Made Grahams:

1/4 cup wheat germ
2 1/2 c Whole wheat flour
12 packets of stevia in the raw (each packet contains 3/4 tsp stevia powder)
1 tsp baking soda
1 tsp cinnamon
1/4 c + 3 T water
1/4 c honey
3 T molasses
6 T butter

Preheat your oven to 350 Degrees. Mix wheat germ, flour, stevia, baking soda and cinnamon in a mixing bowl. Soften your butter and cut it into your flour mixture with a fork or pastry cutter until it's has a coarse meal consistency. Add your water, honey and molasses and mix until your dough is moist. Roll out about 1/4 inch thick and cut with cookie cutters or into any desired shape.  Place on ungreased cookie sheet and bake for 10 minutes. You can fill your pan up, these don't spread out too much.

I found these super cute mini cookie cutters at Joann's and knew they were perfect for these little grahams.


These are actually really good. The Boy loves them, so I guess it's our new go-to snack!

LinkWithin

Related Posts Plugin for WordPress, Blogger...