
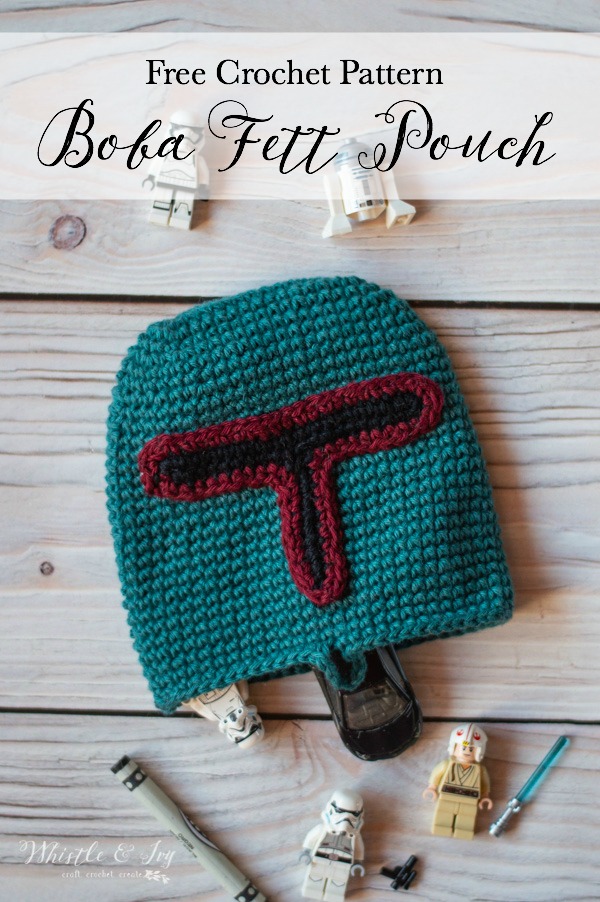
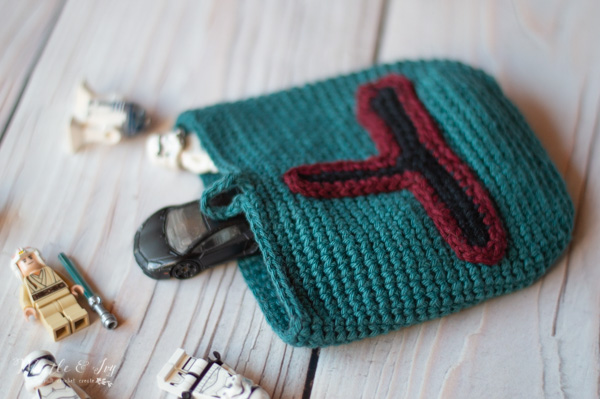
Know a Star Wars fan? This cute and simple Boba Fett pouch is simple to make and is perfectly size for small hands and tiny toys! This post includes affiliate links, which means I earn a small commission if you make a purchase (at no extra cost to you!).
Star Wars is one of my geeky fandoms (I am a HUGE Potterhead, too). For some reason, I forget about Star Wars Day (May the 4th) until it’s practically upon me. I had the idea for this crochet Boba Fett pouch last year, but I didn’t think far enough ahead to finish it. Luckily, I got to it this year, but I have a Star Wars Crochet WEEK on my calendar for next year, so hopefully May 4th, 2019 will be a bit more exciting!
Aren’t the colors perfect? It’s rather hard to find that faded greenish-blue color of Boba Fett’s helmet, but Knit Picks Cotlin in ‘Harbor’ was spot-on! I didn’t intend to make this crochet Boba Fett pouch with DK weight, but the colors were too perfect to pass up and it makes for a very sturdy little pouch.

You’re tired of sifting through complicated tutorials and patterns that leave you feeling overwhelmed.
Let me help.
PICTURE THIS:
Instant access to a library of modern, easy-to-follow patterns
Gifting your handcrafted treasures to your loved ones.
Feeling accomplished by your beautiful makes
It’s time to make your crafting experience as joyful as it should be.
CROCHET BOBA FETT POUCH – CROCHET PATTERN
Please remember: You are free to use this crochet Boba Fett pouch pattern to make and sell, but do not republish or distribute this pattern in any way. DO NOT use my photos in your listings. Please do share my blog links! It’s a quick and FREE way of supporting Whistle and Ivy and more free crochet patterns in the future.
PLEASE read my Disclaimer before working my free patterns!
What you need:
– F Hook
– DK Weight Cotton Yarn (1 ball each of Cotlin in Harbor, Pomegranate and Black )
– Darning Needle
Abbreviations: US Terms
Ch – chain
Sc – single crochet
Sl st – Slip Stitch
St – stitch
BLO – Back Loops Only
Gauge: 10 sc =2″ (Gauge Pattern)

LOVE THIS BUT HATE THE ADS?
Grab an ad-free PDF download! Where would you like to shop today?
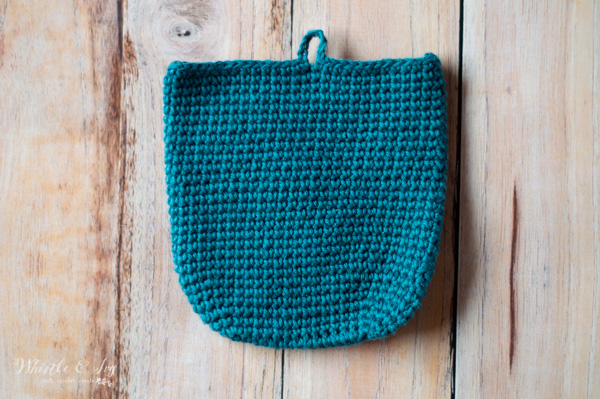
Pouch:
Using Harbor, Start with a ch 15.
1. 2 sc in 2nd ch from hook. Sc in next 12 sts. 4 sc in last ch. Working across the opposite side of chain, sc in next 12 sts. 2 sc in last ch (same as first 2 sc). Join with the first st. (32 sts)
2. Ch 1. 2 sc in next 2 sts. Sc in next 12 sts. 2 sc in next 4 sts. Sc in next 12 sts. 2 sc in next 2 sts. Join. (40 sts)
3. Ch 1. Sc in each st around. (40sts)
4. Ch 1. *Sc in next st. 2 sc in next st* work twice. Sc in next 12 sts. *Sc in next st. 2 sc in next st* work 4 times. Sc in next 12 sts. *Sc in next st. 2 sc in next st* work twice. (48 sts)
5. – 6. Ch 1. Sc in each st around.(48 sts)
7. Ch 1. *Sc in next 2 sts. 2 sc in next st* work twice. Sc in next 12 sts. *Sc in next 2 sts. 2 sc in next st* work 4 times. Sc in next 12 sts. *Sc in next 2 sts. 2 sc in next st* work twice. Join (56 sts)
8. – 28. Ch 1. Sc in each st around. (56 sts)
29. Ch 1. Sc in same st. Sc in next 14 sts. Ch 8. Sc in next st. Sc in each remaining st.
Tie off.
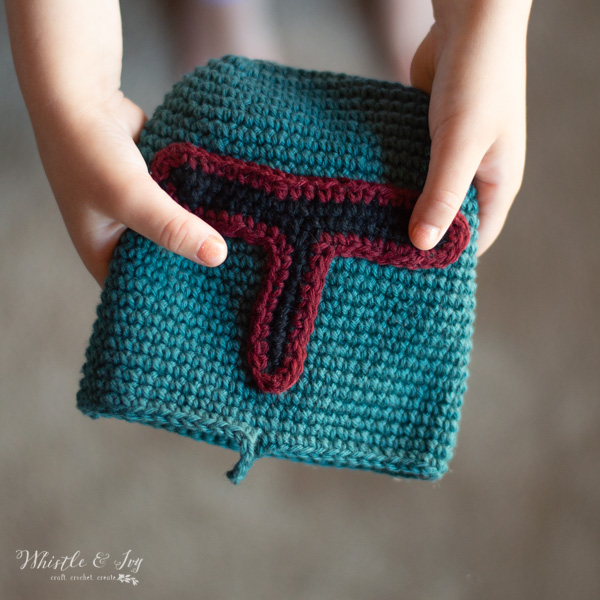
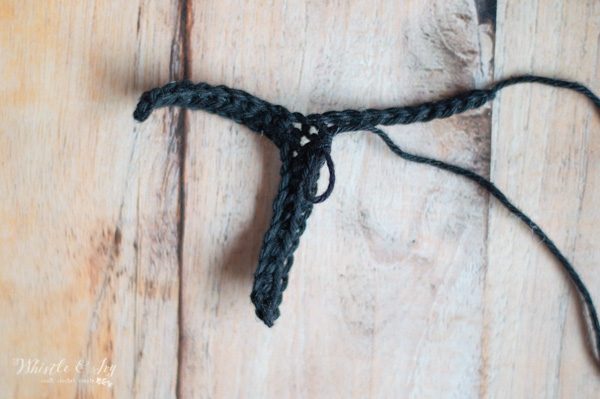
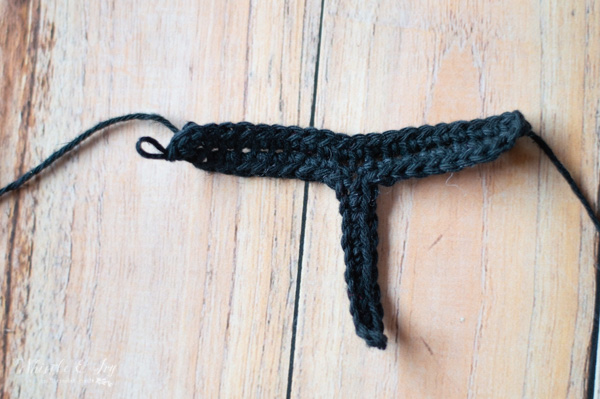
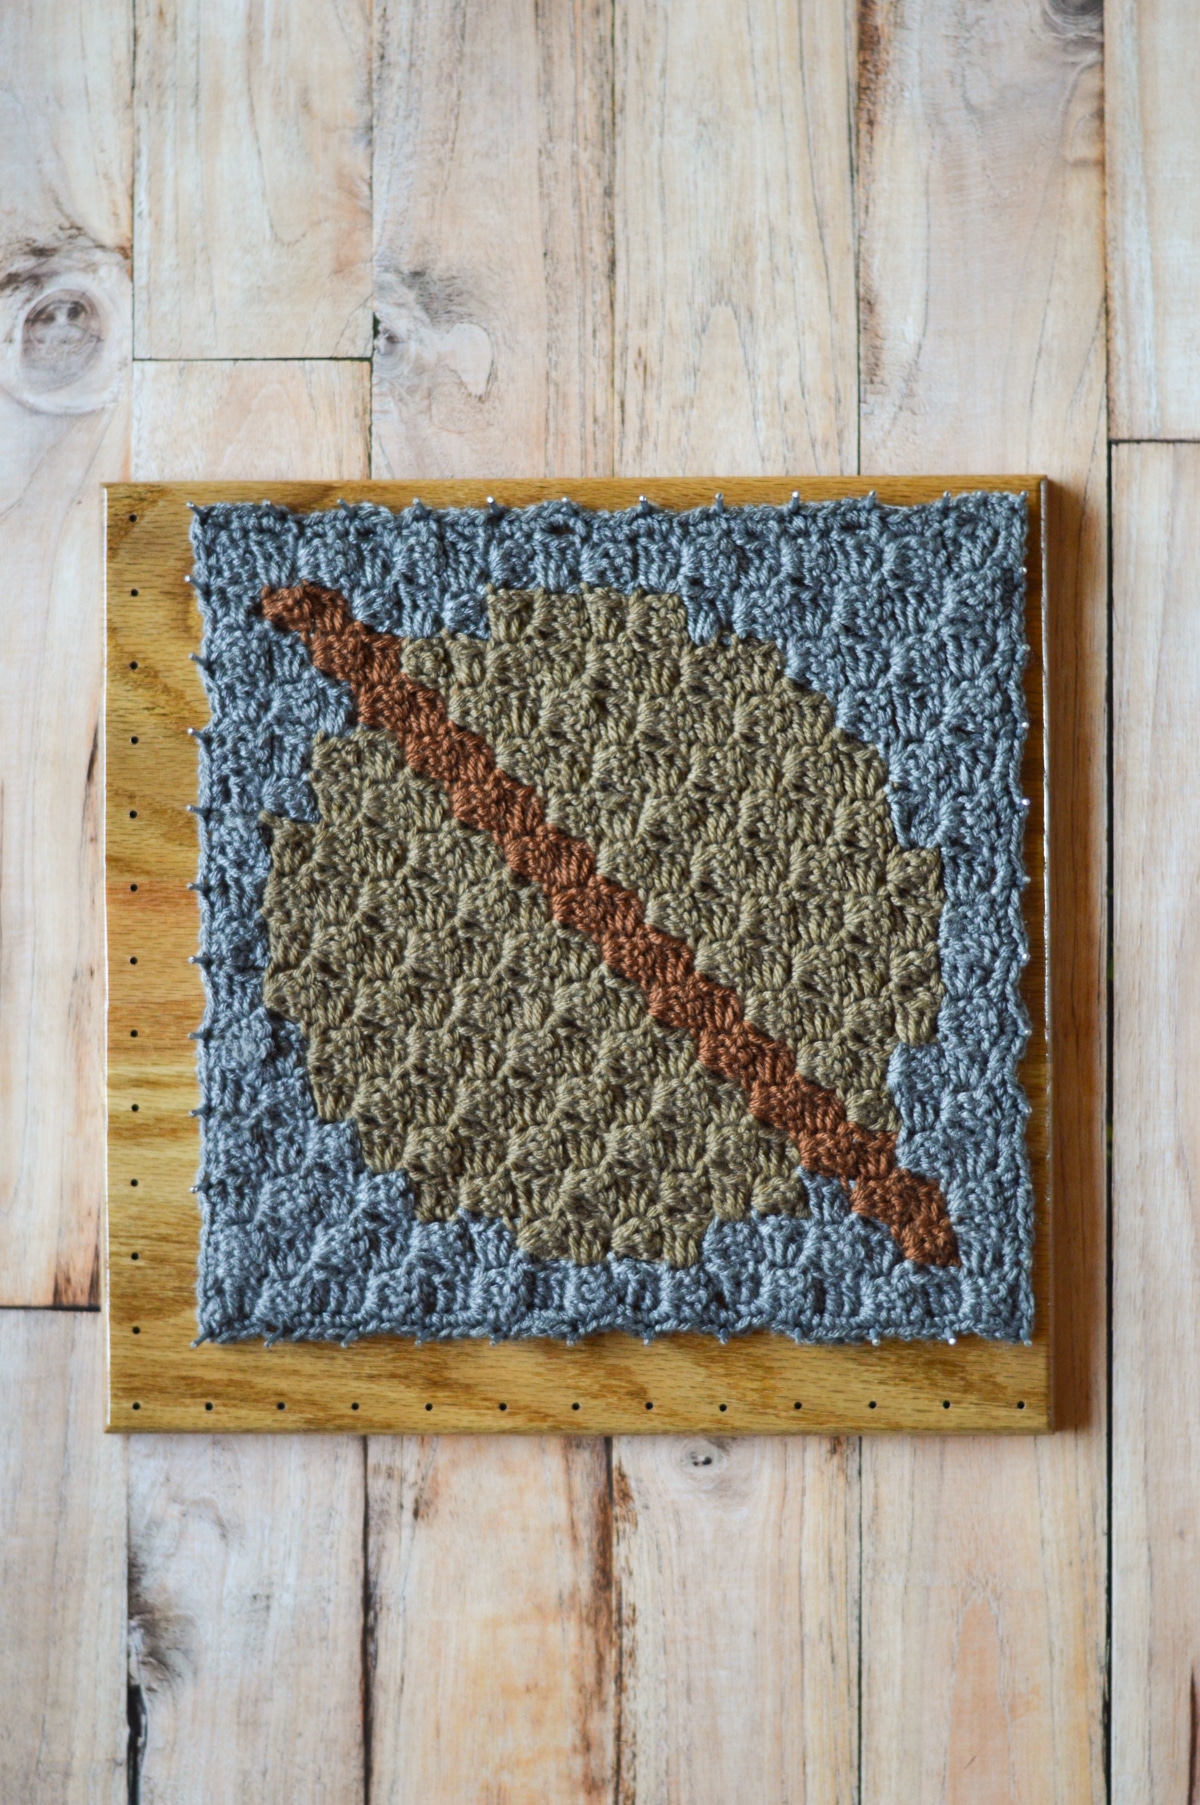
Face Piece: You are working a T shape. The cross top of is the foundation and “stem” of the T is the secondary foundation.
1. Foundation: Ch 21. Sc in 2nd ch from hook. Sc in next 9 chs.
Secondary Foundation: Ch 11. Sc in 2ch ch from hook. Sc in each ch down to foundation. Sc in next unworked ch on the foundation. Sc in each next 8 sts. 3 sc in last ch.
Working across the opposite side of foundation chain: Sc 18. 2 sc in last ch (for 3 total, including the 1st sc). Join with 1st sc using Pomegranate.
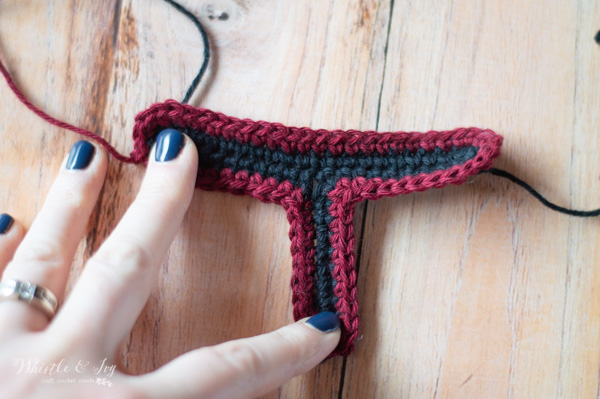
2. Ch 1. 2 sc in same st. Sc in next 8 sts. Sc2tog working across next st and the first st in the secondary foundation. Sc 8 up the secondary foundation. 3 sc in the next st, at the very tip. Sc in next 8 sts. Sc2tog across the next st and next st on the foundation. Sc in next 8 sts. 2 sc in next 3 sts. Sc in next 18 sts. 2 sc in last 2 sts. Join.
Leave an extra long tail for sewing.
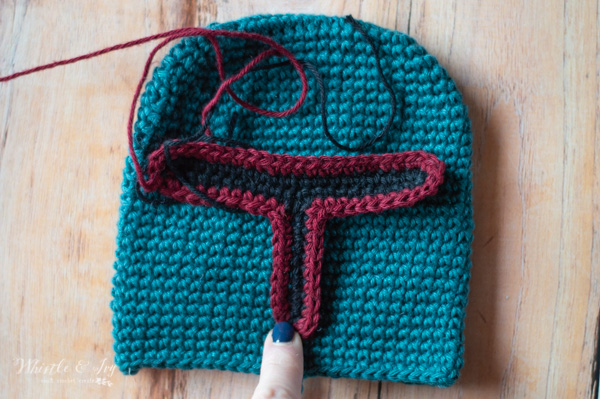
Construction:
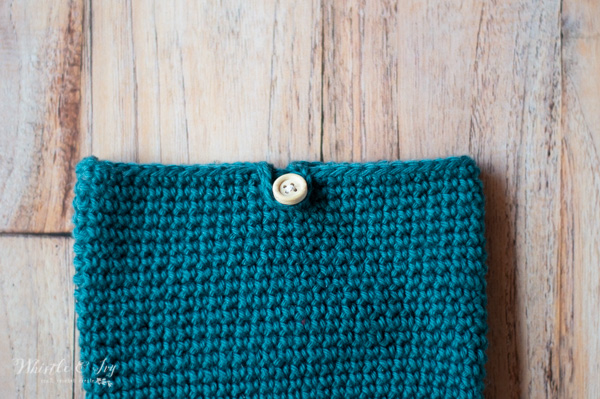
Pin the face piece in place, on the same side as button loop (the button will be on the opposite side of face piece. Using your long tail, sew the face piece in place. The top of the T will be on the same end as the closed bottom of the bag. Attach a small button on the opposite side.

Happy Star Wars Day! I hope have some time to make some awesome Star Wars crochet today (or this weekend, because Sunday is Revenge of the Sixth)!
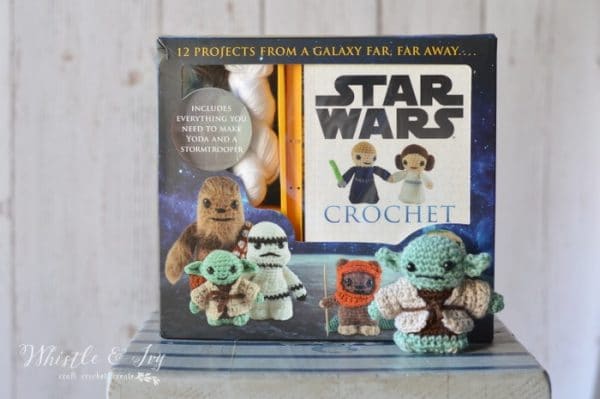
Have you tried the Star Wars Crochet kit? I highly recommend it!


That is so cute!!! Thanks for the pattern
Thanks Maria!