
This cute chunky crochet run rug is make up of simple stitches, and can be sized to fit your space! Use chunky yarn to make the project work up quickly.
This post contains affiliate links which means I get a small commission at no extra cost to you.
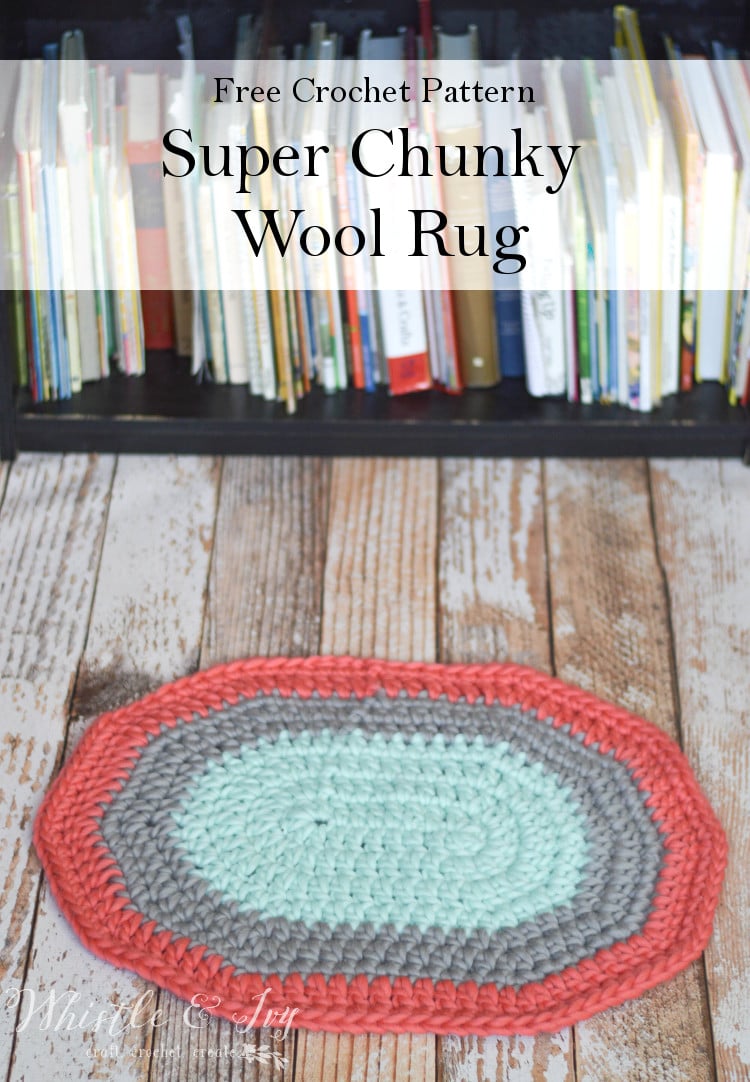
Happy Monday everyone, I hope you are ready to start a new week! I am having a hard time today. I spent last week on the mountain with some youth from my church. It was a wonderful experience to be a camp leader for those amazing girls! Even though I missed my sweet kids, it was hard to come down off that beautiful mountain and away from the lovely fresh air. I did enjoy the opportunity to wear my striped hipster beanie since it got a bit chilly at night, but since I am back to 100 degree weather, I am sharing a non-wearable today: a super chunky wool rug.
This pattern is very simple to make. However, pay attention to the type of stitches for each row. I wanted to maximize the yardage for each skein so no yarn is wasted making this rug.

You’re tired of sifting through complicated tutorials and patterns that leave you feeling overwhelmed.
Let me help.
PICTURE THIS:
Instant access to a library of modern, easy-to-follow patterns
Gifting your handcrafted treasures to your loved ones.
Feeling accomplished by your beautiful makes
It’s time to make your crafting experience as joyful as it should be.
CHUNKY CROCHET RUG – CROCHET PATTERN
Please remember: You are free to use this pattern to make and sell, but do not republish or distribute this pattern in any way. DO NOT use my photos in your listings. Please do share my blog links! It’s a quick and FREE way of supporting Whistle and Ivy and more free crochet patterns in the future.
What you need: (affiliate links)
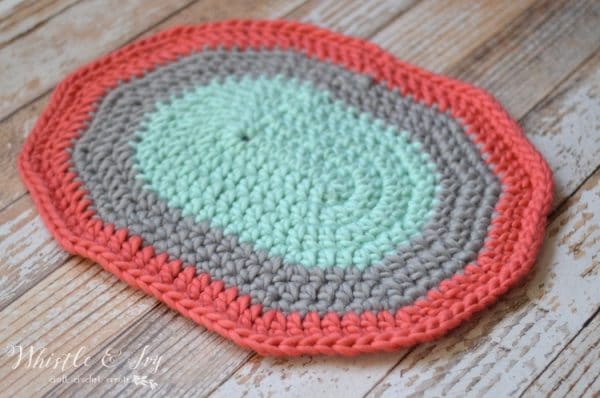
-3 Skeins of Super Chunky Yarn – Knit Picks Tuff Puff (about 132 yards)
(Conch, Mint, Silver)
–Size P Hook
Abbreviations: (American Terms)
St – Stitch
Sc – Single Crochet
Hdc – Half Double Crochet
Dc – Double Crochet
Sl St- Slip Stitch
* * – repeat the instructions in between the asterisks the indicated number of times.
Note: To make the color changes more seamless, finish the last stitch of the round with the color you intend to start. For instance, if your last stitch was a dc, you will work all the steps of a dc stitch, but finish the stitch by grabbing your second color and pulling it through for the last step, then join with a sl st using 2nd color, which you are now using. This is optional, but definitely makes the seam look nicer.
Gauge is not really important, but my finished rug was about 23″ x 17″
Start with 1st color and begin with a ch 10. Ch 2 (1) at the beginning of the round, and the slip stitch at the end do not count in the row count.

LOVE THE PATTERN, HATE THE ADS?
Get the downloadable PDF from the shops! It doesn’t include ads or comment and is perfect for taking on-the-go with your device or a printed copy!
1. Dc 5 in 3rd ch from hook. Dc 6. Dc 5 in last ch. Working on opposite side of ch: Dc 6. Join with first dc with a sl st. (22 sts)
2. Ch 2. Work 2 dc in same st. Work 2 dc in the next 4 sts. Dc 6. Work 2 dc in the next 5 sts. Dc 6. Join with a sl st. (32 sts)
3. Ch 2. Dc in same st. 2 dc in next st. *Dc, 2 dc in next st* work 4 times. Dc 6. *Dc, 2 dc in next st* work 5 times. Dc 6. Join with sl st. (42 sts)
4. Ch 2. Hdc in same st. Hdc in next st. 2 hdc in next st. *Hdc 2, 2 hdc in next st* work 4 times. Hdc 6.*Hdc 2, 2 hdc in next st* work 5 times. Hdc 6. Join with sl st. (52 sts)
Join 2nd color (see note for a nicer seam)
5. Ch 1. Hdc in same st. Hdc 2. 2 hdc in next st. *Hdc 3, 2 hdc in next st* work 4 times. Hdc 6. *Hdc 3, 2 hdc in next st* work 5 times. Hdc 6. Join with sl st. (62 sts)
6. Ch 1. Hdc in same st. Hdc 3. 2 hdc in next st. *Hdc 4, 2 hdc in next st* work 4 times. Hdc 6. *Hdc 4, 2 hdc in next st* work 5 times. Hdc 6. Join with sl st. (72 sts)
7. Ch 1. Sc in same st. Sc 4. 2 sc in next st. *Sc 5, 2 sc in next st* work 4 times. Sc 6. *Sc 5, 2 sc in next st* work 5 times. Sc 6. Join with sl st. (82 sts)
Join 3rd color
8. Ch 2. Dc in same st. Dc 5. 2 dc in next st. *Dc 6, 2 dc in next st* work 4 times. Dc 6. *Dc 6, 2 dc in next st* work 5 times. Dc 6. Join with sl st. (92 sts)
9. Ch 1. Sc in same st. Sc 6. 2 sc in next st. *Sc 7, 2 sc in next st* work 4 times. Sc 6. *Sc 7, 2 sc in next st* work 5 times. Sc 6. Join with sl st. (102 sts)
From here you can weave in your ends and tie off, or you can keep going and make your rug as large as you would like! Keep in mind, each row will take more yarn than the previous row, so calculate that in when buying your yarn colors.
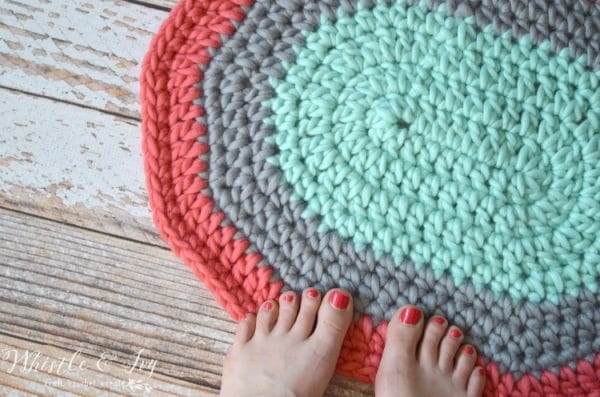
I hope you enjoy your new super chunky wool rug, it’s so squishy under your toes! I think I will be making one for Sis’s room when I can decide on a color scheme.
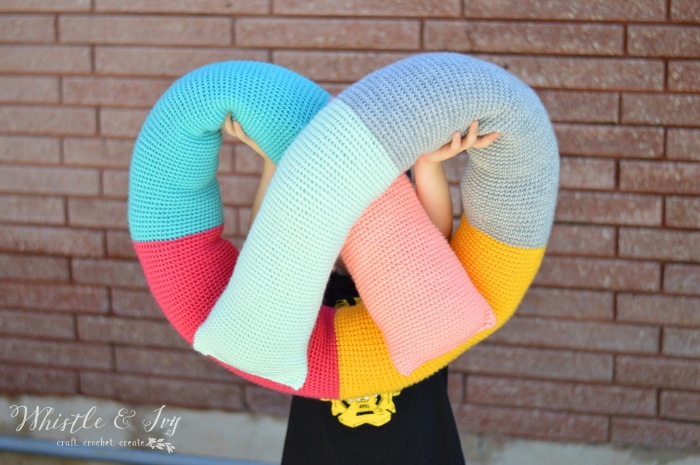
You may also like these FREE crochet patterns:
Happy crocheting,


I am new to crocheting so I am not sure about the starting instructions . How many chain stitches do you start with for this rug?
Thank you
Hi Julie! You start with a ch 10
Working on this rug now, it’s wavy when I lay it down… especially past row 9. How can I fix this? I’m new to crochet. :( thanks!
Hi Coral! Are you increasing the same number each round?
Yes! I’ve been increasing it by 1 each go around. Following the original sequence. It looks beautiful but when put on the flow is always waves on the outskirts. I’m just not sure what I’m doing wrong. I have my MIL helping me— who has crocheted for some time now. She’s also not sure why it’s happening.
Hm, would you be willing to send a photo?
Yes, where do I sent it?
Bethany (at) whistleandivy (dot) com
Do you have a pattern for something like this but in a oval shape?😊
I don’t, I’m so sorry!
Question – Row/Round 9 has both SC and DC in the same row. Like one of the other commenters, I want to make this bigger and keep going. Is it really SC and DC in the same row and if I continue on – can I stick with just SC. DC, or HDC or does that change need to keep going?
Thank you for your time and this is a FANTASTIC pattern – I am so excited.
Very sorry about that! ( I am way behind on getting to these comments, I am so sorry!) Row 9 had a typo, all stitches should be sc, thank you for bringing this to my attention! You will use the same stitch for the entirety of any given row :)
I love the look of this rug but would like to make it in a rectangle. I’m not a beginner but not advanced either so I cannot go off pattern. Thanks in advance…
That would be a completely different pattern, so I couldn’t explain on-the fly, however I will put that down as a pattern suggestion for the future!
Hi,
Thanks for the pattern. I made a rectangle one with giant knitting needles my Dad had made out of a broom handle. He’s made me a crochet hook too now so will try it. If I do half of each round will I make a half rug for the hearth?
Yes, if you turn when you work half instead of working all the way around you will have a flat top. Good luck, that sounds like fun!
I love your ideas and patterns!
Thank you so much!
I have so much yarn stash that I’m always looking for odd projects. Would this work using two strands of Rec Heart Super Saver? Thanks so much.
Yes you could! The sizing might be a bit different, but you could continue and make your rug larger if you want to to make up of for it.
I like this pattern!! I have bags and bags full of old sheets and other material too thin to reuse as clothing.. I keep trying crochet rugs out of them. My kids told me my oval had issues. lol I’m going to try this. Thank you!
Lol! Well I hope this helps you! Old sheets would be a wonderful idea!
Hi Bethany, thanks for sharing such a great pattern! I want to keep going past Row 9 for a larger rug but I wasn’t sure which stitch pattern (ie sc, hdc, dc) or repeat of rows I should do? Do you have any suggestions?
Thanks again!
Hello! I changed up the stitches in order to make the yardage go farther. For instance, I only had 3 yards of coral left, which wasn’t enough yarn to do a whole round of dc, so I did sc instead so I was able to use those last few feet of yarn. If you have a ton of yarn, I would do dc, as the rug will work up quicker that way.
This is beautiful! I have not done any crochet crafting since winter time. You are motivating me to get back to it. Thanks for sharing at #HomeMattersParty Hope to see you back!
Thank you!
Beautiful, what a great pattern! Thanks for sharing at Merry Monday!
Thank you!
I love this pattern! Thanks so much for sharing something using the Tuff Puff yarn. I’ve been eyeing forever and all I could think of making were chunky hats and sweaters, but it is way too warm for that! Is the yarn really soft and feathery, though?
It’s not amazingly soft, no. It is very soft on your feet as a rug, and I have made a hat that I really love, but I wouldn’t make a scarf out of it, much too itchy for the soft skin on the neck. And I probably wouldn’t make a chemo cap out of it. It’s 100% wool :)
Oops, I see it now in the post thanks.
Wow!! So cute! Love the shape. What size would you say this is? I want to make one for in front of my sink but I think it might need to be a bit larger.
I am stuck on ch2(1) where do I add the (1) and is it added every row. Sorry I learning to understand some of the directions. Thank you love this pattern Mary
This just means you would ch 2 OR ch 1 depending on the stitch you will be using for that row. Sc will use Ch 1, Dc will use ch 2, you can do either for hdc.