
This post uses affiliate links (click here for more info), which means I earn a small commission from your purchase. Thanks for supporting Whistle and Ivy!
How is everyone doing on your resolutions? I hope you’re still at it. My main goal this year is to be more organized and use my time more wisely. I am feeling like I am doing much better. The internet seems to be a black hole that sucks up all my free time, so I have been trying to steer clear of time wasters, and focus on being productive when I have some extra time. I have also been trying to do more brainstorming which can be an exercise in frustration, and definitely takes practice to be productive. The idea for these Starburst Granny Square Arm Warmers came to me over Christmas, but it took a bit of time to perfect them and get them blog-ready. I am so excited that I finished and I can finally share them with you!

You’re tired of sifting through complicated tutorials and patterns that leave you feeling overwhelmed.
Let me help.
PICTURE THIS:
Instant access to a library of modern, easy-to-follow patterns
Gifting your handcrafted treasures to your loved ones.
Feeling accomplished by your beautiful makes
It’s time to make your crafting experience as joyful as it should be.
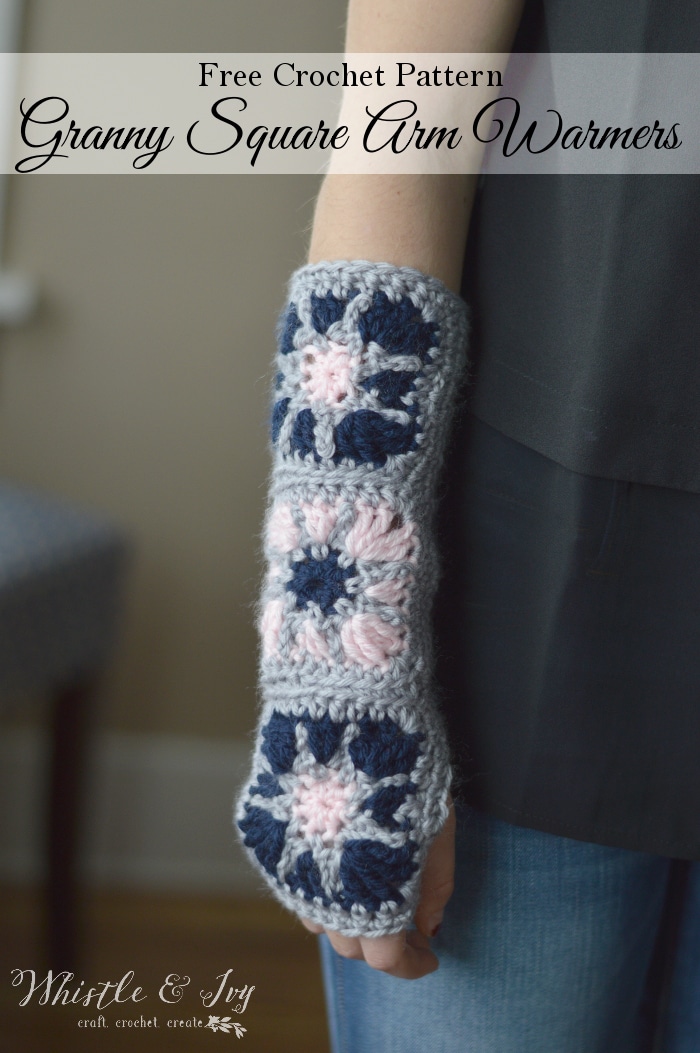
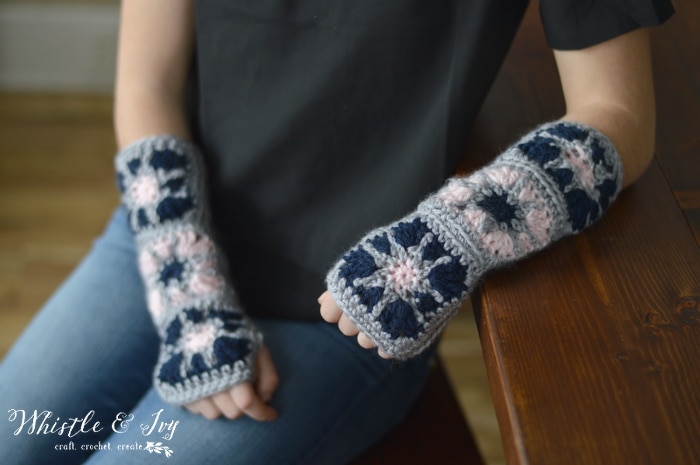
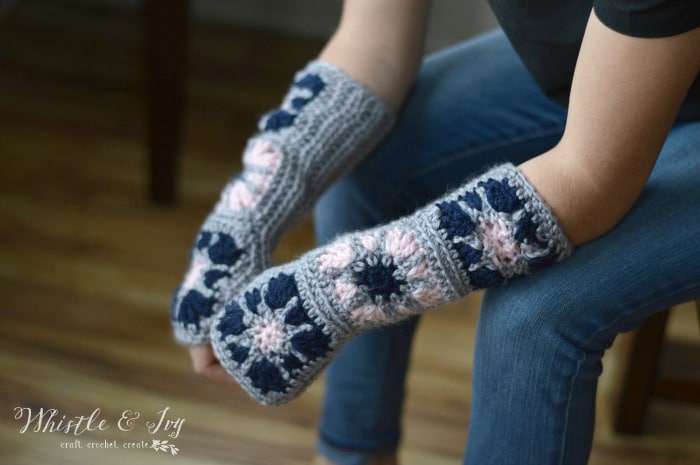
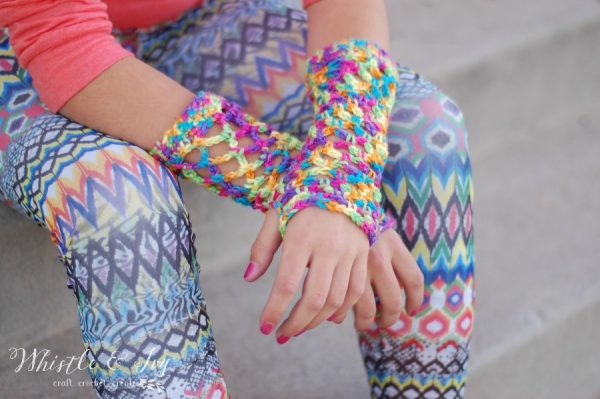
Starburst Granny Square Arm Warmers
Please remember: You are free to use this pattern to make and sell, but do not republish or distribute this pattern in any way. DO NOT use my photos in your listings. Please do share my blog links! It’s a quick and FREE way of supporting Whistle and Ivy and more free crochet patterns in the future.
What you need:
- H Hook
- Medium Weight Yarn in Three Colors (Knit Picks Mighty Stitch in Blush, Navy and Silver)
Abbreviations: (American Terms)
Ch – chain
Sc – single crochet
hdc – half double crochet
Dc – double crochet
Tc – Triple Crochet
Sl st – Slip Stitch
Sk – skip
St – stitch
Gauge: 7 sts = 2″

LOVE THIS PATTERN BUT HATE THE ADS?
Grab an ad-free PDF Download! Where would you like to shop today?
Granny Square (make 6)
Start with a magic ring. Ch does NOT count.
1. Ch 1. Hdc 8 in the ring. Join with sl st using second color. (This keeps the joins looking nicer)
2. Ch 1. Sc in same st. *Ch 4. Sl st into 2nd ch from hook. Sc in next ch. Hdc in last ch. Sc in next st on the circle. * work 8 times. Join with sl st using 3rd color.
3. Ch 2. Dc 2 in same st. Sc at the top of next spike. *Tc 2, ch 1, tc 2 – all in the middle bottom after spike. Sc at top of next spike. Dc 2 at the bottom of next spike* work three time. Tc 2, ch 1, tc 2 – all in the middle bottom of next spike. Sc at the tope of last spike. Join with sl st using 2nd color.
4. Ch 1. Hdc in same st. Hdc 4. Hdc 3 in ch-1 space in corner. *Hdc 8. Hdc 3 in corner ch 1 space.* work 3 times. Hdc 3. Join with sl st. Tie off.
Weave in your ends before starting the construction.
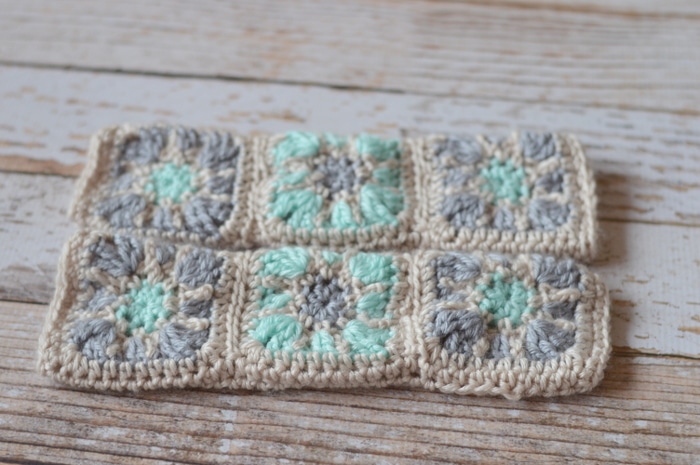
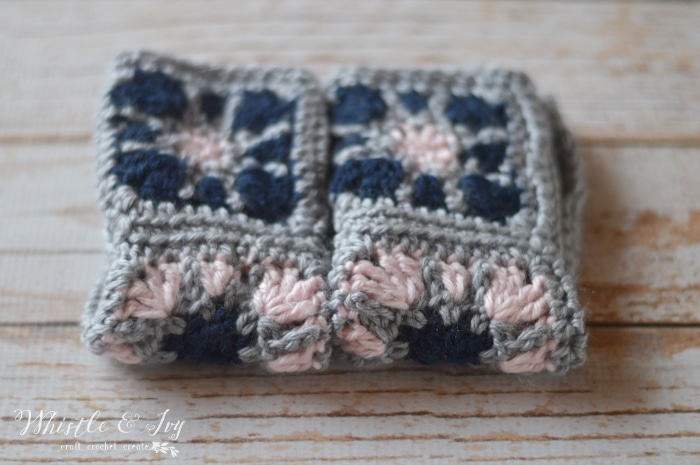
Sew the squares together by laying one on top the other, right sides touching. Start in middle hdc in corner and sc 12 through Back Loops Only (BLO) to the other corner. Repeat with other square, so the three are sewn together.
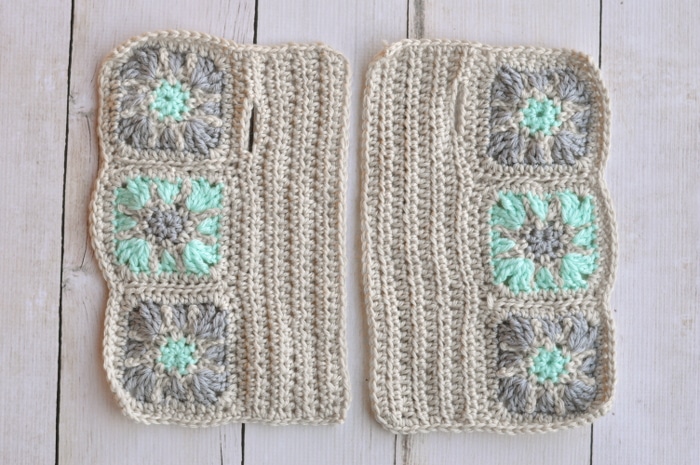
Lay piece flat and start at the top right with the right sides facing you. Join at the middle hdc in corner.
1. Ch 1. Hdc in same st. Hdc in each st across, until you reach the middle hdc in corner of the last square (don’t work in the space where you sewed them together). Turn.
2. For LEFT arm warmer:
Ch 1. Hdc in same st. Hdc 3. Ch 5. Sk 5 sts. Hdc in next st. Hdc in each remaining stitch.
For RIGHT arm warmer:
Ch 1. Hdc in same st. Hdc across, leaving 9 sts unworked. Ch 5, sk 5 sts. Hdc in next st. Hdc in last 3 sts. Turn.
3. – 9. Ch 1. Hdc in same st. Hdc in each st across. Turn.
Once you have worked nine rows, or 2 more sts in the last st (making 3 total). Turn your piece 90* clockwise. Work a row of sc across the top. Sc 3 in next corner. Continue around your piece, working sc down the side and across the bottom.
Fold the arm warmer in half lengthwise, and sl st up the side, closing it. Weave in your ends.
Note: to size up these arm warmers, work extra rounds around the granny squares before construction, this ensures the square will always be in the exact middle, instead of on the side.
These are so lovely, I gave a pair to my mom for Christmas and she loved them! I also made myself a pair, and I love wearing them while I crochet, or work on my computer.
I hope you love these Starburst Granny Square Arm Warmers! Please share if you do!
Come join the Whistle and Ivy Facebook Group, and share your creations!
And don’t forget to subscribe to my weekly newsletter so you don’t miss any free crochet patterns.
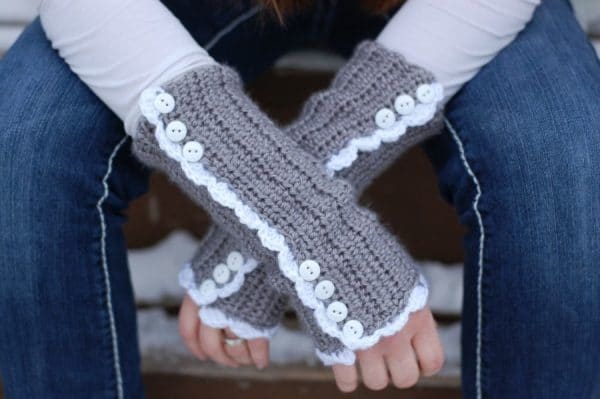
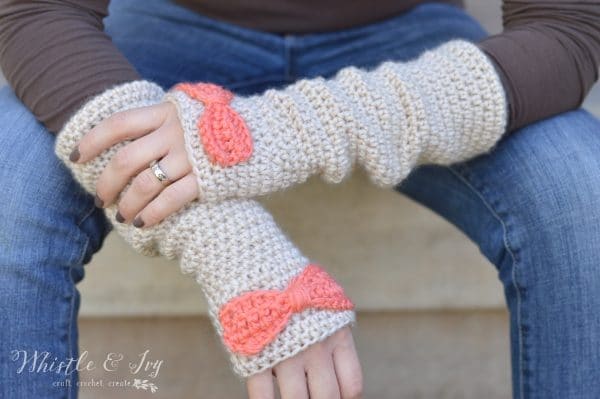
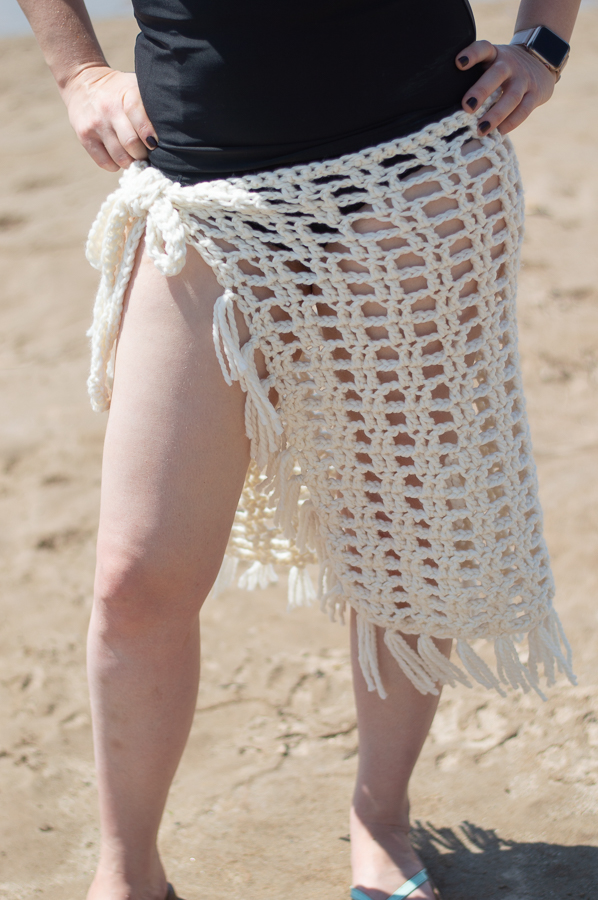
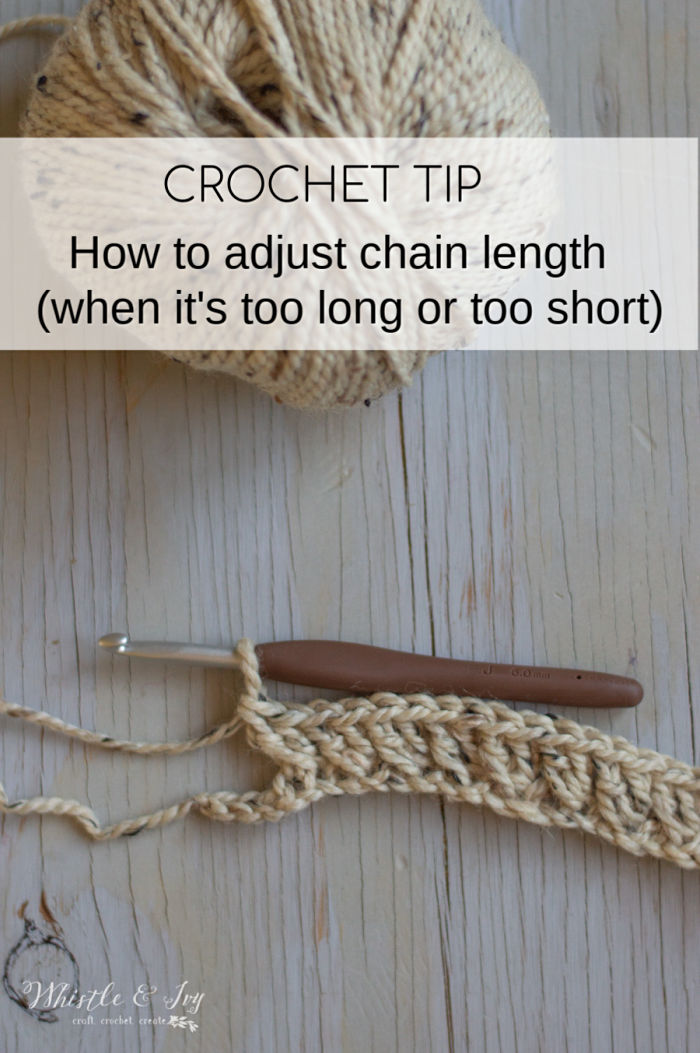
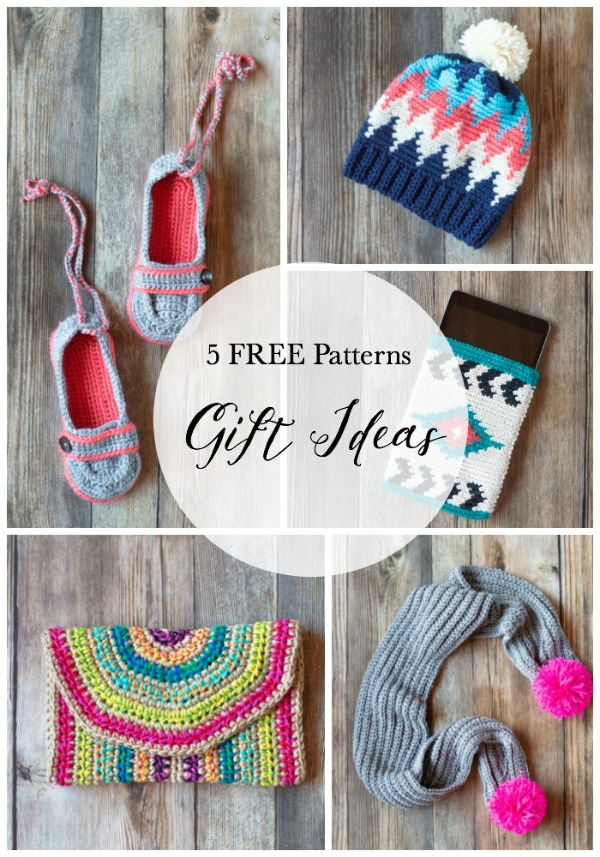
You might like these too!
Happy crocheting,


Bethany!
I love your patterns!!!!!
Thank you so much!!!!!
😘💐🎉
Thank you Andrea!! <3
Beautiful crochet job
Thank you!
Round 4: Are we essentially working 8 hdc over 12 chains? We’re turning an octagon into a square?
I love the look of these, but the tension is challenging.
Did you block the individual squares before joining? That might help.
Hm. I may be confused by your question. By round 4 it should look like a square, round 4 is a border.
In step 4 when doing the hdc are they all in same spot or in the spaces between?
You are working them each in their own stitch except of the corners. You will work 3 in the same corner stitch.
In the granny square section it says Hc is that supposed tone an HFCs or dc?
Sorry about that. It’s supposed to say hdc.
I love anything granny square so these are right up my street, pinning.
Perfect! Thanks for sharing!
Very cute! They would be perfect for morning farm chores.
Thank you! Yes they would!
Love the color combo you used for these!
Thank you!
I have not seen the term “magic ring” before. How is it made?
You are basically working inside of a slip knot, this way you can pull it tight, and eliminate the hole that happens when you work inside the chain. You are welcome to use the ch method, but I prefer to not have a hole there.
https://www.youtube.com/watch?v=sLUaywX0-WE
Bethany,
What a great idea for granny squares! I adore your designs. Thank you for sharing them all.
Susie
Thank you very much :) You are SO welcome!