
This post contains affiliate links. For more info, click here.
Today I am revamping an old pattern–my first pattern actually. I didn’t have any idea what I was doing then(I am still learning, actually), but I was so proud of my first design. It was after this pattern that I decided I loved designing, and that I wanted to take my blog in a different direction.
Crochet. More crochet.
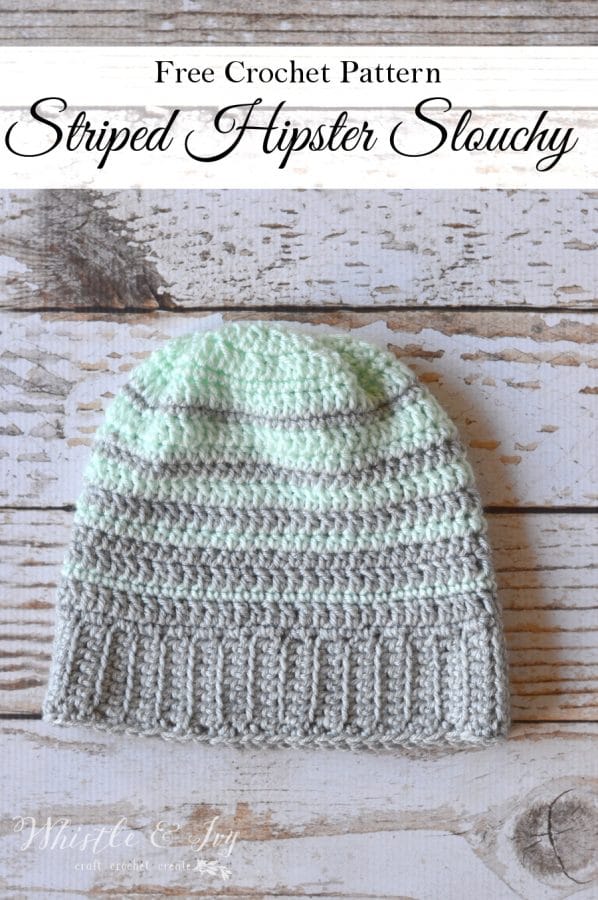
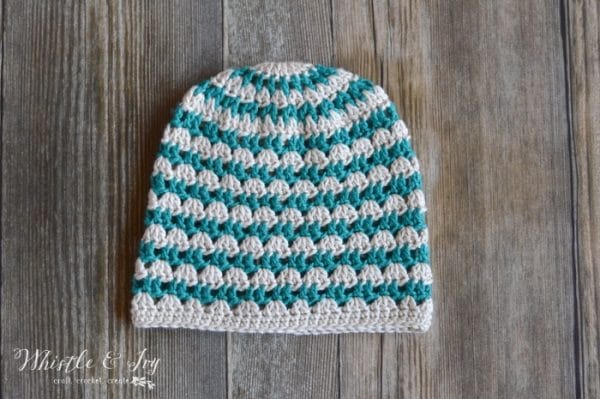
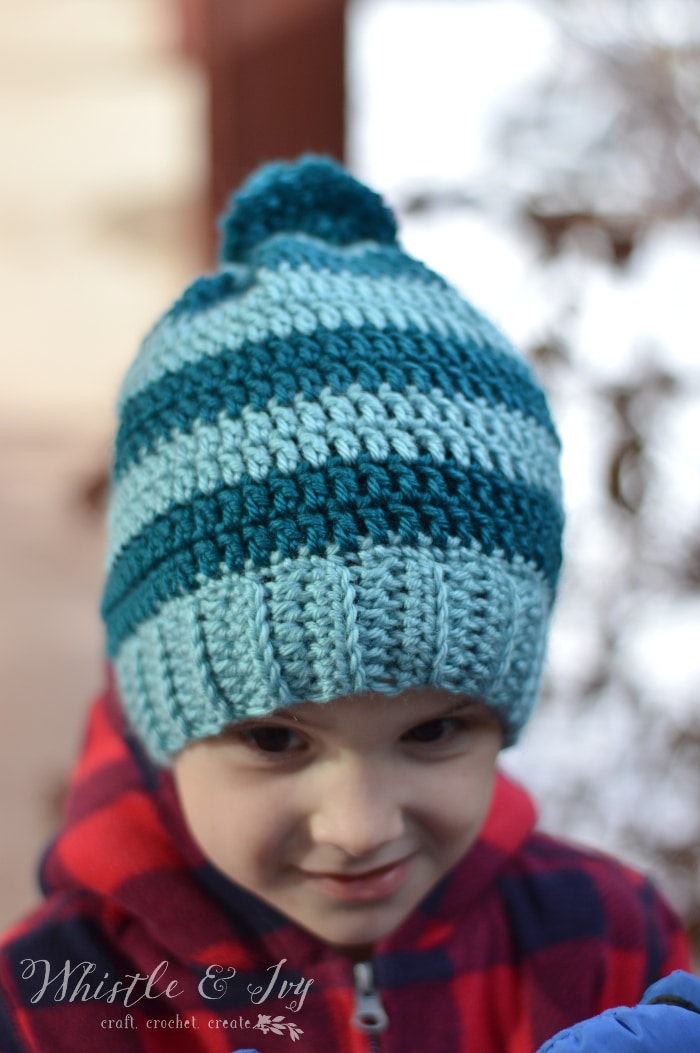
Since this pattern needed a bit of work and new photos, I decided to give it new life. I still love wearing my Striped Hipster Slouchy Beanie. It works up quickly, has a classic shape and is so comfy.

You’re tired of sifting through complicated tutorials and patterns that leave you feeling overwhelmed.
Let me help.
PICTURE THIS:
Instant access to a library of modern, easy-to-follow patterns
Gifting your handcrafted treasures to your loved ones.
Feeling accomplished by your beautiful makes
It’s time to make your crafting experience as joyful as it should be.
Crochet Striped Hipster Slouchy Beanie – Crochet Pattern
What you need:
Medium Weight Yarn (Knit Picks Brava – Mint, Dove Heather)
G Hook
Yarn Needle

LOVE THIS PATTERN BUT HATE THE ADS?
The ad-free PDF for this Crochet Striped Hipster Beanie is also available in my shops!
Where would you like to shop today?
Band:
Ch 8
1. Sc in 2nd ch from hook. Sc 6. Turn. (7 sts)
2. – 61. Work in front loops only. (you can adjust the number of round to fit your head.)
Ch 1.
Sc in same st. Sc 6. Turn. ( 7 sts)
Fold the long piece in half, and sl st the short ends together, forming a band. Tie off.
Hat: (stitch counts will vary depending how how many sc sts you work in row 1)
1. Ch 1
Sc across one side of your band. Try to make them as even as possible, working one at in each row. Join with a sl st.
2.
Ch 2. Dc in same st. Dc in each st around. Join with a sl st.
3. Join color 2.
Ch 1. Sc in same st. Sc in each st around. Join with sl st.
4. Join color 1.
Ch 2. Dc in same st. Dc in each st around. Join with a sl st.
5. Ch 1.
Hdc in same st. Hdc in each st. Join with a sl st.
6. Join color 2.
Ch 1. Hdc in same st. Hdc in each st around. Join with sl st.
7. Join color 1.
Ch 2. Dc in same st. Dc in each st around. Join with a sl st.
8. Join color 2.
Ch 1. Dc in same st. Dc in each st around. Join with sl st.
9. Join color 1.
Ch 1. Hdc in same st. Hdc in each st around. Join with sl st.
10. Join color 2.
Ch 1. Hdc in same st. Hdc in each st around. Join with sl st.
11. Ch 2.
Dc in same st. Dc in each st around. Join with sl st.
12. Join color 1.
Ch 1. Sc in same st. Sc in each st around. Join with sl st.
13. Join color 2.
Ch 2. Dc in same st. Dc in each st around. Join with sl st.
14. Ch 1.
Sc in same st. Sc in each st around. Join with sl st.
15. Ch 2.
Dc in same st. Dc2tog. *dc, dc2tog* repeat until the end. Join with sl st.
16 – 17. Ch 2.
Dc2tog all around. Join with sl st.
Turn your hat inside out. Close your hat by threading a piece of yarn in and out through the last stitches at the top. Pull tight, closing the top. Tie a study knot and trim ends.
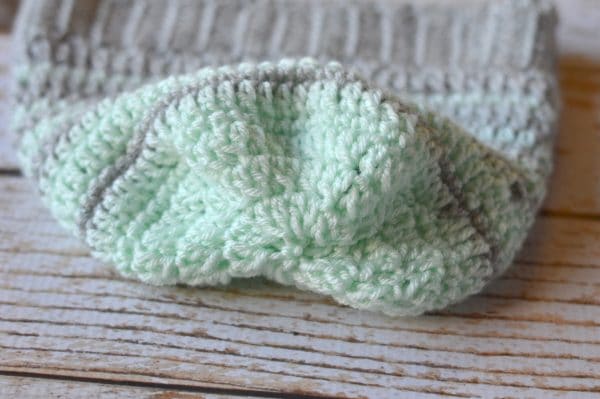
Finish your hat by sc along the bottom of the band, giving it a nice edge.
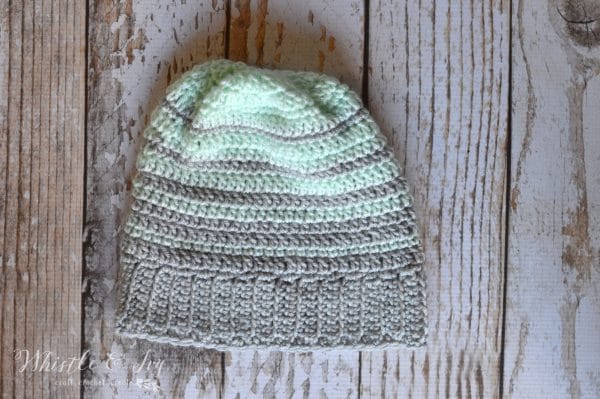
I love this hat. So comfy. I love that it’s cool enough to wear a warm hat in the evenings here.
Thanks for sticking with me! Designing has become one of my favorite things, and I am so grateful for the experiences it has brought me. I am especially grateful for YOU, for staying with me, and reading my blog.
Thank you!
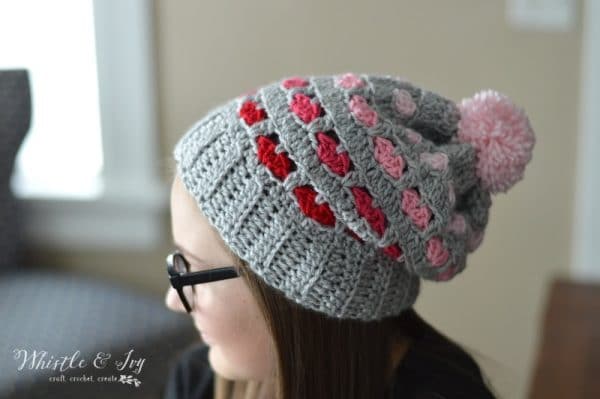
You may also like these FREE crochet pattern:
Happy crocheting,


Love all of your patterns and thank you for all of your hard work even though I know it’s a labor of love
Thank you so much, you are so welcome :)
I had a question about the band.
1. Sc in 2nd ch from hook. Sc 6. Turn. (7 sts)
2. – 61. Work in front loops only. (you can adjust the number of round to fit your head.)
Ch 1.
Sc in same st. Sc 6. Turn. ( 7 sts)
At end of 2. -61….”Sc in same st.”
(as in both loops or FLO?)
In FLO. I don’t count the chain as a stitch, so work your first st in the same st as the chain.
Hi, do you have cardigan patterns?
I don’t, I am sorry!
Hi! Love making your hats! Im on row 13…should it actually start with ch 2?
Thanks! Yes it should, thanks for letting me know!
Hi is this uk or abroad x
US Terms
Lovely pattern…Made mine! Thank you
Thank you! You are welcome!
LOVE LOVE LOVE! ❤️
The colors are my fav
Thanks for the pattern.
Karla
Thank you so much! So glad you like it, you are very welcome!
I understand this hat is for an adult. But would it fit an adult male? Or would you need to add stitches?
I am not sure! It’s stretchy, so I am sure it wouldn’t be a huge difference. You can just use a larger hook to make it a bit larger, if you feel you need to.
After slip stiitching around the band, how many slip stitches should you have?
I actually sc around the band. I had about 60 sts, the exact number isn’t super important, just in the ballpark is fine.
Hi Bethany. I love the striped hipster slouchy beanie. It’s what ive been looking for! I’m having trouble understanding the first few instructions for the band. You say ” ch 8″ Then 1. Ch 1. I’m confused. Does this mean ch 9 altogether.? Help please. I’d really like to make this lovely beanie. I’m kind of new crocheter as I’ve retired from teaching kindergarten and I want to reacquaint myself with crochet
Oops! There should not be a ch 1 there! Sorry for the mistake!
Hi, Bethany! I am really enjoying your newsletter. Thanks for making it and your patterns available to the public. I have “liked” your Facebook site and have just joined the Whistle & Ivy crochet group. One might say that I’m a big fan of Whistle & Ivy. :-) BTW… what made you choose that name for your site? It makes me smile.
P.S. I plan to use this pattern to make a hat for my granddaughter. She is a teacher by profession and is a volunteer at an animal shelter where she is outside a lot with the animals. I hope the hat will keep her ears warm! :-)
Have a wonderful 2016!
Thanks for liking and following! I do appreciate that you enjoy my patterns. Whistle and Ivy is from an old nursery rhyme about farming, and I grew up on a farm, so it seemed fitting :)
I looked up the nursery rhyme…. so CUTE! Some might like to hear it so I’m posting the link. https://www.youtube.com/watch?v=yXYLeNEA7vI
I’m like the little girl in the video! :-)
That one is cute! But it’s not the one :) The nursery rhyme where I got my blog title is called “My Father Left Me Three Acres of Land” and “whistle and ivy” is a short lyric from one of the paragraphs.
http://www.rhymes.org.uk/a62-my-father-left-me.htm
I looked it up. Such a cute story and very interesting information about words in the poem. A history lesson! I’m glad I asked my original question . :-)
If I wanted to make this a beanie, what rows would I elimanate?
You would want to eliminate rows in the middle, and keep the top rows that decrease.
Thank you!
This is sized for an adult, correct?
Yes
I don’t see in the pattern where you sew the band together.
oops sorry! Right after you finish it, sl st it into a band at the small ends.
Thanks! That’s what I did. I just figured you’d want to update the pattern. I’ll tag you when I finish! :)
Thank you for letting me know! I added it to the pattern.
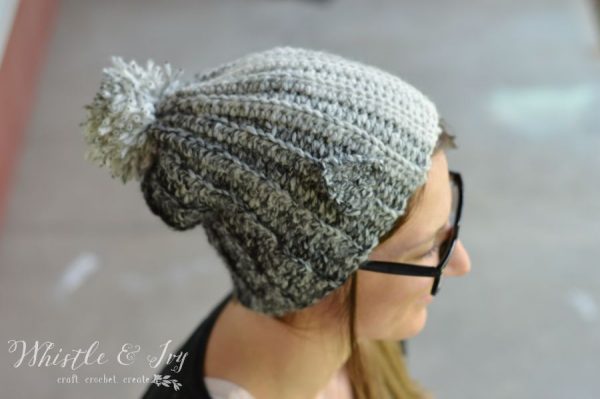
Love the diagonal hatch slouchy and aim to make one this week. Thanks for your pattern and happy designing!
Thank you! You are very welcome, I hope you love your hat!
Beautiful work, impressive designs!
Thanks so much Donna!