
This simple wreath is made with the plaid technique, a fun and versatile stitch technique. This wreath is perfect for your holiday or Christmas front door, and brings touch of rustic to your home. Make it using this free crochet pattern.
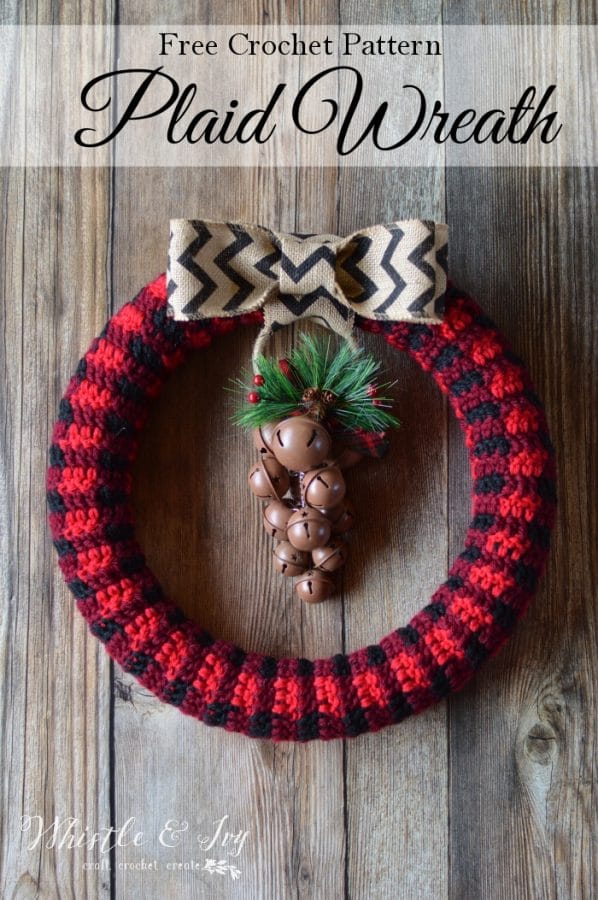
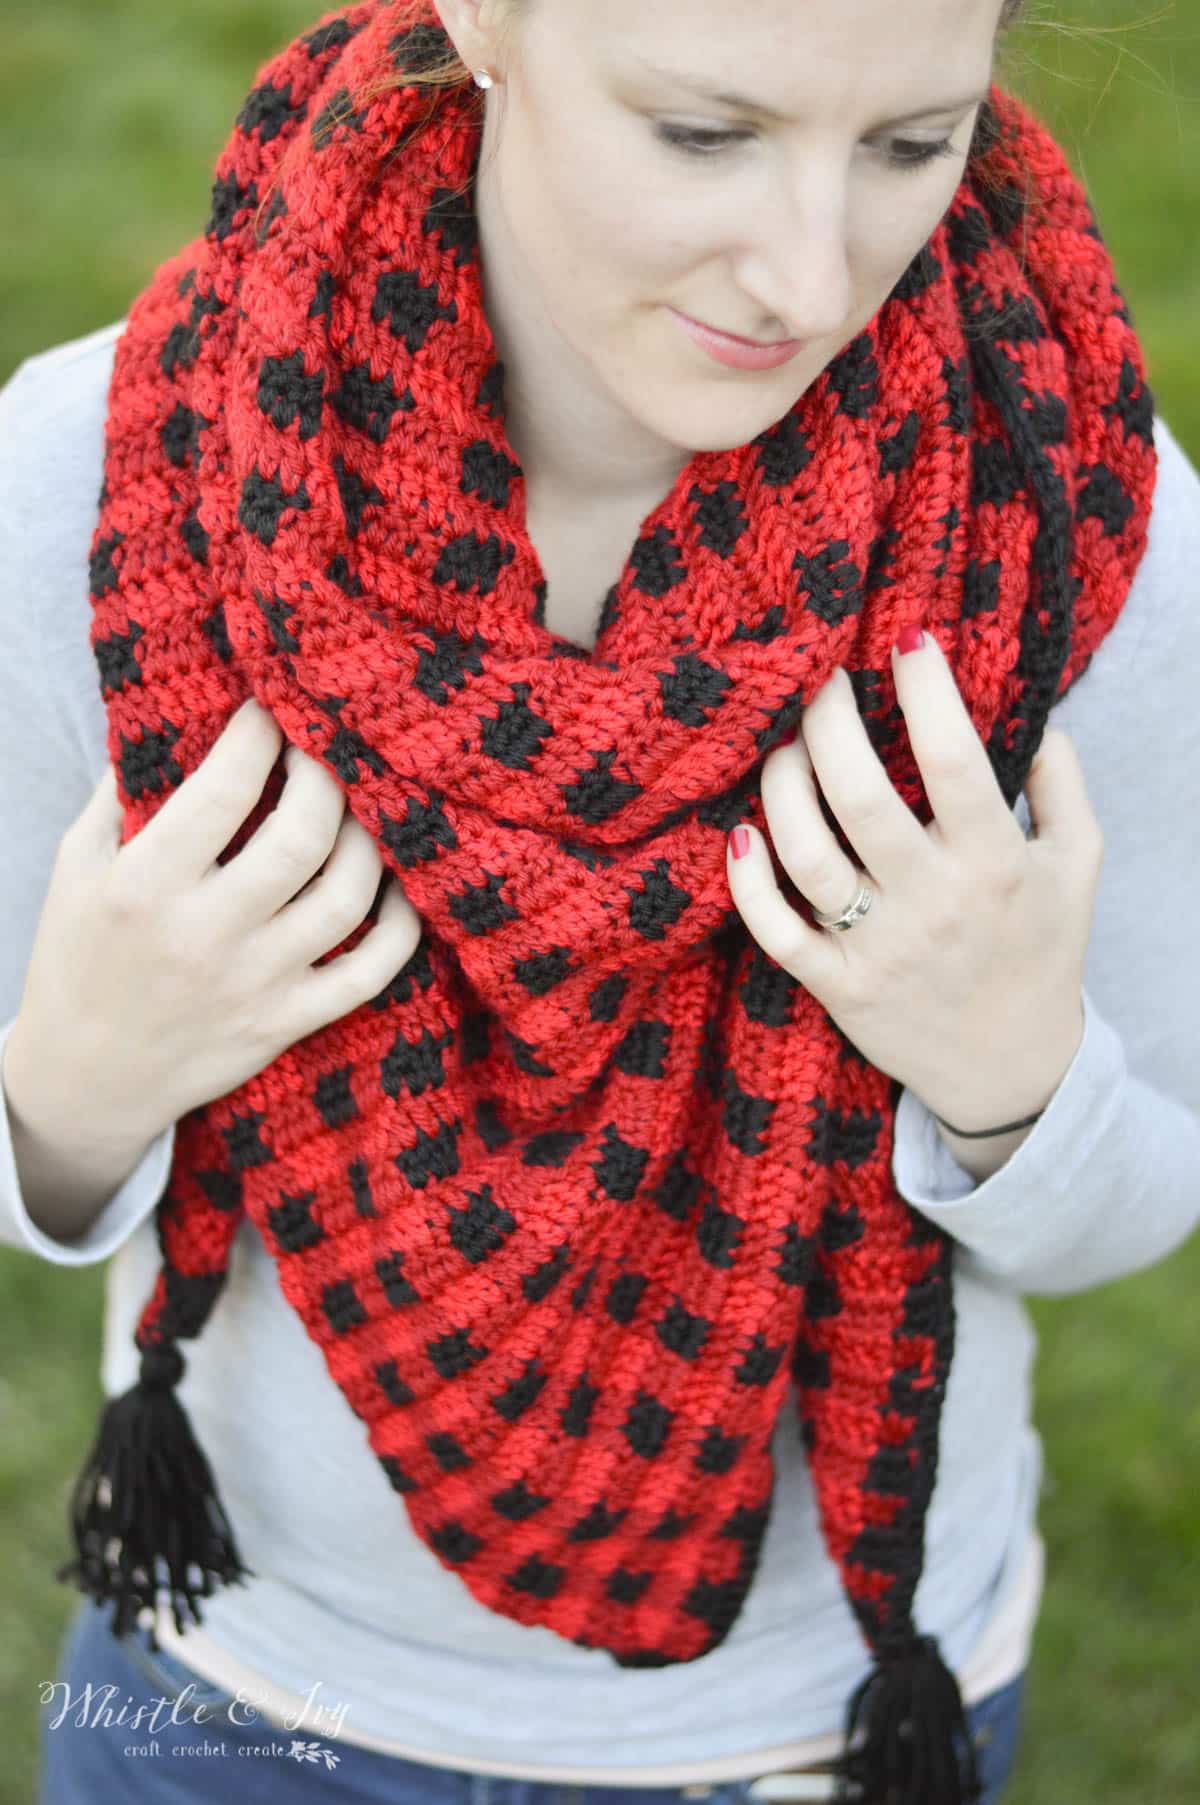
Welcome to Day 6 of PLAID WEEK! This crochet plaid wreath is another project I knew from the beginning that I wanted to try. I love red plaid during the holiday season, so I naturally though of making a gorgeous buffalo plaid wreath. I haven’t tried many crochet wreaths, but I am very happy with how this one turned out.
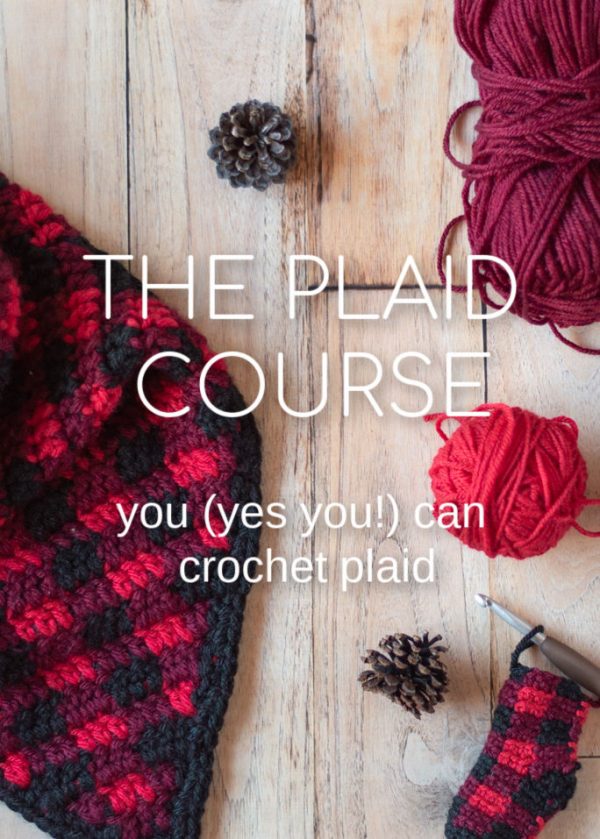
Feeling intimidated by crochet plaid? You can do it! I made a course just for you! Learn plaid from start to finish, PLUS both my Plaid Collection ebooks are included in the course! Enroll here.

You’re tired of sifting through complicated tutorials and patterns that leave you feeling overwhelmed.
Let me help.
PICTURE THIS:
Instant access to a library of modern, easy-to-follow patterns
Gifting your handcrafted treasures to your loved ones.
Feeling accomplished by your beautiful makes
It’s time to make your crafting experience as joyful as it should be.
CROCHET PLAID WREATH – FREE CROCHET PATTERN
Please remember: You are free to use this pattern to make and sell, but do not republish or distribute this pattern in any way. DO NOT use my photos in your listings. Please do share my blog links! It’s a quick and FREE way of supporting Whistle and Ivy and more free crochet patterns in the future.
What you need: (affiliates)
J Hook
Knit Picks Brava Bulky in Red, Wine and Black (1 ball each)
Darning Needle
16:Foam Wreath
Embellishments
Abbrevations: American Terms
Ch – Chain
Sc – Single Crochet
Dc – Double Crochet
Gauge: 11 dc = 4″
Ch 19, using black.
1. Sc in 2nd ch from hook. Sc 17. Turn. (18 sts)
2. Ch 2. (Carry wine through black dc stitches). Dc in next 3 sts. Switch to Wine. Dc in next 3 sts. Continue alternating between Wine and Black every three stitches for the remainder of the row. Turn. (18 sts)
3. (make sure to carry Black through this entire row) With Red, ch 2. Dc in next 3 sts. Switch to Wine. Dc in next 3 sts. Continue alternating between Red and Wine every three stitches for the remainder of the row. Turn. (18 sts)
4. With black, Ch 2. (make sure to carry Red through this entire row). Dc in next 3 sts. Switch to Wine. Dc in next 3 sts. Continue alternating between Red and Wine every three stitches for the remainder of the row. Turn. (18 sts)
5. – 68. Repeat rows 3 and 4 respectively until you reach 68 total rows.
Tie off.
Your piece should measure approx. 53″ x 7″
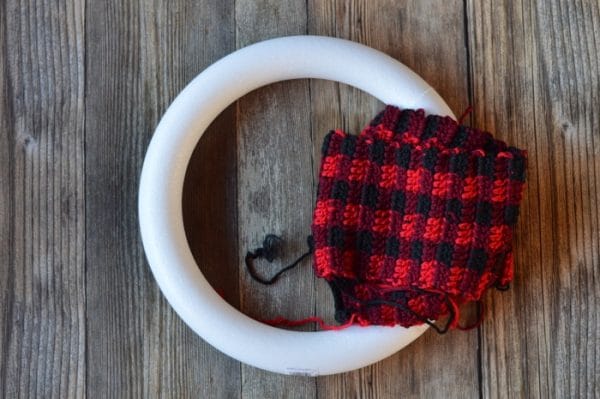
The edges will look a bit rough, but don’t worry, they will be hidden.
Begin sewing the fabric around the foam wreath. I ornigally thought I would crochet it together, but deciding doing an overcast stitch with a needle was much quicker. It looks rather shabby, but it will be on the back of the wreath, so I am not worried about it! Make sure to twist the same to the back of the wreath.
Once the fabric is around your wreath, you can finish it with embellishments. I wanted the plaid to be the showcase of this wreath, so I opted for some simple bells and a burlap bow. I found this cute bell bundle (it’s really for a doorknob) at Joann, and it was so cute as-is. I am not very good at putting together bouquets or floral wreaths, so I was happy to find something cute and already put together!
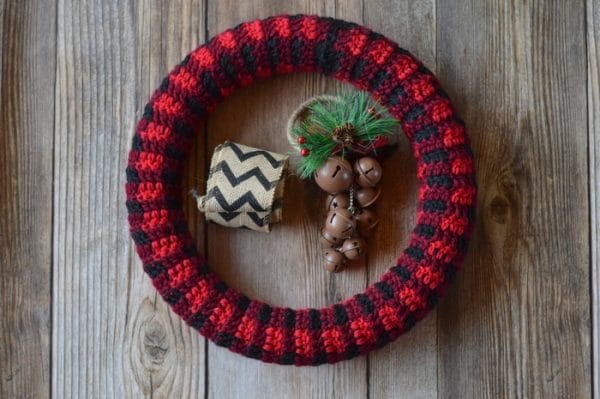
I wrapped a short piece of burlap around the wreath and bells and glued it in the back. Be sure to put it over the seam.
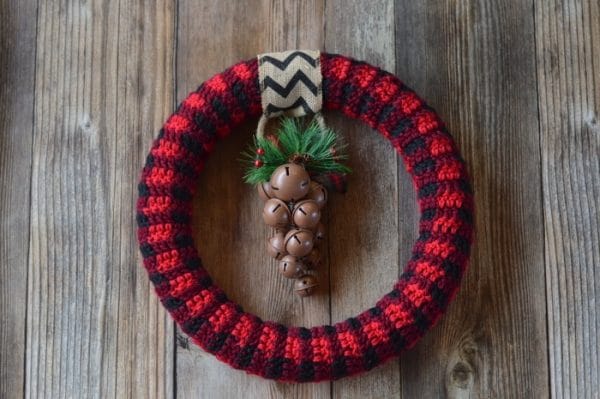
I made the burlap bow with this tutorial. Mine doesn’t look as good as hers!

Meet you back here tomorrow! And come share your creations in the Facebook group!
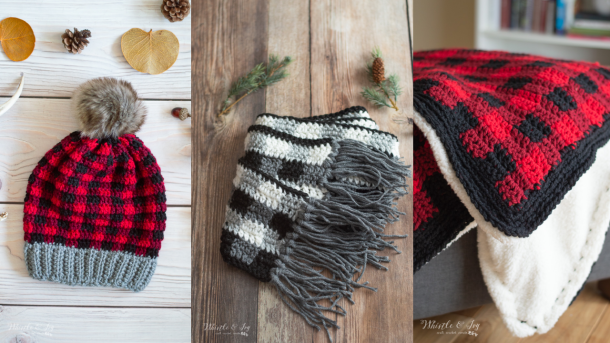
More plaid awesomeness:
xoxo,


Hi Beth, I need help.
1. Says Sc 17.
2. Says Ch 2. Work wine end in the first dc.
I only have a row of 17 Sc, no dc.
I’ve never done plaid before and I did watch your tutorial. Was the first row supposed to be dc instead of sc?
What am I doing wrong?
Thanks for your help.
Ah, this is such an old pattern and I wrote it during a Plaid frenzy, assuming all have been following along to know how to do plaid, it has NOT aged well, I am sorry! I have rewritten it so it’s clearer. I should have said to carry the wine through the first 3 dc of black so you have it when you need it. Does that make more sense?
Confused with plaid pattern. I love it……help.
Can you be more specific? Are you struggling with the color changes?
Love the buffalo plaid on all of your projects and this one is amazing.
Plaid and burlap look fantastic together.
Thank you so much, Maria!!
I really like this wreath!
Thanks Vickie!
Love this wreath! Your bow looks great!
Thank you!! <3 <3