
This comfy crochet plaid floor pouf goes with your holiday or everyday rustic decor. Made with two strands of yarn, it works up quickly. You can even use things from around your home as stuffing. The riveted leather handles are the perfect finishing touch. The post is brought to you by Red Heart Yarn, thank you Red Heart!
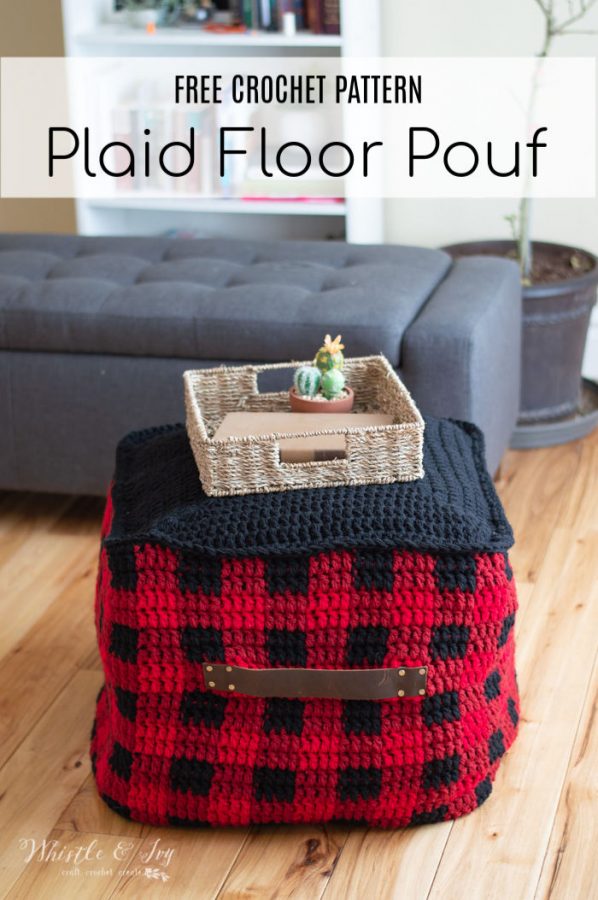
I have always wanted to make a floor pouf, but it’s one of those big projects that is a bit intimidating to me. However, this Plaid Week has some firsts (First non-granny square blanket!), so I got out of my comfort zone and tackled this project for our plaid series this year. I wanted something SOFT, but I also wanted something that could hold up to being dragged around and played with.
Red Heart for the win.
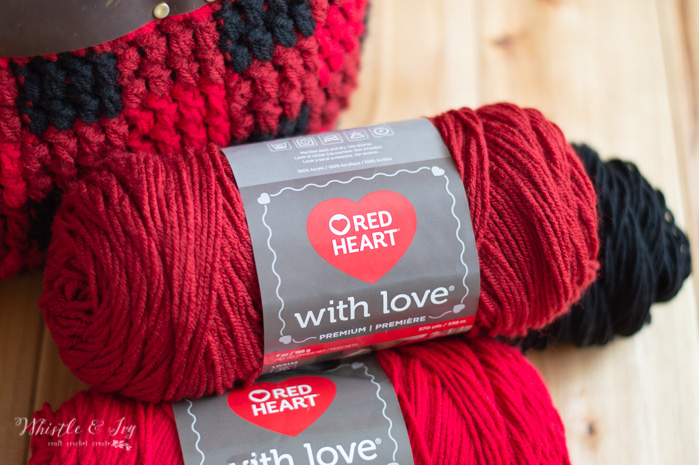
I used Red Heart With Love for this project and here’s why: it comes in big skeins with lots of yardage, it has the perfect colors for plaid and the finished fabric texture is soft and durable, perfect for this crochet plaid floor pouf! (Be sure to read through the materials list and get enough yarn to finish your pouf.)
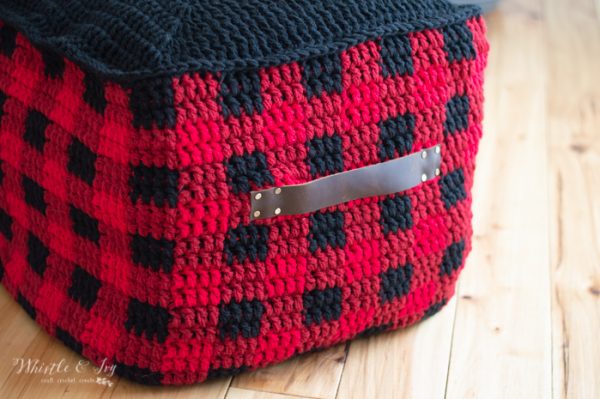
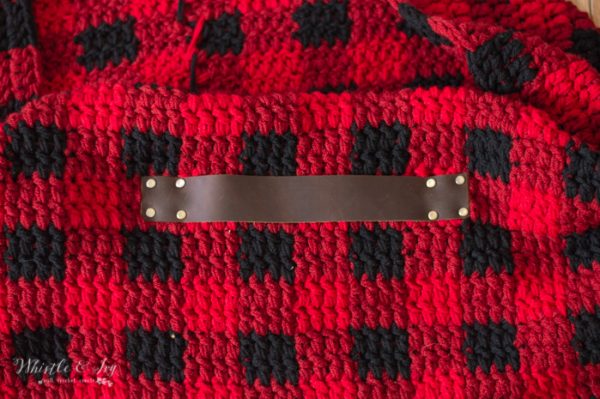
I also added leather handles and I really think it adds the perfect finishing touch. You may be happy to hear that they are much easier to add than I thought (and maybe than you think, too).
CROCHET PLAID FLOOR POUF – FREE CROCHET PATTERN
Please remember: You are free to use this crochet plaid floor pouf pattern to make and sell, but do not republish or distribute this pattern in any way. DO NOT use my photos in your listings. Please do share my blog links! It’s a quick and FREE way of supporting Whistle and Ivy and more free crochet patterns in the future.
PLEASE read my Disclaimer before working my free patterns!
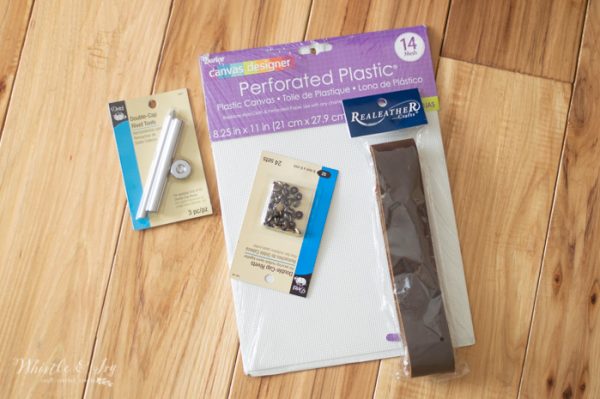
What you need: (affiliate links)
– 10mm Hook
– Red Heart with Love (2 Skeins of Holly Berry, 2 skeins of Berry Red and 4 skeins of Black)
– Darning Needle
– Leather Strips
– 12 Rivets
– Rivet tool
– Thin plastic sheet
– Leather Punch
Abbreviations: US Terms
Ch – chain
Sc – single crochet
Dc – Double Crochet
Sl st – Slip Stitch
St – stitch
BLO – Back Loops Only
Gauge: Not important, just make sure your stitches are not too loose to stuff your pouf later
[convertkit form=1044470]
Note: This crochet plaid floor pouf pattern is worked with two strands simultaneously. Ch 2 does NOT count as first st. Work first stitch of each round in the same stitch as the chain. The corners are made extra sharp with the increases, so be sure to read the pattern carefully, some rounds work 3 in the corner and some work 5. The plaid stitch for this plaid floor pouf is a 4 x 2, meaning you will change color every 4 sts, and you will repeat the two twice, so the plaid is 4 sts wide and 2 rows tall.
The pouf before stuffing is approx. 20″ wide x 20″ deep x 17″ tall
Base: (approx. 20″ x 20″ )
Start with black:
Ch 3.
1. Dc 12 in first chain. Join with a sl st. (12 sts)
2. Ch 2. *Dc in next 2 sts. Work 3 dc in next st.* work 4 times. Join. (20 sts)
3. Ch 2 Dc in next 3 sts. Work 5 dc in next st. *Dc in next st 4 sts. Work 5 dc in next st* work 4 times. Dc in last st. Join. (36 sts)
4. Ch 2. Dc in next 5 sts. Work 5 dc in next st. *Dc in next 8 sts. Work 5 dc in next st* work 4 times. Dc in last 3 sts. Join. (52 sts)
5. Ch 2. Dc in next 7 sts. Work 3 dc in next st. *Dc in next 12 sts. Work 3 dc in next st* work 3 times. Dc in next 5 sts. Join. (60 sts)
6. Ch 2. Dc in next 8 sts. Work 5 dc in next st. *Dc in next 14 sts. Work 5 dc in next st* work 3 times. Dc in next 6 sts. Join. (76 sts)
7. Ch 2. Dc in next 10 sts. Work 5 dc in next st. *Dc in next 18 sts. Work 5 dc in next st* work 3 times. Dc in next 8 sts. Join. (92 sts)
8. Ch 2. Dc in next 12 sts. Work 5 dc in next st. *Dc in next 22 sts. Work 5 dc in next st* work 3 times. Dc in next 10 sts. Join. (108 sts)
9. Ch 2. Dc in next 14 sts. Work 5 dc in next st. *Dc in next 26 sts. Work 5 dc in next st* work 3 times. Dc in next 12 sts. Join. (124 sts)
10. Ch 2. Dc in next 16 sts. Work 3 dc in next st. *Dc in next 30 sts. Work 3 dc in next st* work 3 times. Dc in next 14 sts. Join. (132 sts)
11. Ch 2. Dc in next 17 sts. Work 5 dc in next st. *Dc in next 32 sts. Work 5 dc in next st* work 3 times. Dc in next 15 sts. Join. (148 sts)
12. Ch 2. Hdc in next 19 sts. Work 2 hdc in next st. *Hdc in next 36 sts. Work 2 hdc in next st* work 2 times. Hdc in next 54 sts. Join. (151 sts)
13. Ch 1. (work this round through the third loop. This loop is located on the back of the stitch, just below the back loop.) Sc in each st around. Join. (151 sts)
(Beginning of the plaid body of the floor pouf)
15. – 16.
Continuing with black, ch 2. Starting in the same st as the ch, Dc in next 3 sts. With wine, Dc in next 4 sts. Alternate between Black and Wine for entire row. Finish last st with the color that begins the next round. (151 sts) (This is a 4 x 2 plaid technique)
17. – 18.
Use Wine. Ch 2. Starting in the same st as the ch, Dc in next 3 sts. With Red, dc in next 4 sts. Alternate between Wine and Red for entire row. Finish last st with the color that begins the next round. (151 sts)
19. – 32. Repeat rows 15 – 20 respectively. You can alter this number if you want your pouf to be taller or shorter.
Tie off.
Top: (This is a separate piece)
Repeat rounds 1 – 12.
Tie off.
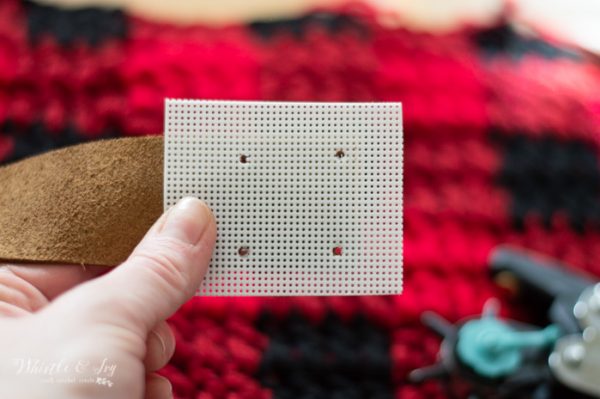
Leather Handles:
Attach the leather handles next. The leather handles are attached with rivets. To attach them to your crochet pouf, you need to stabilize the crochet fabric a bit. This is where the plastic sheet comes it. You can use any thin plastic sheeting. Cut out a square that is a bit larger than the end of your leather strip. Using your leather punch, make 4 holes in the ends of your leather punch AND plastic sheet.
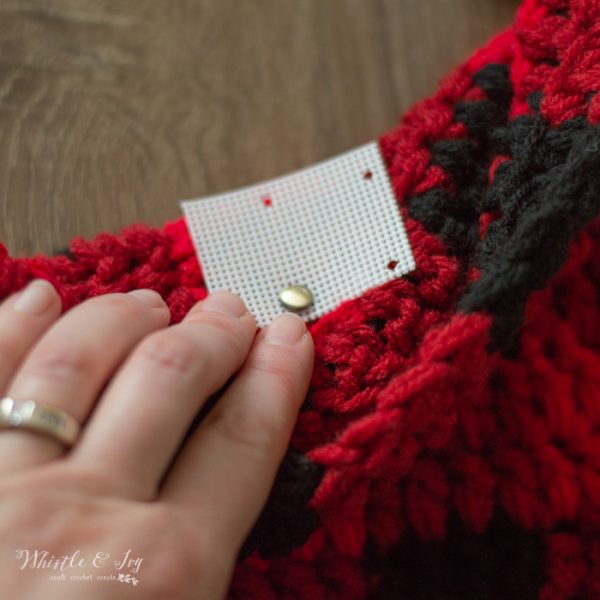
Using your rivet attachment tool, attach one rivet in each hole. You will put the leather on the outside of the pouf and place the top part of the rivet through the hole on the leather and through the pouf. Place the plastic on the back and snap the back part of the rivet through the plastic and into the top rivet piece. Hammer in place.
This is how the inside will look:
Repeat with the other end and with the two ends of other handle.
Stuffing:
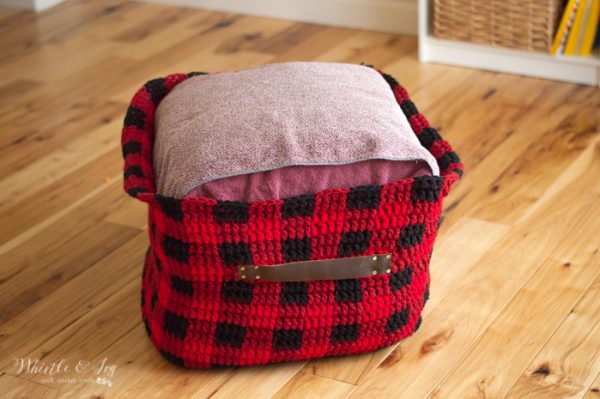
You can stuff your pouf with things around the house! I used an old comforter, a couple old fleece blankets and some quilt batting that I have had in my possession for at least 10 years. The trick is to fold it into thirds so it’s the exact shape of your pouf. Use the top piece as a guide when you are folding to make sure it’s the same size.
Getting the sides smooth took a bit of brainstorming but I came up with a solution. Once you have it stuffed to your liking, you need to smooth out the sides, as you probably used multiple layers to fill it. To do this, drape an old towel across the stuffing and down the sides under the crochet part. Drape a second towel across the first towel, oriented the other way so it goes down the two remaining sides. Make sure it’s smooth and tucked in nicely. Once it looks good, you can sew the top in place.
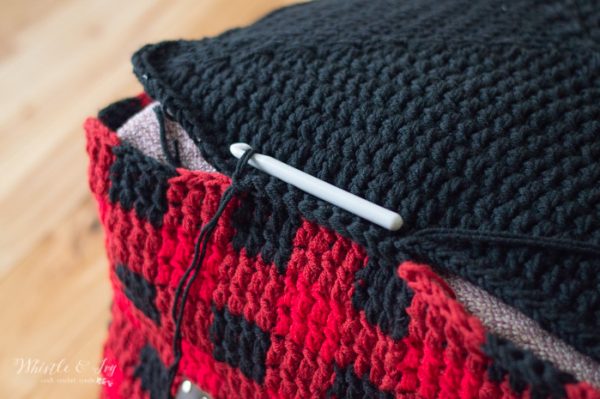
Construction:
Lay the top piece in place and line up the stitches. Using two strands of black, join it anywhere. Sc all around the top, going through both loops on the top piece and both loops of the body of the floor pouf. Join. Weave in ends.
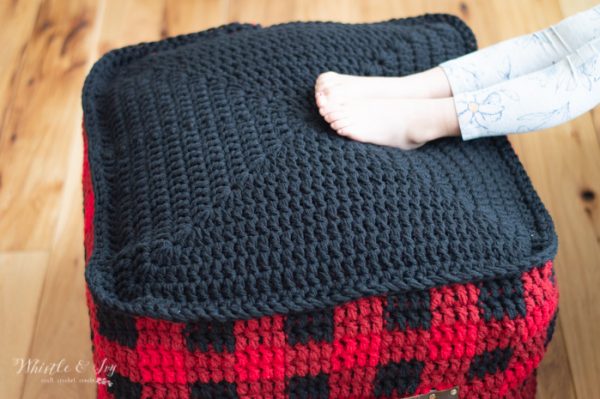
Boom. You did it.
It’s awesome how quickly this pouf works up with two strands of Red Heart with Love, it goes much faster than you think.
Enjoy your new, comfy floor pouf.
(2 patterns to go for PW2018!)
Thank you Red Heart for sponsoring this post! The awesome people at Red Heart played a huge part in bringing Plaid Week to you this year so please consider using Red Heart yarn for your project :)
Join our Facebook Community! We need YOU!
Want a FREE ebook, Tip Tuesday tips and Free Pattern Friday? Subscribe!
(it’s totally FREE!)
xoxo,


This plaid pouf is looking very comfy and beautiful. Nicely done good work Bethany
Thank you!
Hi, just made a scarf and headband in this pattern and love it. What about a dog sweater in this plaid?
I love that idea!
AWESOME SAUCE… now if only I knew how to crochet (womp womp womp). I’m obsessed with buffalo plaid, so this is just too cute!
Thank you Kelly!
Awesome! Love the plaid week . TFS
Thanks! :D :D
Another beautiful pattern. Thank you for all your work, inspiration and joy that you share with us.
Thank you so much! I am glad you like it!
I love the idea of a plaid pouf and I am so glad you went for the leather handles. They’re awesome!
Thanks Jess!
I LOVE this project!!! Your Plaid Week has been fantastic!!! Every project an incredible make!! Thank you so much for your time, creativity, and generosity!! Can’t wait to see what the next two are!!
Darlene
Thank you so much Darlene!!