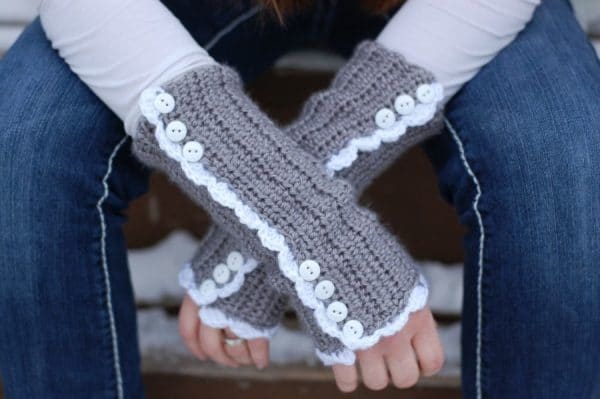
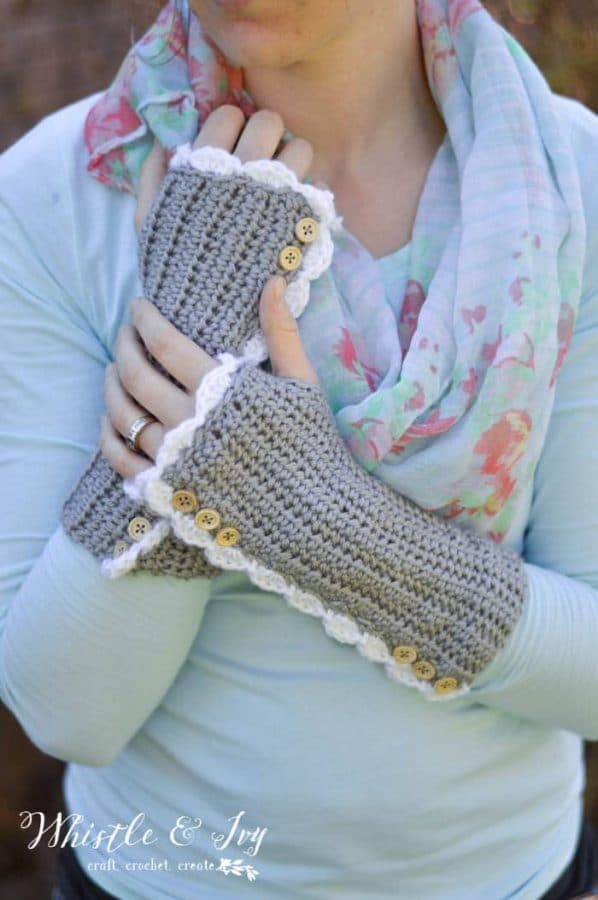
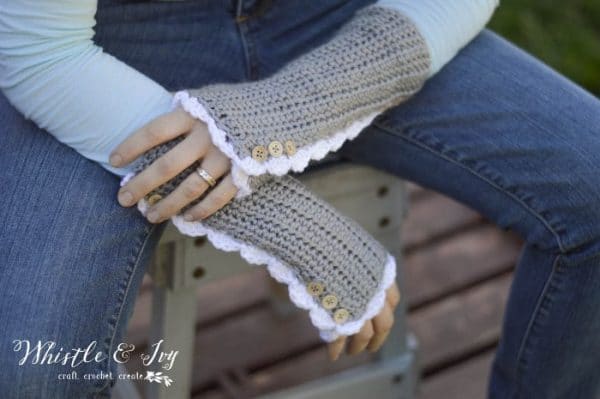
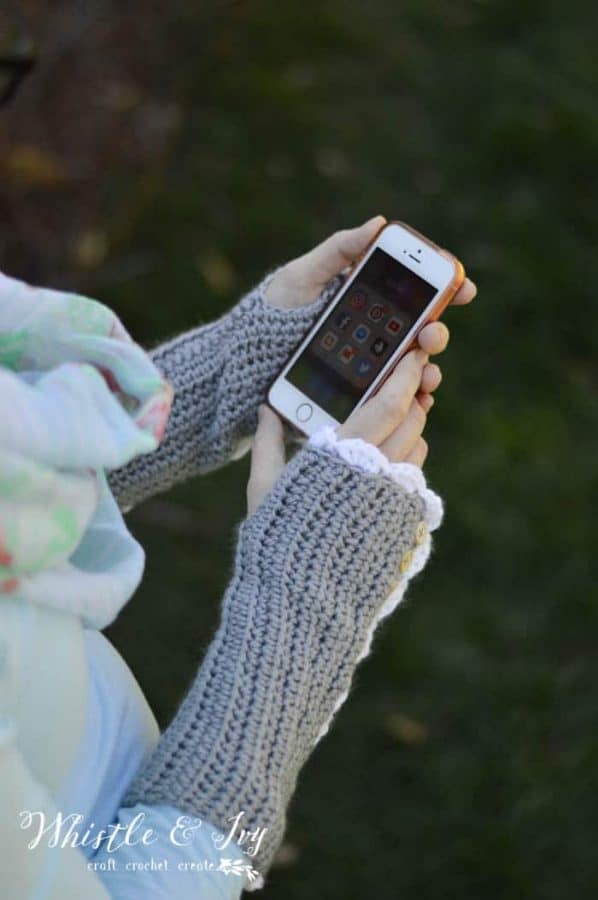
These darling crochet arm warmers look a bit like knit! They feature a feminine lacy edge, and a button detail that gives them a vintage vibe. Make with with or without thumbholes.
This post contains affiliate links which means I get a small commission at no extra cost to you. Thanks for your support!
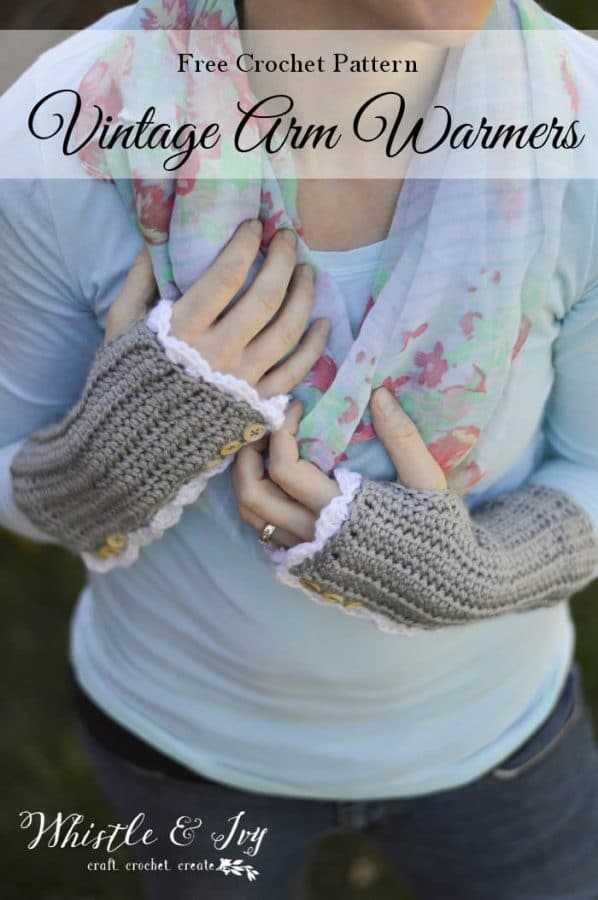
Happy Friday friends! I hope you have fabulous plans for the weekend. I am feeling fine because I FINALLY finished redesigning my Vintage Style Crochet Arm Warmers to have thumbholes! When The Boy was in the hospital, crocheting helped me stay sane and luckily this project was in my bag so I was able to finish them there. I just love them with wooden buttons.

I SEE YOU, BUSY MAKER
You’re tired of sifting through complicated tutorials and daunting patterns that leave you feeling overwhelmed.
Let me help.
Picture this:
🧶 Joining a thriving community of fellow crocheters who share your passion.
📚 Access to our ENTIRE library of patterns that will buildsyour confidence.
🎁 Gifting handcrafted treasures to be cherished by your loved ones.
🌟 Modern, easy-to-follow patterns that will leave you feeling accomplished.
It’s time to make your crafting experience as joyful as it should be. We can’t wait to meet you!
It occurred to me as I was doing the pattern redesign that you don’t really need the button holes along the sides. Feel free to skip the button hole instructions by working a complete row of sc and sew the buttons on very last. My buttons are functional, but they can be decorative if you prefer.
VINTAGE-STYLE CROCHET ARM WARMERS – CROCHET PATTERN
Please remember: You are free to use this vintage style crochet arm warmers pattern to make and sell, but do not republish or distribute this pattern in any way. DO NOT use my photos in your listings. Please do share my blog links! It’s a quick and FREE way of supporting Whistle and Ivy and more free crochet patterns in the future.
What you need:
Medium Weight Yarn (Knit Picks Mighty Stitch in Silver and White)
H hook
Darning Needle
12 small buttons
Abbreviations: (American Terms)
Ch – Chain
Sc – Single Crochet
Hdc – Half Double Crochet
Sk – Skip
St – Stitch
FLO – Front Loops Only
Gauge: 12 sc = 3″
LOVE THIS PATTERN BUT HATE THE ADS?
The ad-free PDF download can be purchased in my shops! Where would you like to shop today?
Vintage Style Crochet Arm Warmers Pattern:
Right:
Ch 35.
1. Hdc in 2nd ch from hook. Hdc 33. Turn. (34 sts)
2. (FLO) Ch 1. Sc in same st. Sc in each st across. Turn. (34 sts)
3. Ch 1. Hdc in same st. Hdc in each st across. Turn. (34 sts)
4. – 11. Repeat rows 2 and 3 respectively until 11 total rows.
12. Ch 1. Sc in same st. Sc in next st. Ch 5. Sk 5 sts, sc in next st. FLO – work a sc in each remaining st. (34 sts)
13. Ch 1. Hdc in same st. Hdc in each st across. Turn. (34 sts)
14. – 23. Repeat rows 2 and 3 respectively until 23 total rows.
24. Ch 1. Sc in same st. *Ch 1. Sk next st. Sc in next st. Sc in next st* work 3 times. Sc 16. *Ch 1. Sk next st. Sc in next st. Sc in next st* work twice. Ch 1. Sk next st. Sc in last st. (34 sts)
Break yarn, tie off.
Join yarn at the top (with thumbhole at the top). Sc across the top, working stitches as evenly as possible, achieving 28 sts. Break yarn. Tie off. Your piece should measure approx. 9″ x 7.5 “
Shell Edging:
Start on long side with thumbhole to your left.
Join white yarn. Starting in next st, *dc 4. Sk next st. Sl st in next st. Sk next st* repeat down the side and across the top. Tie off.
Left Hand:
Ch 35.
1. Sc in 2nd ch from hook. *Ch 1. Sk next ch. Sc in next ch. Sc in next ch * work 3 times. Sc 16. Ch 1. Sk next ch. Sc in next ch. Sc in next ch* work twice. Ch 1. Sk next st. Sc in last st. (34 sts)
2. Ch 1. Hdc in same st. Hdc in each st across. Turn. (34 sts)
3. (FLO) Ch 1. Sc in same st. Sc in each st across. Turn. (34 sts)
4. – 11. Repeat rows 2 and 3 respectively until 11 total rows.
12. Ch 1. Sc in same st. Sc in next st. Ch 5. Sk 5 sts, sc in next st. FLO – work a sc in each remaining st. (34 sts)
13. Ch 1. Hdc in same st. Hdc in each st across. Turn. (34 sts)
14. – 24. Repeat rows 2 and 3 respectively until 24 total rows.
Break yarn, tie off.
Join yarn at the top (with thumbhole at the top). Sc across the top, working stitches as evenly as possible, achieving 28 sts. Break yarn. Tie off. Your piece should measure approx. 9″ x 7.5 “
Shell Edging:
Start on the top right of piece. Join white yarn. Starting in next st, *dc 4. Sk next st. Sl st in next st. Sk next st* repeat across the top and down the side. Tie off.
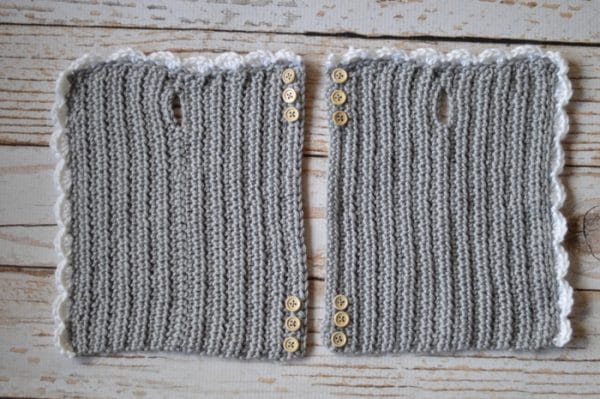
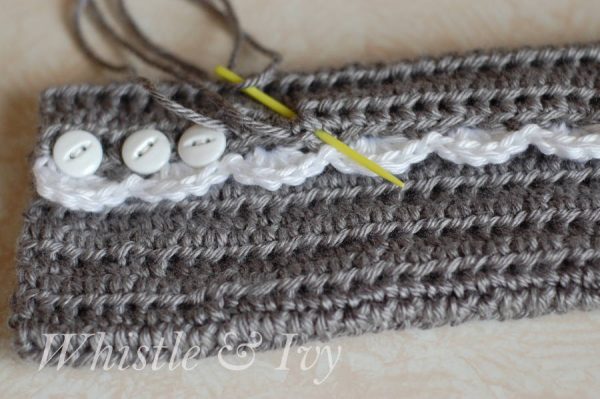
To sew them together, fold the the shells edge over the other edge. Using a darning needle, sew the arm warmers closed in between the buttons. Work down from the top, putting your needle down through both layers and up, all in one stitch.
xoxo,


Your instructions did not explain when to put buttons on.
Ah, very sorry! You sew them across from the button holes.