Skip to content
Facebook
Instagram
YouTube
Pinterest
SEARCH
Search
[All-Access]
PATTERNS
Expand
ACCESSORIES
ARMS + HANDS
BABIES + KIDS
BUFFALO PLAID
FEET + LEGS
FOR HOME
HEADWEAR
HOLIDAYS
NECKWEAR
TOYS
TIPS
Expand
COLOR WORK
QUICK FIXES + HACKS
CROCHET BASICS
Reviews
ABOUT
Toggle Menu
SEARCH
Search
Sewing
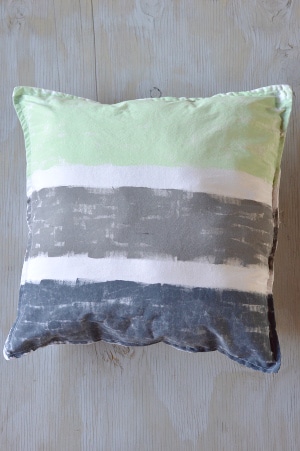
Hand-Painted Recycled Pillowcase Throw Pillow
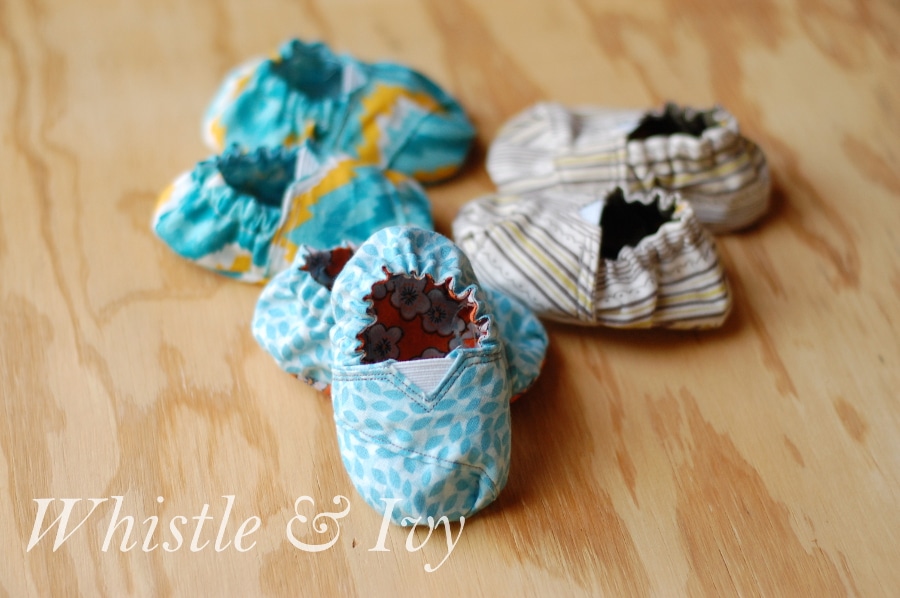
Sewing Toms-Inspired Baby Shoes
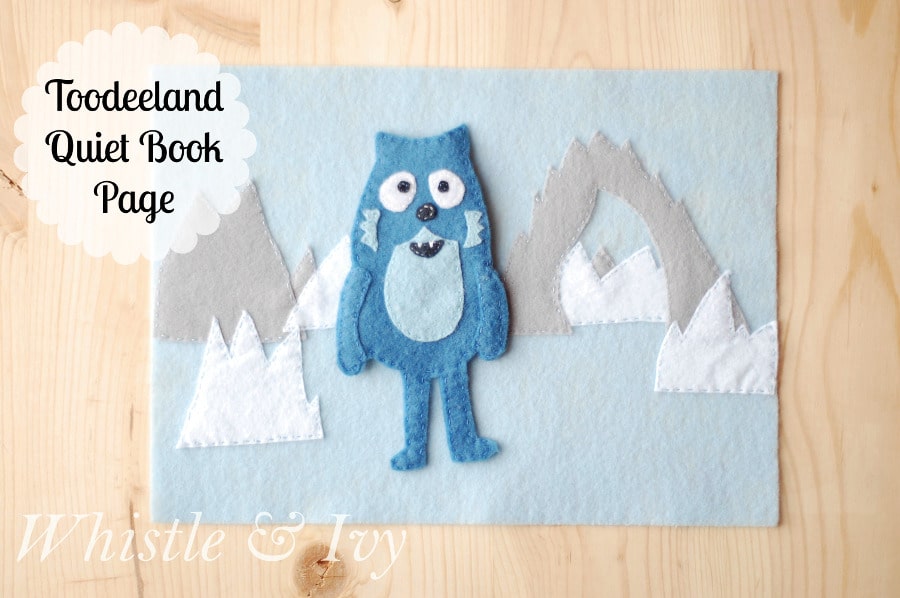
Gabbaland Quiet Book – Toodeeland
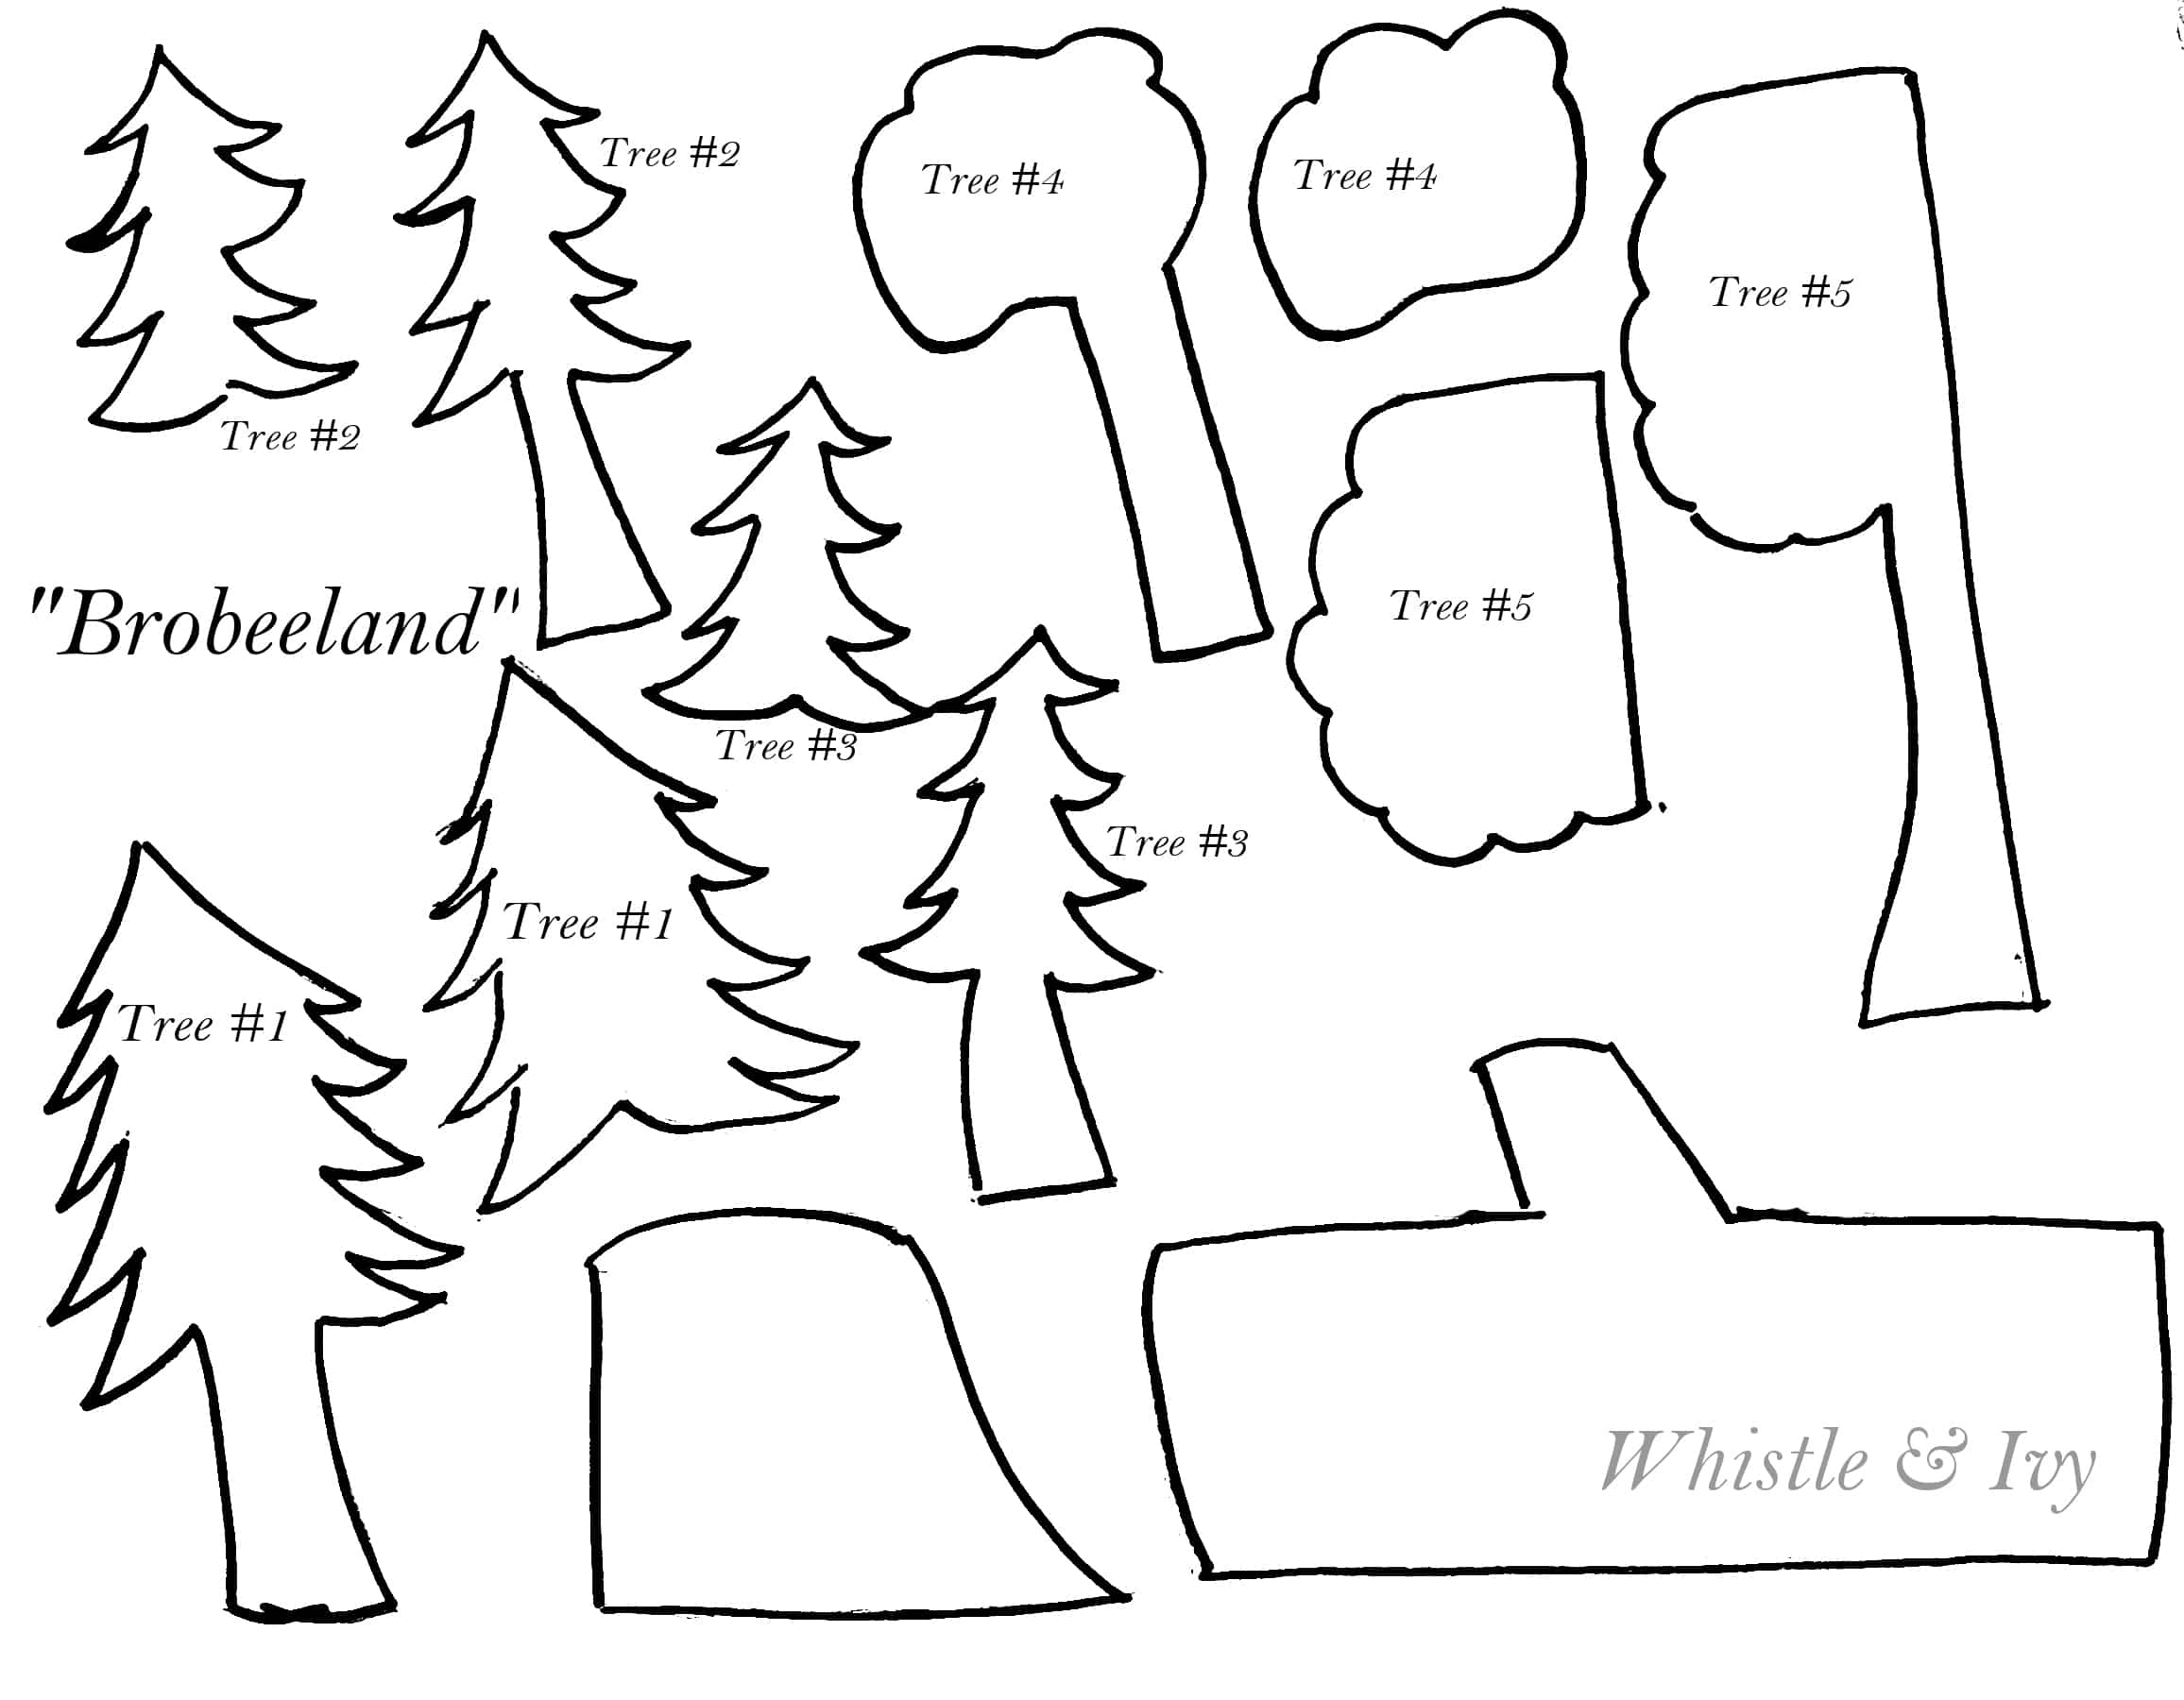
Gabbaland Quiet Book – Brobeeland
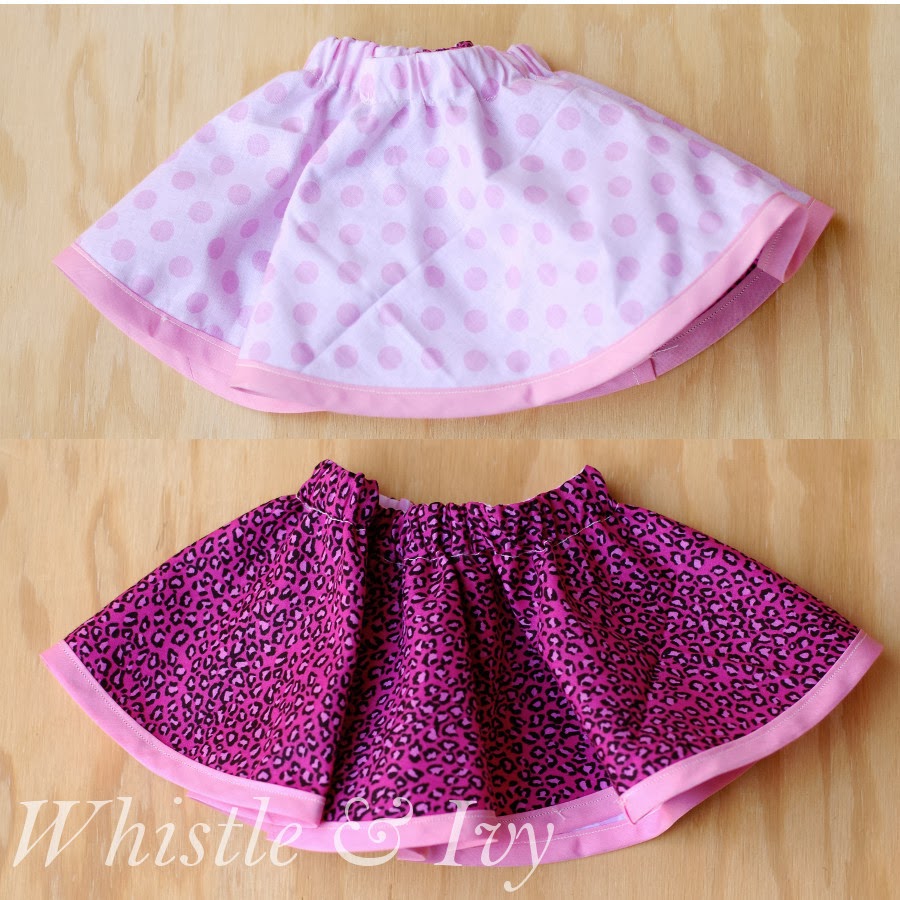
Reversible Baby Skirt
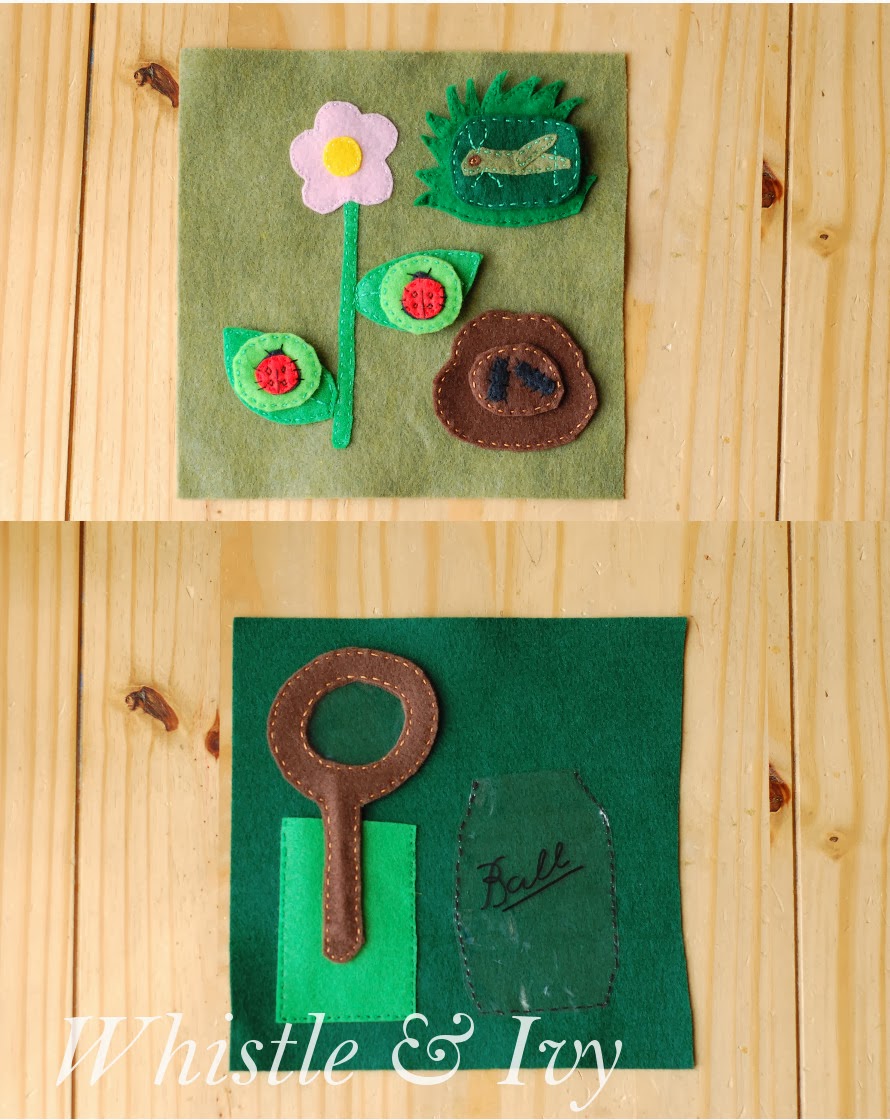
Bug Collector Quiet Book Page Template
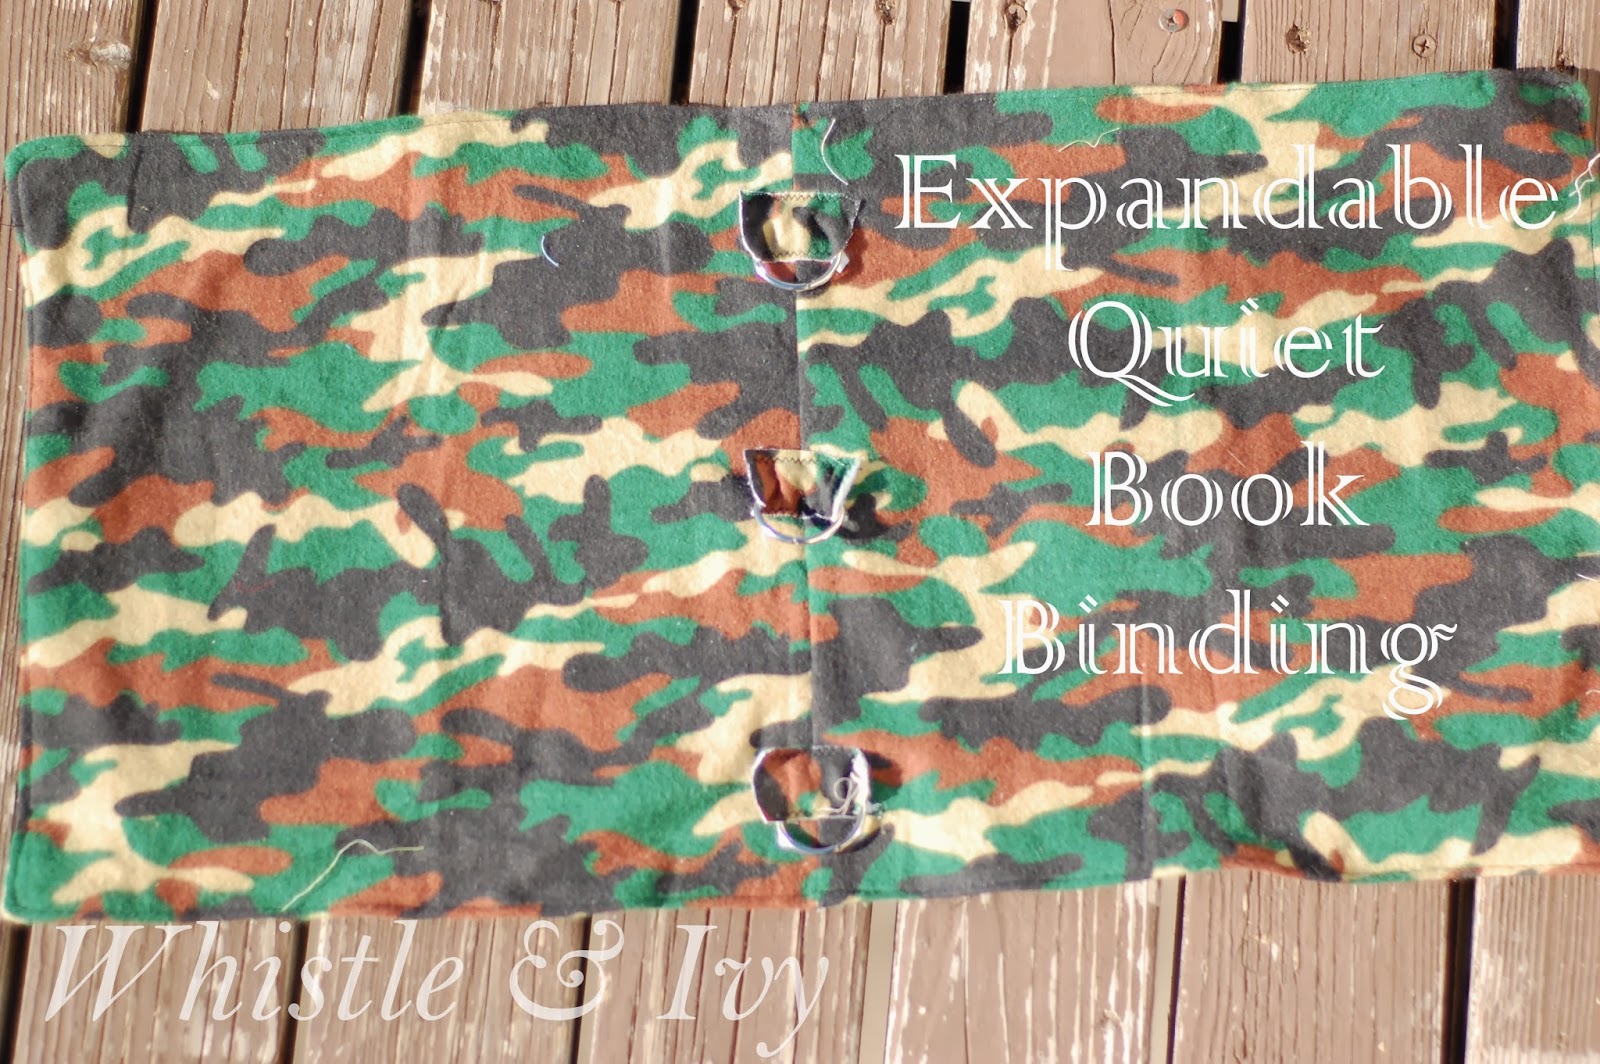
Expandable Quietbook Binding
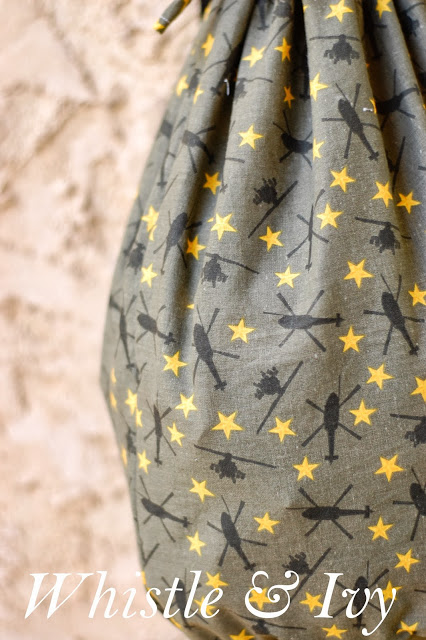
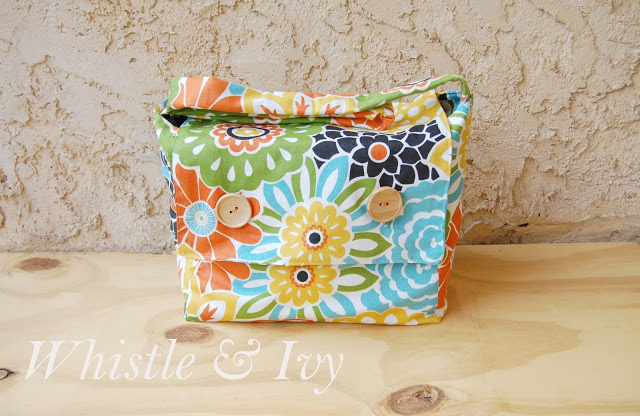
Easy Duffle Bag
Incredibly Easy Lined Camera Bag with Upcycled Crib Bumpers and Facebook Contest!
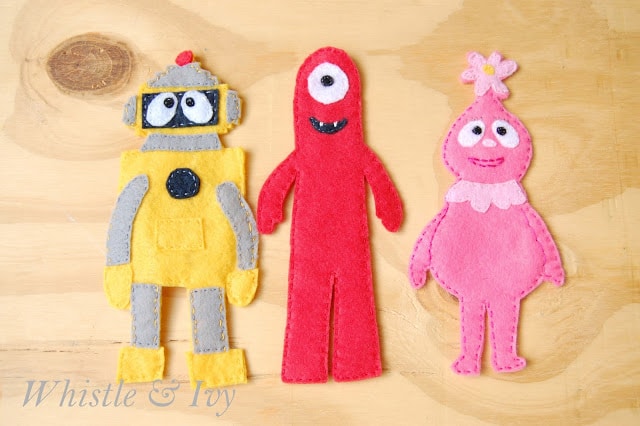
Yo Gabba Gabba Felt Magnets
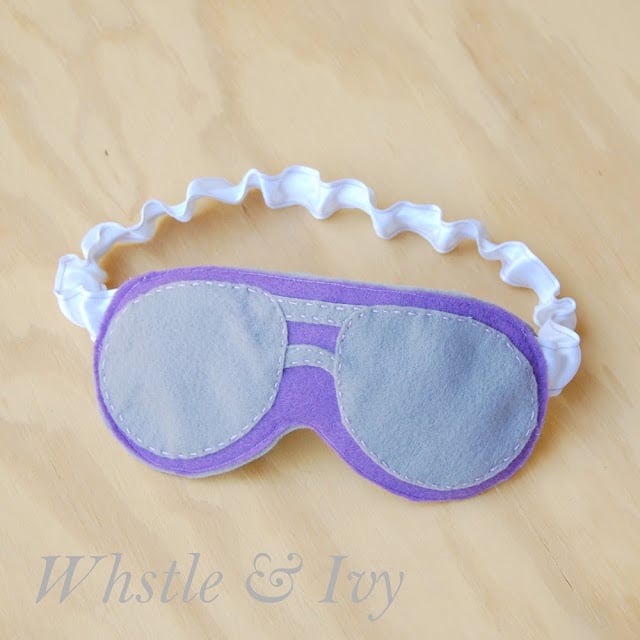
Felt Aviator Sleep Mask
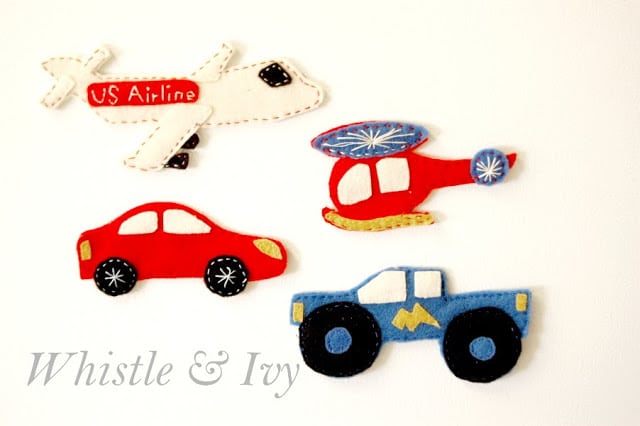
Felt Magnet Transportation
Page navigation
1
2
Next Page
Next
FREE Mini Course
Make your crochet simpler and more enjoyable with easy and actionable hacks.
SUBSCRIBE!
Success! Check your inbox!
[All-Access]
PATTERNS
Toggle child menu
Expand
ACCESSORIES
ARMS + HANDS
BABIES + KIDS
BUFFALO PLAID
FEET + LEGS
FOR HOME
HEADWEAR
HOLIDAYS
NECKWEAR
TOYS
TIPS
Toggle child menu
Expand
COLOR WORK
QUICK FIXES + HACKS
CROCHET BASICS
Reviews
ABOUT
Toggle Menu Close
Search for:
Search