
I have been meaning to make one of these for while. I have been using a handkerchief, and I usually take about 5 minutes finagling it with my teeth and other hand.
Well, no more!
Materials:
Fabric – this is such a small project, you could probably just use scraps
Fusible Interfacing
Velcro
Basic Sewing Supplies
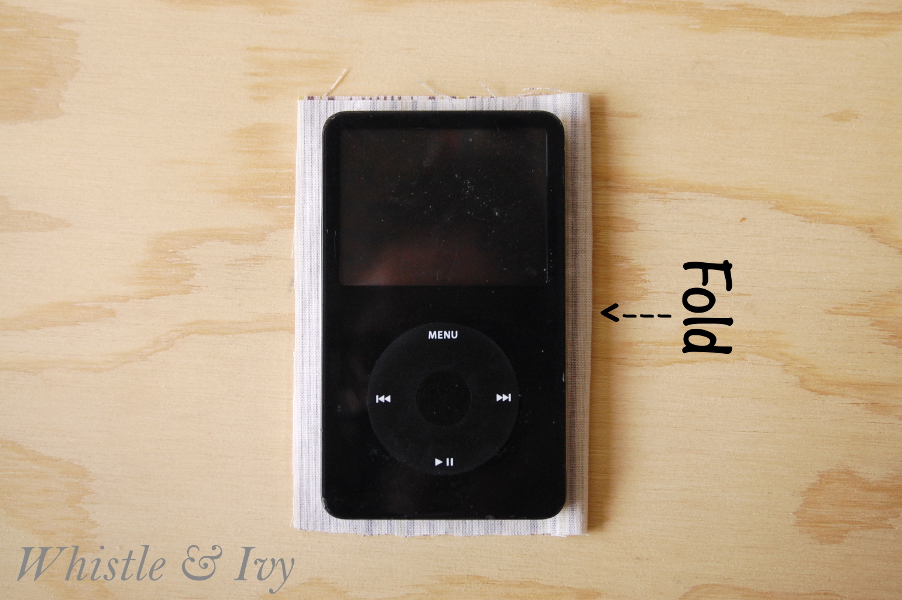
Start by measuring the back piece. Make sure you leave a seam allowance. Leave as much as you are comfortable with. You will sew and turn this piece inside out, plus sew the pieces together. I tend to sew quite near the edge.
Your piece needs to be doubled, so measure it on the fold to save yourself some sewing later.
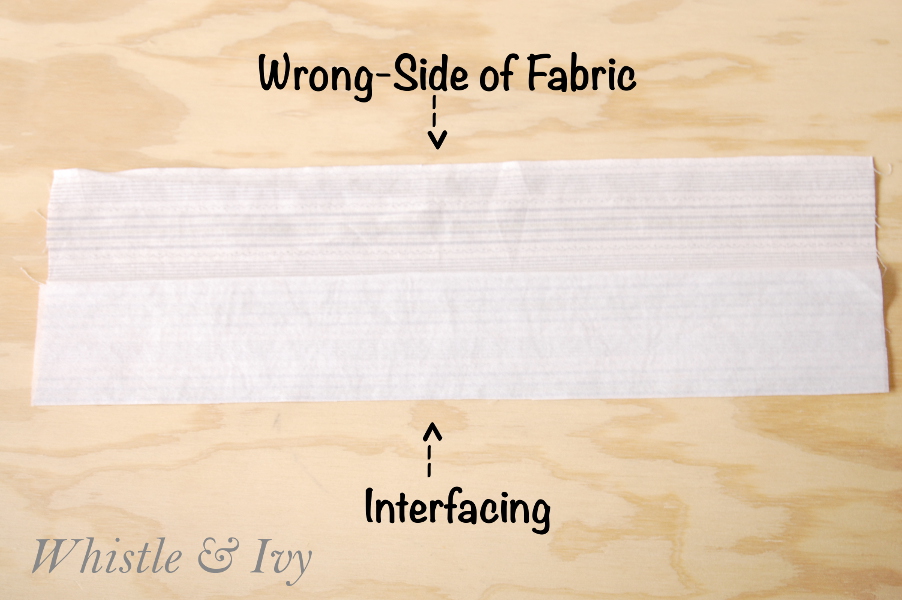
Once you have it measured, cut your fusible interfacing (same size as one half of your whole back piece) and iron it to one side, on the wrong side of the fabric.
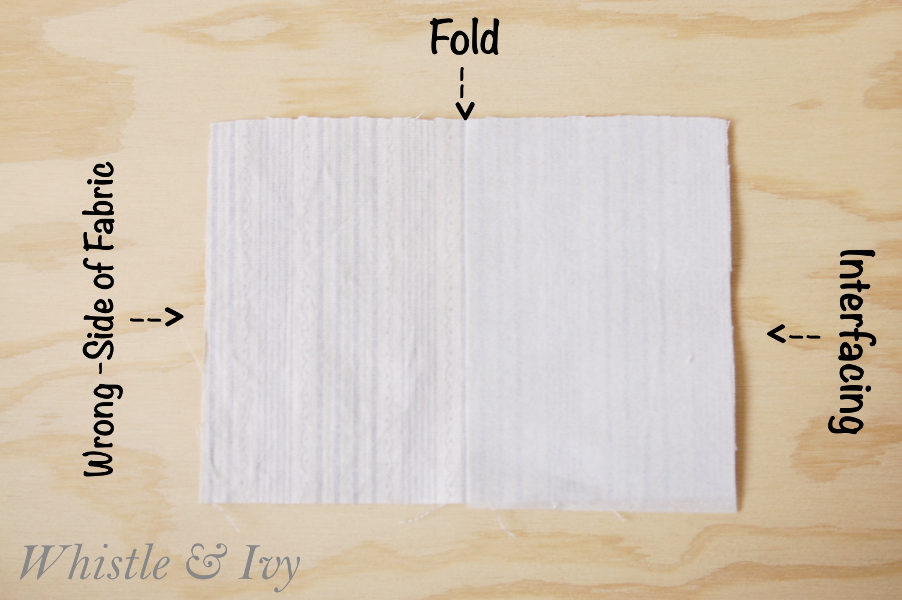
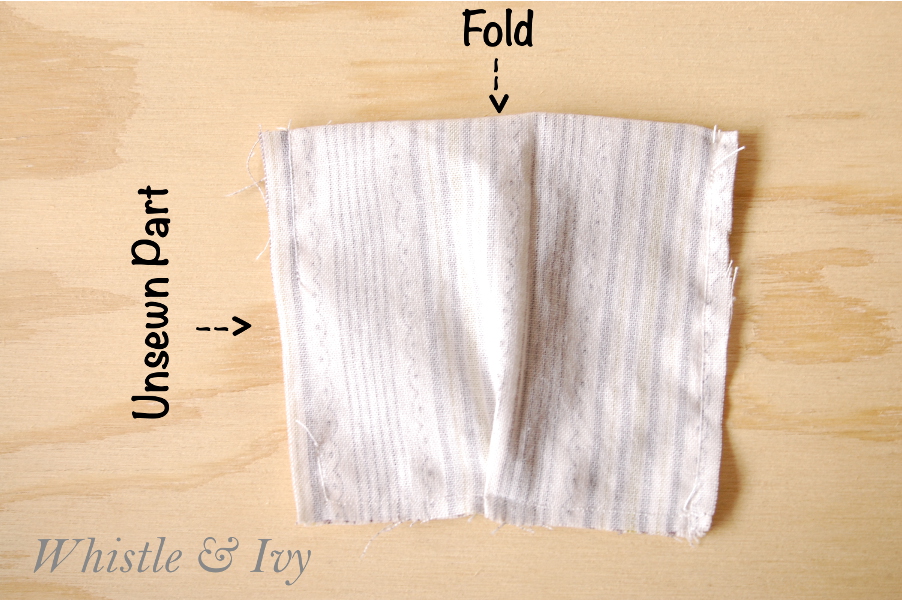
Fold in half again, right sides together and sew around it, leaving a space for you to turn the piece inside out. Your interfacing will be on the outside.

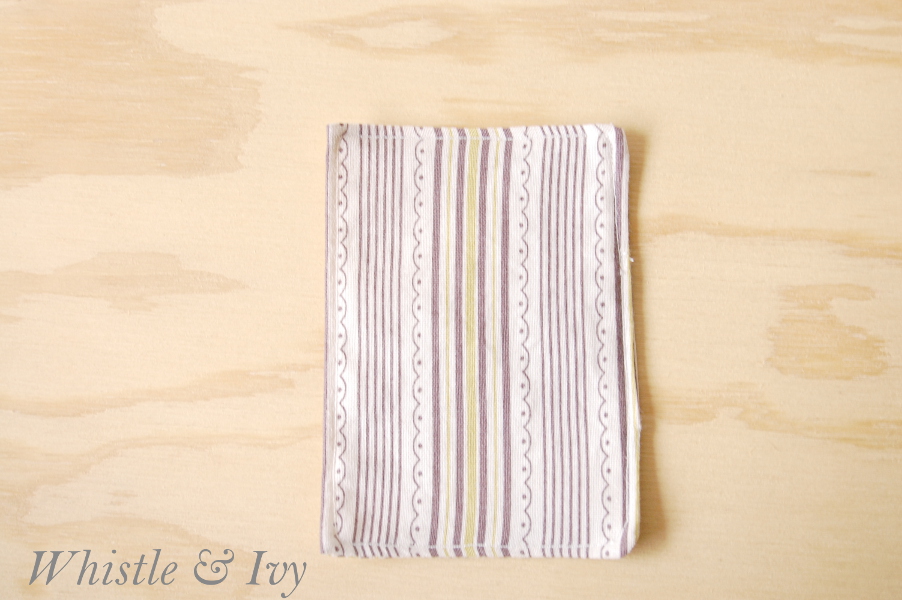
Turn the piece inside out through the hole, iron it flat, and sew around the edge, taking care to catch both sides of the unsewn part.
To the sew the front pocket, measure your device across the front, including the thickness as well. Take that number and add your seam allowance, plus a little extra so it can be sewn together. Don’t go overboard, the pocket needs to be snug. You need two again, so cut so the fold is on top of the pocket. Fold so the right sides are together, just like the back piece and sew around the edge, leaving a space. I added a small pleat (about 1/4 inch) to the bottom so it would line up better later. This is optional, though.
Turn the pocket inside out and iron it. Sew across the fold (the top), but don’t sew it onto the back piece yet.
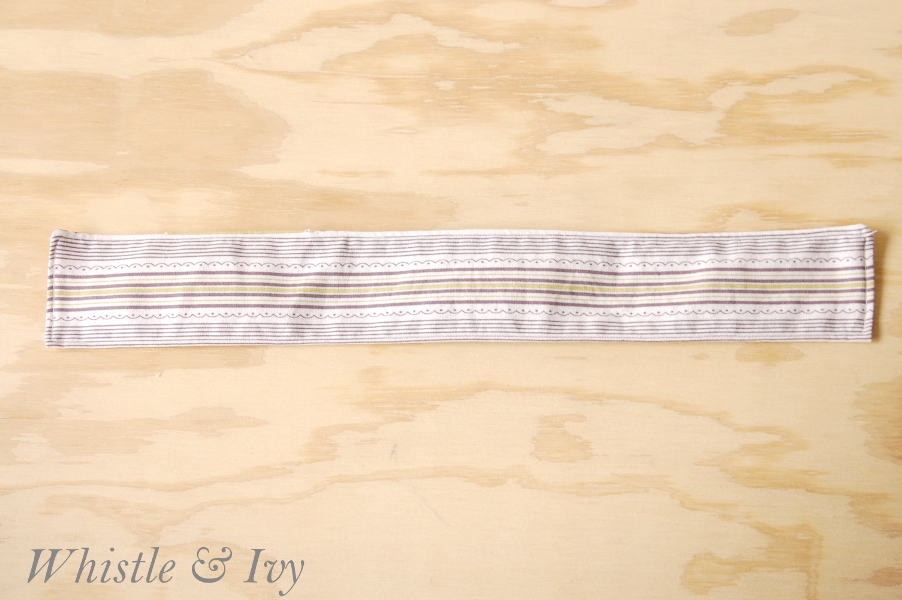
Now, measure your arm for the armband. Make sure you do about 4 extra inches, so the ends can velcro together. I also eyeballed the thickness. Mine is about 2 inches finished, so probably 2 1/4 cut.
Again, cut so one of the long sides in the on the fold, and cut a matching piece of interfacing. Iron it to one of the sides, wrong side of the fabric.
Fold in half, right sides together, and sew all around, leaving an unsewn part. Turn it inside out through the hole and sew around the edges. Make sure you catch both sides of the hole that you left unsewn.
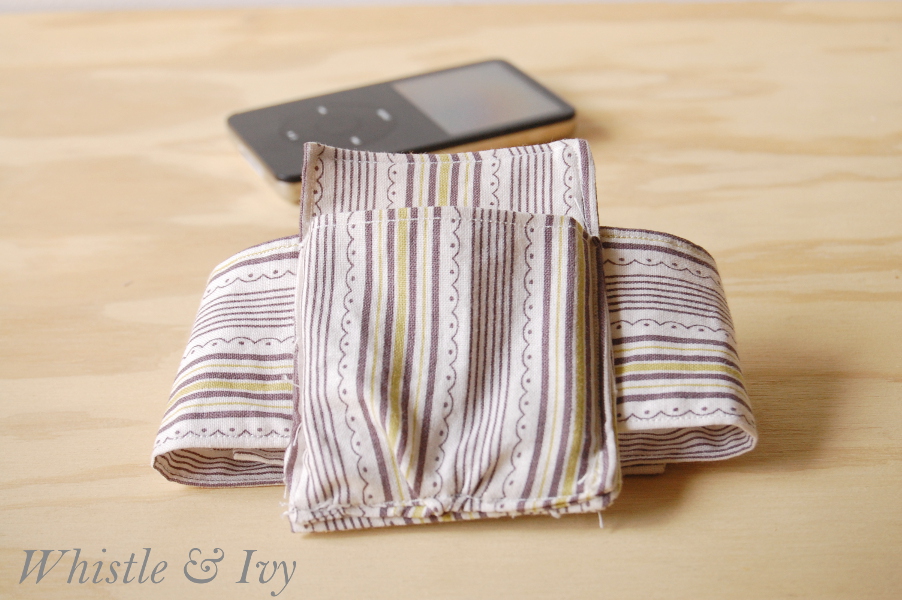
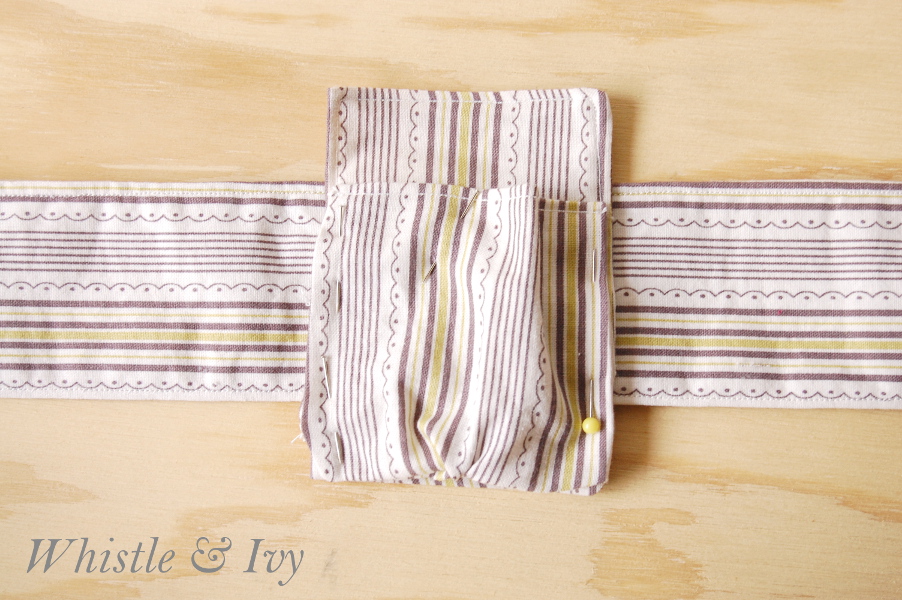
Now, to sew all the pieces together, put the pocket to the front of your back piece. The pocket is wider, so make sure you are sewing the edges together. Pin the pocket in place, and then pin the whole thing to the band. You should be able to sew the whole thing together at once.
Finish with two pieces of velcro. Don’t ask me why royal blue was the only color of velcro I had on hand!
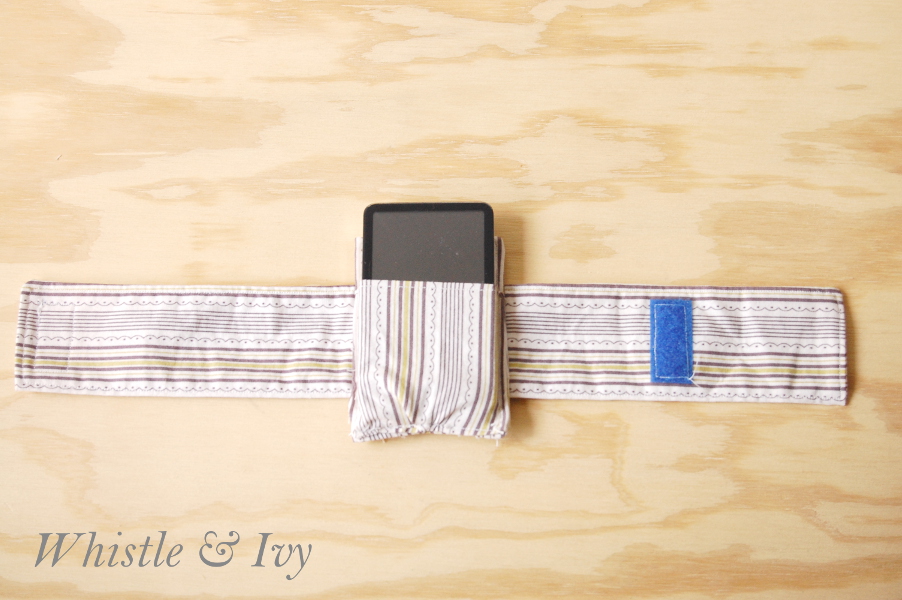
All ready for my next jog!


This is awesome! I hate the one I use for my jogs! Thanks for sharing this on Sweet & Savoury Sundays! :)
Good thinking: I need one of those. Oh wait. I need a smart phone first. My phone is not very smart…
LOL!… :)
hugs xx Crystelle
Crystelle Boutique
that is SO great!!! My armband is old and nasty! Time for an update :o) Thanks for linking up to Tasteful Tuesdays and for the link back :o) Can’t wait to see what you bring next week. Emily @ Nap-Time Creations
oh, and I just posted looking for some help with my blog… maybe you can offer some advice?
Love this idea – thanks for sharing!
Thanks so much!
it’s not a stretchy band is it? what a fab scrap idea
No, maybe stretchy would have been better? It’s just farbic, velcro and interfacing!
Great idea! I’d love if you’d like up to The DIY’ers: http://homecomingmn.blogspot.com/2013/05/the-diyers-and-some-favorites.html
Thanks so much, Kayla! I added my post!
Love it!!
This is so useful! I have definitely tied an iPod to myself before. One time I stowed an iTouch in my sports bra and sweated all over it. It didn’t work correctly for days!
Thanks for visiting my blog earlier =)
Natashalh
It was super easy! It sure beats my handkerchief, too!
If you put the Velcro horizontally instead of vertically, it becomes adjustable.
Thats a good idea! This one was custom-fit to my own arm, but it makes sense to make it adjustable, thanks!
I NEED ONE OF THESE! And with so little fabric needed, I think I could scrounge up something this weekend! Thanks for sharing!