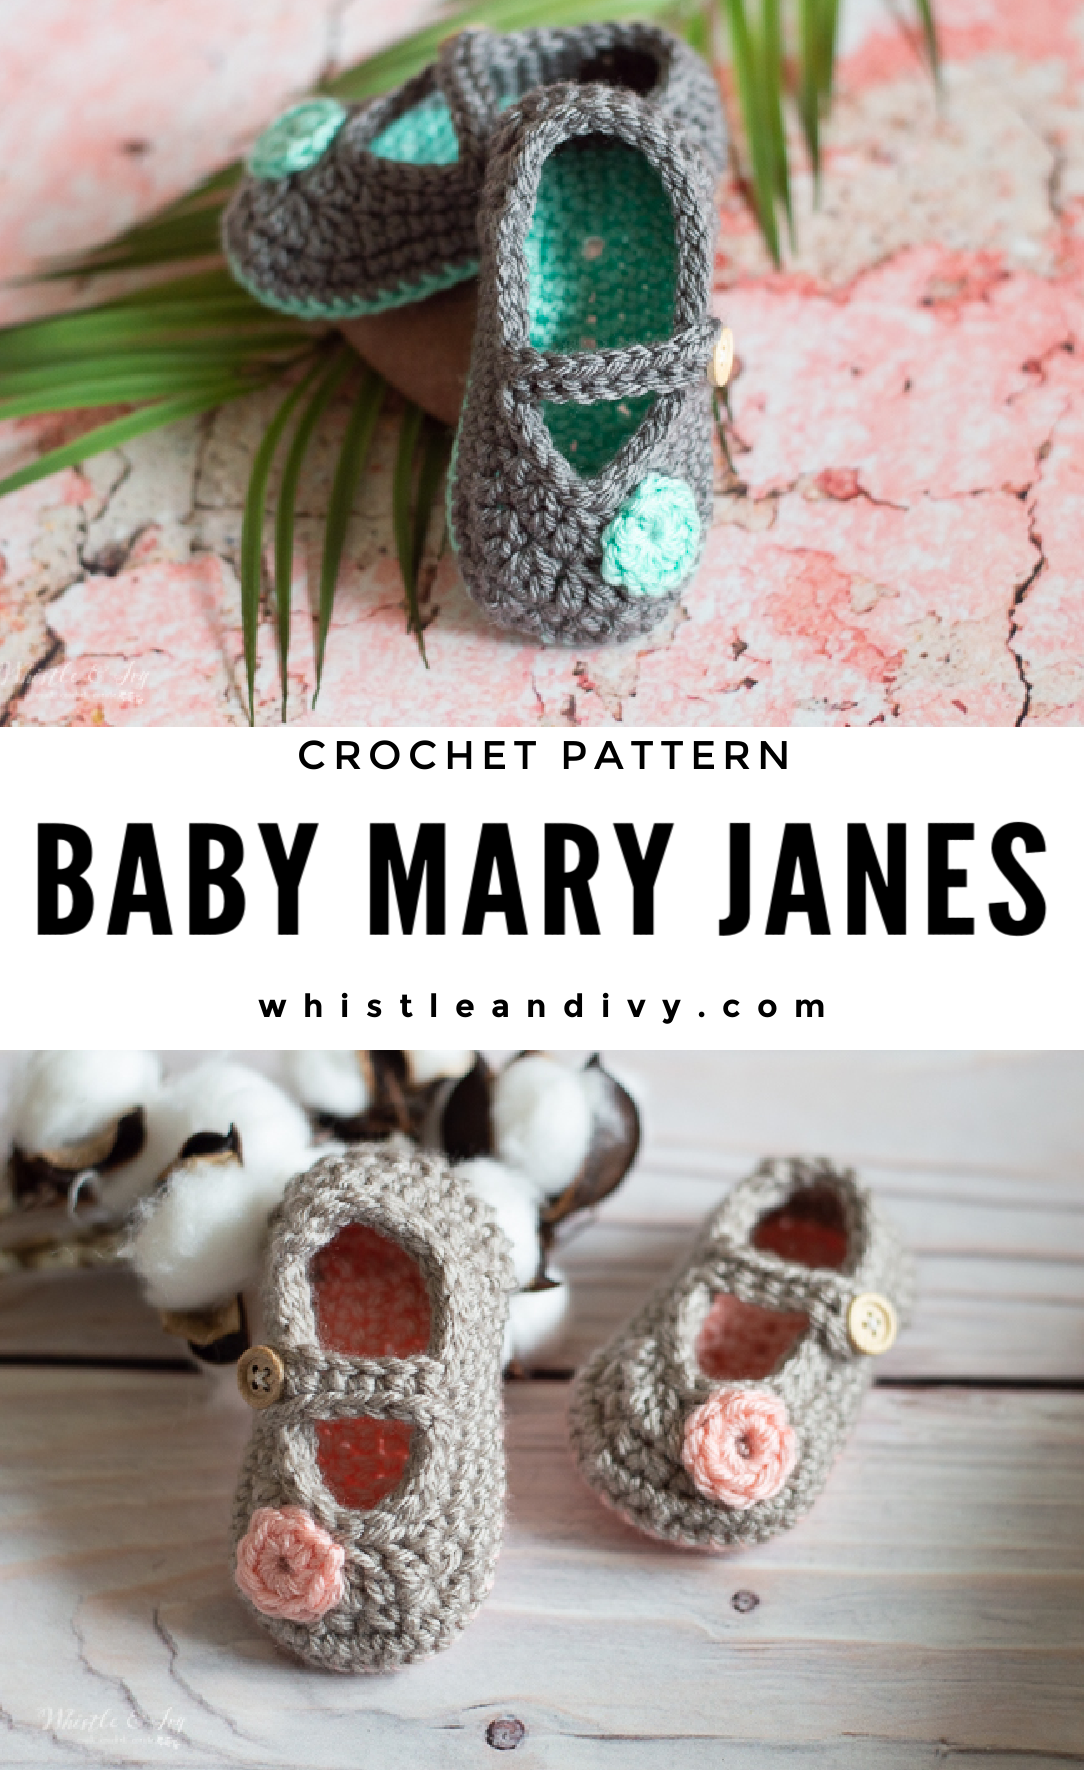
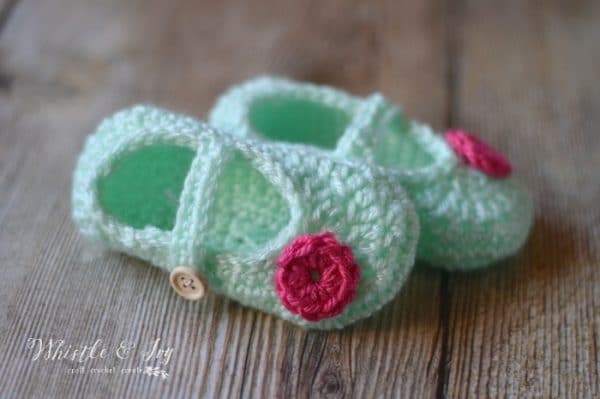
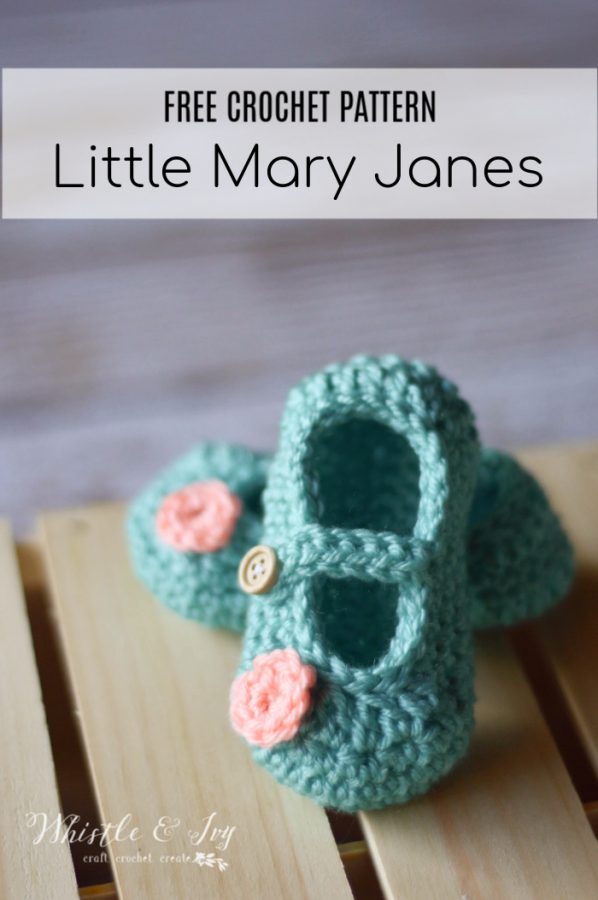
This classic baby booties crochet pattern will become your favorite go-to crochet Mary Janes for baby! This pattern works up fast and the pop of color makes them a fun project to make. They are perfect for your next baby shower! Pattern PDF includes sizing from newborn to toddler.
This post includes affiliate links, which means I get a small commission if you make a purchase. For more information, click HERE.Thanks for supporting Whistle and Ivy!
Are you someone who is a fan of the classics?
These crochet Mary janes baby shoes are definitely classic. When I set out to design these, I knew I wanted something cute and quick. These crochet baby booties fit the bill. Not only will you love everyone’s “oohs ” and “ahhhs” over how cute they are, you will love that you can crochet a pair in under an hour. Plus, the little dot (flower?) gives an extra bit of contrast to make these little crochet baby shoes extra adorable

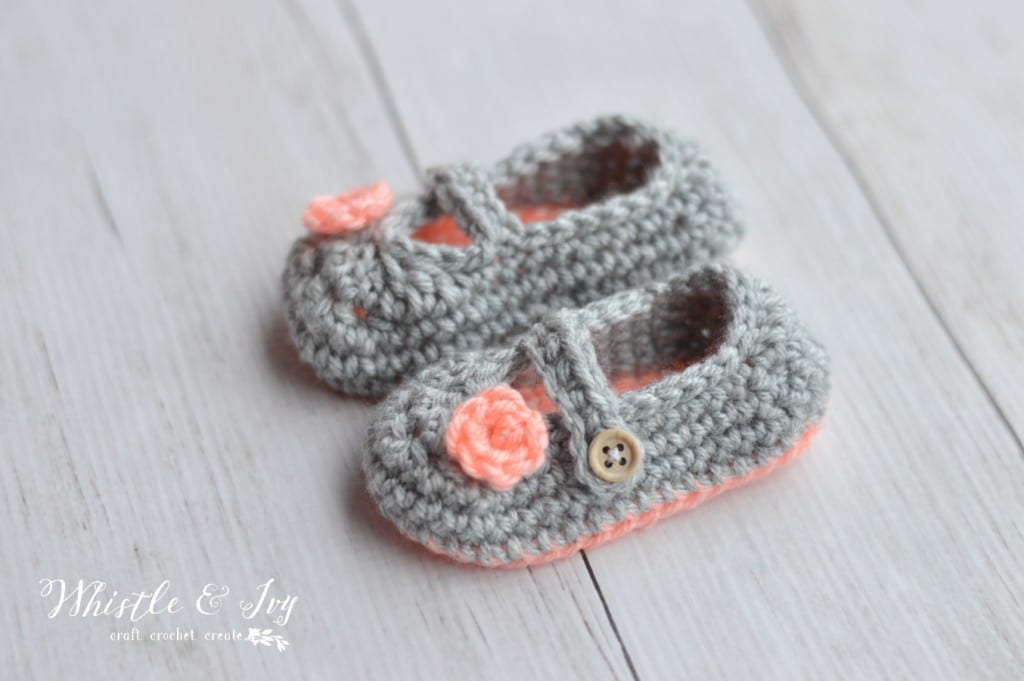
You can either make the button functional or decorative, it’s your choice! Either way, be sure to seal the threads with super glue or clear nail polish so there is no risk of the button coming off.
And, due to a Youtube commenter, I also made these crochet baby booties with a little more color pop! Read directions on how to make the bottom sole a different color.

I SEE YOU, BUSY MAKER
You’re tired of sifting through complicated tutorials and daunting patterns that leave you feeling overwhelmed.
Let me help.
Picture this:
🧶 Joining a thriving community of fellow crocheters who share your passion.
📚 Access to our ENTIRE library of patterns that will buildsyour confidence.
🎁 Gifting handcrafted treasures to be cherished by your loved ones.
🌟 Modern, easy-to-follow patterns that will leave you feeling accomplished.
It’s time to make your crafting experience as joyful as it should be. We can’t wait to meet you!
CROCHET MARY JANES BABY SHOES: CROCHET PATTERN
I hope you enjoy this pattern! But please remember, the content contained herein is a copyrighted work, tediously designed by myself. Distribution of this pattern (or parts of it) in any way, digital or physical, or use of this pattern (or parts of it) to create your own patterns beyond personal use is strictly prohibited. You are welcome to sell what you make from this pattern, but please do not use any of my photos in your listings.
READY TO MAKE YOUR BABY SHOES?
Want more sizes? The ad-free PDF pattern for these darling crochet Mary Janes booties Pattern is also available in my shops! The PDF includes sizes from Newborn to Toddler 8/9
Where would you like to shop today?
What you need to make crochet Mary janes :
- Medium Weight Yarn, your favorite soft acrylic (KnitPicks Brava in Seashell and Cornflower)
- Size F Hook (My favorite hooks)
- 2 small buttons
Abbreviations: (American Terms)
St – Stitch
Ch – Chain
Sc – Single crochet
Dc – Double Crochet
Hdc – Half Double Crochet
Sc decrease – Sc2tog
hdc decrease – Hdc2og
Dc decrease – Dc2tog
Sl st – Slip Stitch
Gauge: 9 dcs – 2”
SIZE 3-6 MONTHS CROCHET MARY JANES
Make 2 (Worked in continuous rounds)
Approx. 4″ long
Ch 11.
1. Work 3 sc in 2nd ch from hook, sc in next 4 chs, hdc in next ch, dc in next 3 chs, 7 dc in last ch.
Working across opposite side :
Dc in next 3 chs, hdc in next ch, sc in next 4 chs.
Place marker and move up each round. (26 sts)
2. Work 2 sc in next 3 sts. Sc in next 9 sts. Work 2 sc in next 5 sts. Sc in next 9 sts. ( 34 sts)
3.*Sc in next st. Work 2 sc in next st* work 3 times. Sc in next 9 sts. *Sc in next st. Work 2 sc in next st* work 5 times. Sc in next 9 sts. (42 sts)
4. Sc in next 41 sts. Hdc in last st. (42 sts)
5. Dc in next 10 sts. Hdc in next st. Sc in next 31 sts.(42 sts)
6. Sc2tog. Sc in next 6 sts. Sc2tog. Sc in next 9 sts. Sc2tog 7 times. Sc in next 9 sts. (33 sts)
7. Hdc2tog. Hdc in next 4 sts. Hdc2tog. Sc in next 9 sts. Dc2tog 4 times. Sc in next 8 sts. (27 sts)
8.
Right: Sl st 12. Ch 9. Sc into 5th ch from hook. Sc in next 4 sts. sl st into next st on the shoe. Sl st in next 14 sts. (27 sts {not including the sc and ch sts of the strap})
Tie off.
Left shoe: Sl st in next 23 sts. Ch 9. Sc into 5th ch from hook. Sc in next 4 sts. Sl st into next st on the shoe. Sl st in next 3 sts. [27 sts (not including the sc and ch sts of the strap)] Tie off. Weave in ends.
To make the shoes two-toned, work steps 1 -3, but end round 3 by moving up your stitch marker, sl st into next st and tie off.
4. Join Color B at the stitch marker. Work through BLO. Ch 1. Sc in same st. Sc in next 41 sts. (42 sts) Join with a sl st.
5. Ch 1. Sc in same st. Hdc in next st. Dc in next 7 sts. Hdc in next st. Sc in next 32 sts.(42 sts) Join with a sl st.
6. Ch 1. Sc in same st. Sc2tog. Sc in next 5 sts. Sc2tog. Sc in next 10 sts. Sc2tog 7 times. Sc in next 8 sts. (33 sts) Join with a sl st.
7. Ch 1. Sc in same st. Hdc2tog. Hdc in next 3 sts. Hdc2tog. Sc in next 9 sts. Dc2tog 4 times. Sc in next 8 sts. (27 sts) Join with a sl st.
8.
Right Shoe: Sl st in next 12 sts. Ch 9. Sc into 5thch from hook. Sc in next 4 sts. sl st into next st on the shoe. Sl st in next 14 sts. [27 sts (not including the sc and ch sts of the strap)] Tie off.
Left shoe:
Sl st in next 23 sts. Ch 9. Sc into 5thch from hook. Sc in next 4 sts. Sl st into next st on the shoe. Sl st in next 3 sts. [27 sts (not including the sc and ch sts of the strap)] Tie off.
Dot: Start with adjustable ring or 3-ch loop.
Work 8 sc into the ring. Pull your ring tight.
Join with a sl st and tie off.
Construction:
Attach a small button on the opposite side of your strap with a needle and thread. Make sure it is VERY secure, and seal the button’s threads with a dot of super glue or finger nail polish over where they cross on the button. Attach the dot by hand sewing, or attaching with hot glue. If you are using hot glue, but sure your are gluing to the very edge of the dot, as the edges of the small circle may curl up over time.
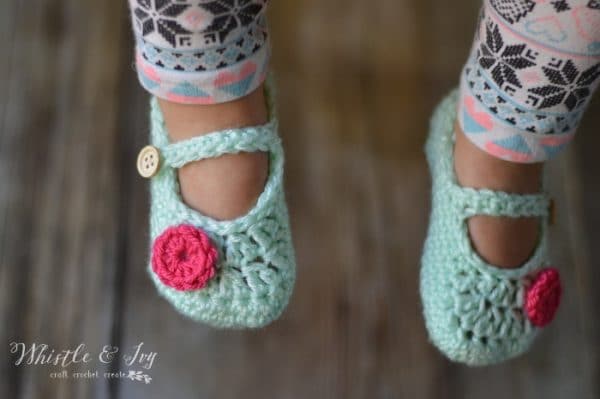
These crochet Mary Jane shoes are perfect for almost any occasion! Enjoy!
→ Love this? Follow us on Facebook!
xoxo,


I’ve been bitten by the crochet bug. It happened when I became a GRANNY. Now I’m dusting off my crochet skill from long ago. I have been looking for this bootie thanks for the pattern. Granny Khadijah
yay! Once it bites, it doesn’t let go :) So glad!!!
I have had the full pattern with all sizes for a number of years. I don’t know where I got it, but I see changes for the pattern, and mine is old and falling apart. How do I obtain a full updated pattern for all sizes. I don’t remember where I got the patterns originally.
Hi Karen! If you are able to find a receipt I can get you an updated copy! I also gave it away free a number of years ago, so if that is the case, you will need to buy a copy for my shop to get all the sizes. Send me an email if you are able to find a receipt and I can get a copy to you!
These are so VERY cute!! Thank you so much for the free pattern! I definitely have to make a pair for my soon-to-be-born baby sister when she gets old enough to wear this size!!
I’m so confused l. You say “place stitch marker and move up”. Can you clarify this ? I’m used to joining with ss in the rounds and placing marker in 1st stitch. Also, I am adding chain 1 each round before next round. Help please. Thx. Donna
The sole is worked in a continuous round, not in joined rows, so you will place a stitch marker to help you know where the end/beginning of the round is. If you are altering the pattern by working in joined rows, you don’t need the stitch marker.
Excelente patrón!!!!
Me encantó!!.
Muchas gracias por compartirlo!!!
Saludos!!!
I can’t find where to download the PDF pattern.
Hi Sharon! There is a link to each of my shops right above where the 3-6 month pattern starts.
Hello I love ur patter thank u for sharing. Could u please help me.. I’m on 3.
When u say work 2 sc in next st. Work 3 times… what do u mean?
Do I do 2sc in the next 3 sts.??
Then when it says work 5 times that’s just so in the next 5??
You are working the entire contents of the asterisks 5 times (sc in next st, increase. Sc in next st, increase, etc).
I absolutely love these tiny Mary Jane shoes! So far the easiest instructions I have tried. Thank you for publishing this pattern. Love It!!!!
Thank you ! You are very welcome!
I like these shoes but do you have directions for a 1 year old
Thank you! The PDF download pattern includes toddler sizing, you can get it in my shops.
How do i get the pattern for toddler size
It’s one pattern, it includes newborn to Toddler size 9. The links to my shops are right above where the 3-6 month pattern begins.
When I do round 1, I’m left with two unworked chains at the end. Am I supposed to skip two chains before I start working the opposite side?
No, you should have the exact amount. What is your count?
I’m ok for the first side, that works out fine, it has 10 chs worked from the 2nd of 11 chs. But the second side only has 8 ch worked (3 DC, 1 HDC and 4 sc) which leaves 2 chs unworked.
You should have 8 on each side, 3 in the first chain and 7 in the last chain. (The 7 bring you around to the other side, you won’t be working in it again) The first 3 take up the first chain, following 8 stitches make up 8, then you work 7 in the last ch, so all 10 have been work in. Then, you work 8 up the other side. You won’t work again in the last st that has 7. You also won’t work again in the same ch as the first 3, as you worked 3 in it. You will start again in the first st for round 2, as you are working in a spiral. Make sure you are paying attention to the stitch row counts to help you remain on track.
I’m afraid I don’t understand. Do you have a video tutorial or pictures of how each round is supposed to look?
Yes, but it’s VERY old. Hoping it will help you a bit anyway.
https://www.youtube.com/watch?v=AH_Q370Mm_8
I’ve got it now I figured out where I was going wrong: I work into chains differently than you do. All fixed and I have two cute little booties to gift. Thank you!
OH good! So glad you got it!
How much yarn does it take to make the 0-3 month size?
Hardly any at all, this is a tiny project! less than 1/4 of a regular 5oz skien.
I am so glad to have found your pattern for the crocheted Mary Jane booties. They are exactly what I wanted to make for the newest little member of our family, Dorothy Jane. Thank you for sharing this pattern, and many more.
You are very welcome! Congrats on the new addition!
Row 3 is exactly the same as row 2. I don’t see how you can get 42 stitches out of that.
You are working another stitch in between the increases, so it’s not exactly the same. You are adding 8 sts: 3 around the heel and 5 around the toe.
For the different colored soles.. Are you sc in the same stitch that you slip stiched in or are you chaining one and turning? When I sc in the same stitch I slipped stitched in after chaining one I end up with extra stitches:( pls help
Hm, can you provide which step you are working on? I am not sure which part you are referring to.
So on step 3 before step 4 first of all, should the stitch marker be where you slip stitched and tied off or the stitch before that? Second, I keep ending up with an extra two stitches after completing round 5.. I figure it’s from putting the Sc in the same stitch as the chain one which is the stitch u slip stitch in correct? Am I not supposed to be counting the previous slip stitch and chain one in the next row?
Sorry for the confusion, I did the one toned ones and they came out lovely
The stitch marker will stay where it you had it in previous row, in the last stitch of the row. For this pattern, you will work the first st in the same st as the chain, therefore you will NOT count the sl st nor the chain 1. Be sure to join the row in the first SC not the chain. Does that make sense?
Yes makes sense. Couple more questions sorry, are you supposed to work in blo just for the joining of the new color or the whole 4th step? And is the slip stitch at the end of row three supposed to be the 42nd st? Or the stitch after that and then u add the color to the 42? Sorry and thank you for ur time and help
The back loops only gives the sole a bit more defined look (you can see the line when you look at the photos) so you will do the whole row. The slip st doesn’t count as a stitch, you are joining the new yarn at the stitch marker. Did you use a stitch marker through the first 3 rows?
At the end of rows 1 through 7 I know alot of people join end rounds with a slip stitch do you not join the end of rounds 1 through 7 with a slip stitch I didn’t see anything in the pattern about it so just wanted to make sure???
These little shoes are worked in a spiral, which is another common technique.
Hello! What a beautiful pattern! I was wondering about Row 7. On the video you say that Row 7 is hdc followed by dc. In the written pattern for 0-3 months Row 7 is worked sc and then dc. I didn’t know if it is different because of a smaller size or maybe a typo. Should I follow the written tutorial of sc followed by dc or the video tutorial of hdc followed by dc? Thank you!
Hello! I have updated the written pattern to my liking but haven’t updated the video yet. The video will work out and the written pattern will work out, but you need to pick one of them to follow.