
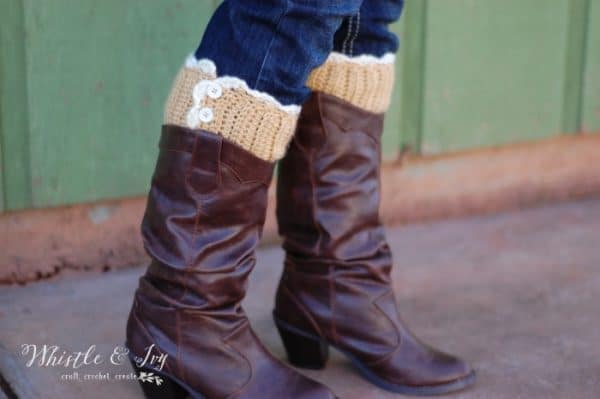
I know we are all thinking about spring, (ahem…right here) but I have one more warm, wintry pattern to share. Maybe you can put these lacy boot cuffs in your queue for next winter, or maybe you can travel to WY and realize that is it still very much winter there. (We drove through a blizzard in WY this weekend!)

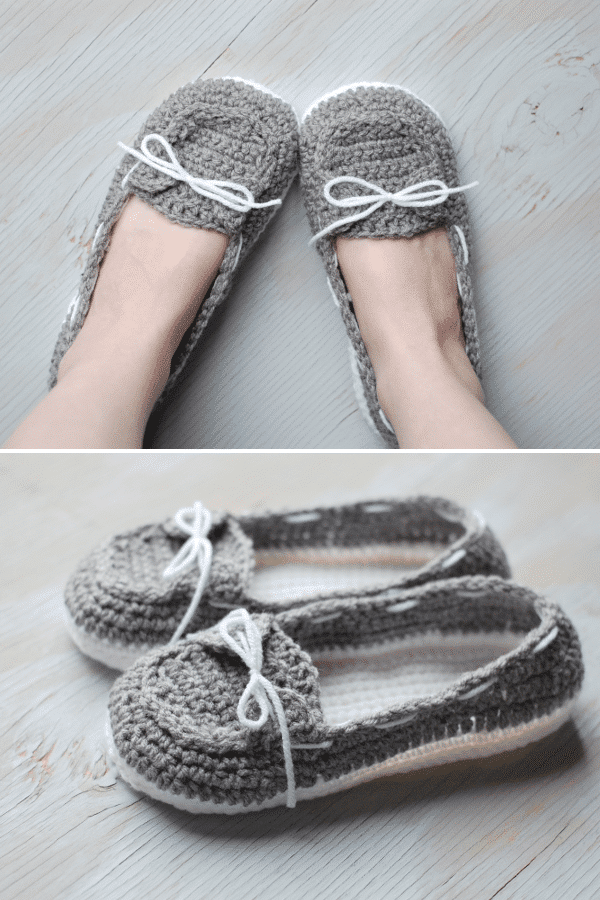
These boot cuffs are pretty easy, and the button and lacy detail are cute and fun.
***You are welcome to use this pattern to make items in your crochet shop, however you MUST link back to this blog post in your listing. And DO NOT redistribute this pattern. If you wish to share, share the link to this page. Redistribution is theft, so please, be kind and link back. Thanks for your cooperation!***
Lacy Boot Cuffs:
What you need:
-Medium Weight Yarn in 2 colors
-G hook
-Tapestry/Yarn Needle
Ch 25
1. Hdc 2nd ch from hook Hdc 23. Turn.
2. – 37. (back loops only)Ch 1. Hdc in same st. Hdc 23. Turn. You can work more rows here to make your boot cuffs larger.
Left Boot Cuff:
38.
Hdc 12. (ch 1. Sk 1 st. Hdc into next st. Hdc 3) work 2 times. Ch 1. Sk 1 st. Hdc into last st. . Turn your piece 90 degrees and work a sc in same st. Sc all across the top(about 36 sts). Start at the bottom of the side with the button holes. The button holes with will to the left side, and your sc side with be to the left. Join your second color with a sl st. Ch 1. (in back loops only) (Dc 4 in next st, sk 1 st, sl st, sk 1 st)Repeat across the side and continue around the corner and across the top. Tie off.
Right Boot Cuff:
38.
Ch 1. Hdc in same st. (Ch 1. Sk 1 st. Hdc in next st. Hdc 3) work 3 times. Hdc 8. Tie off. Turn 90 degrees counter-clockwise. Join your yarn on the top long side, on the right. Your buttonholes should be to your left, at the top of the side. Join your yarn with a sl st and sc across the top (about 36 sts). Tie off.
Join your yarn in the same place your joined to do the sc across the top. Join with a sl st. Ch 1. (in back loops only) (Dc 4 in next st, sk 1 st, sl st, sk 1 st)Repeat across the top and continue around the corner and across the side. Tie off.
To close off your boot cuffs, sew from the edge up to the buttons, going in and out with the same color of yarn.

Are you looking forward to spring as much as me?
Like this post? Subscribe!

Join our Facebook Community! We need YOU!
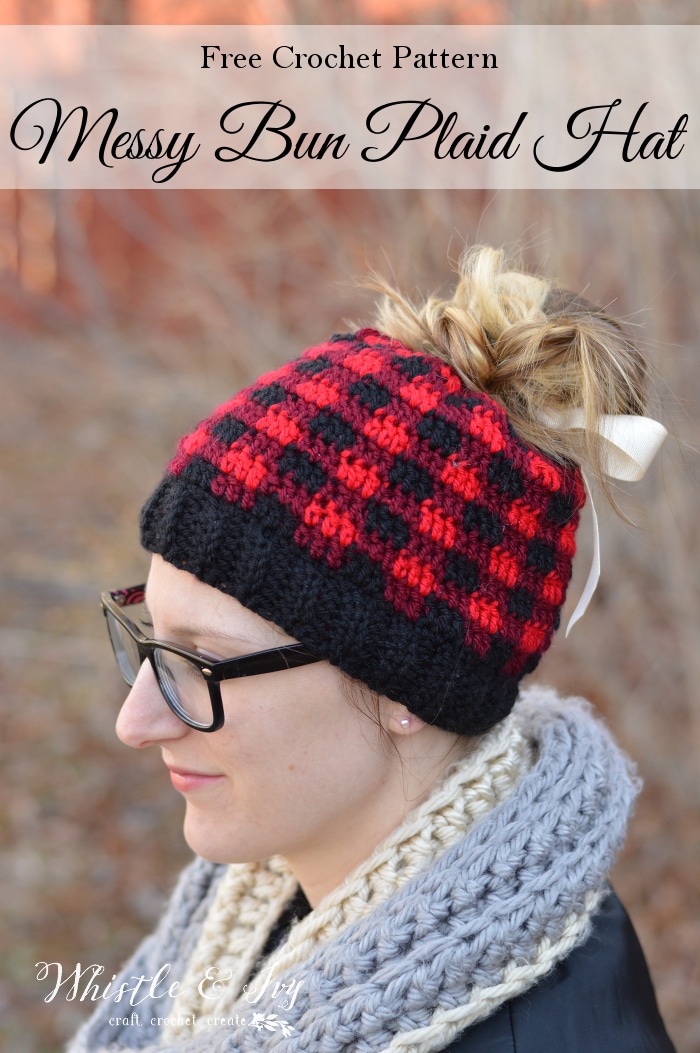
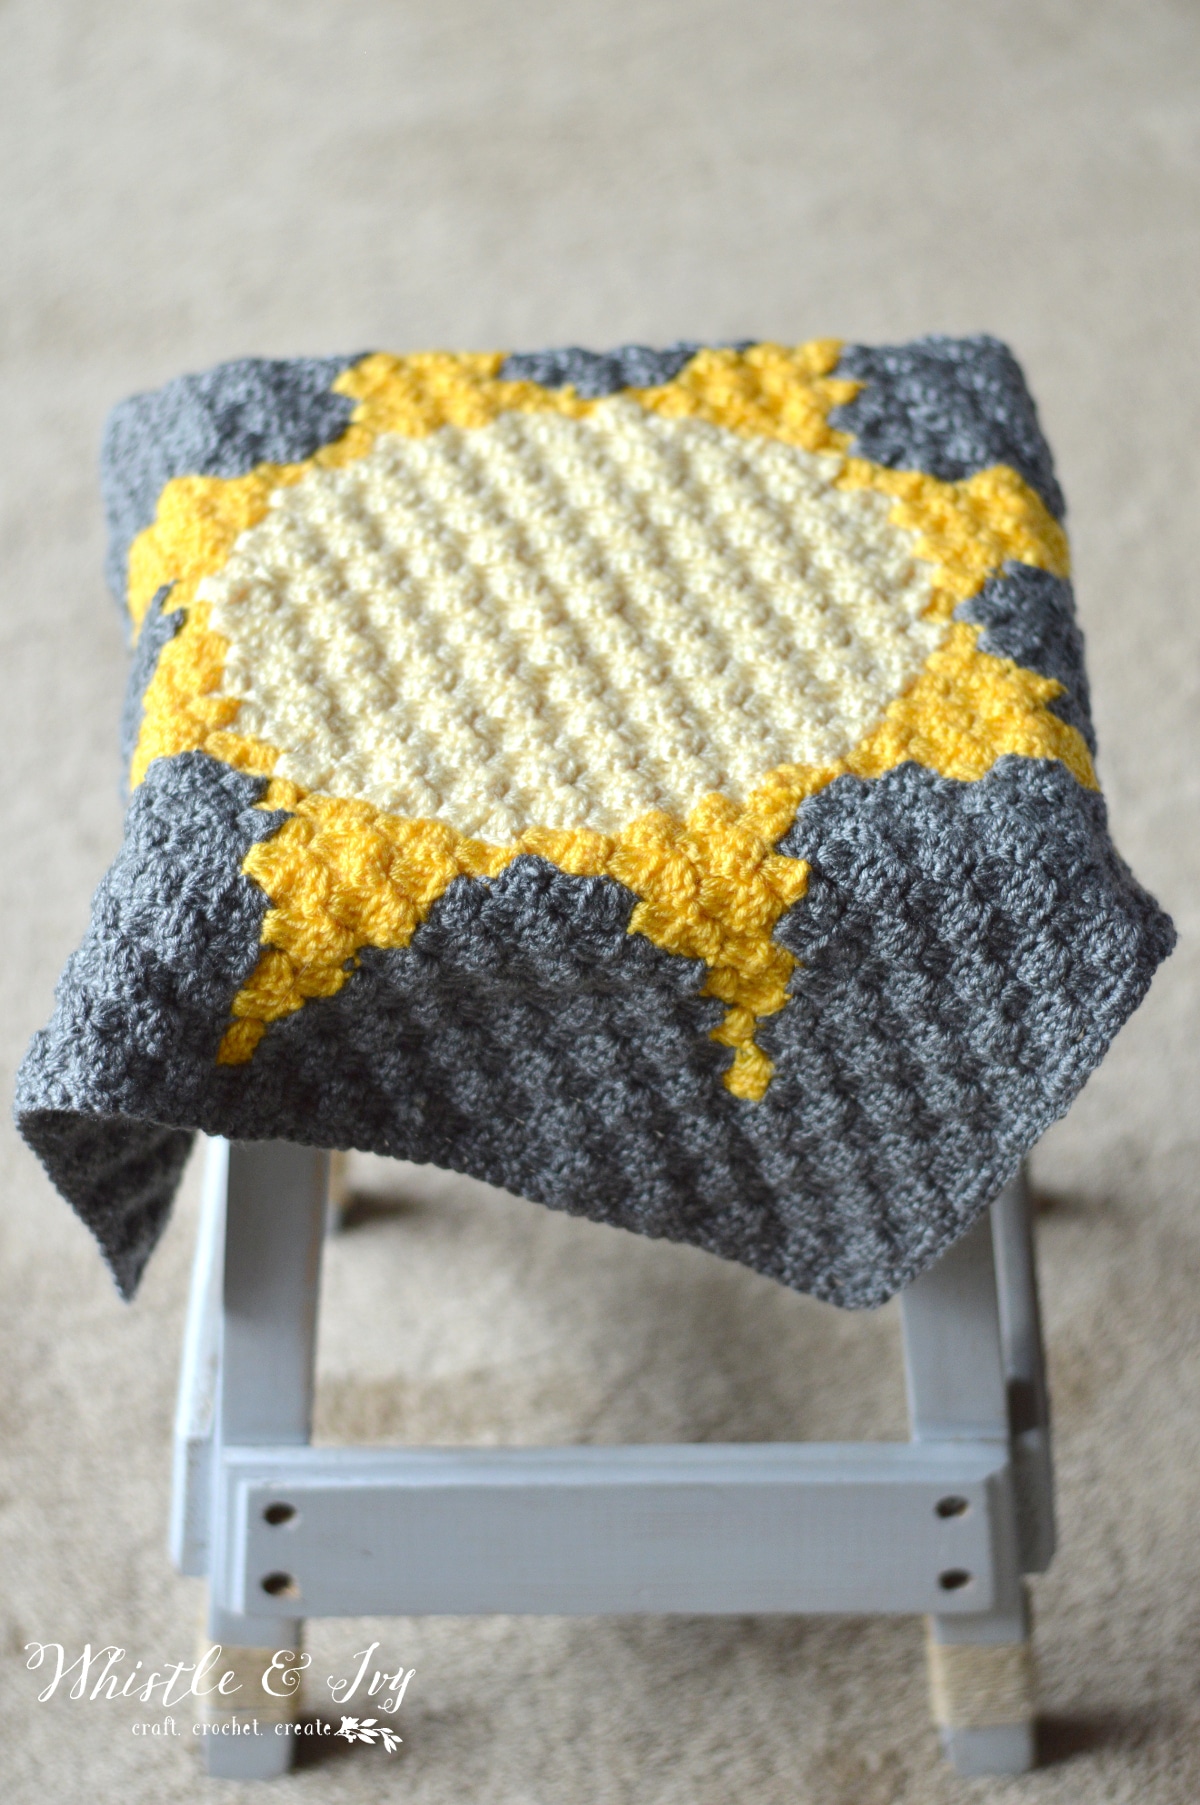
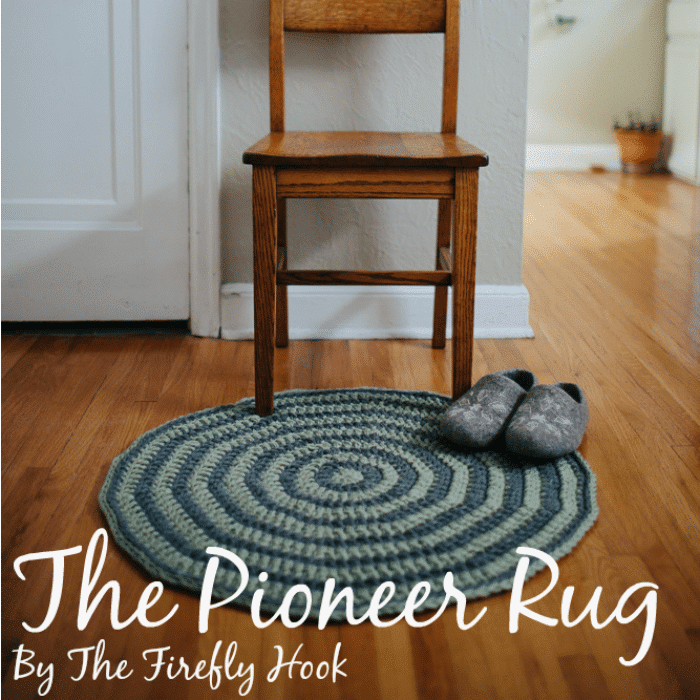
You my also like these:
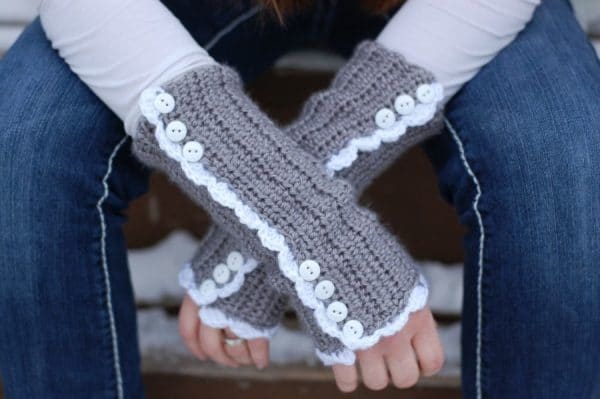


I can’t seem to locate a link for the PDF file so I can put this on my Kindle….I would love to make these and the arm warmers for my daughter.
Hi!
There is no PDF as of yet, but I am working on getting PDFs for all my patterns. Bear with me!
It would be really great if you could make a video for these boot cuffs, for all the visual leaners. Love the pattern<3
Thanks so much! I will hopefully be able to do that sometime!
Hey, I started this project for the boot cuffs and I am confused where it says -37 for step 2. What does -37 mean?
It means step 2 through step 37.
Omg now I see it. I feel stupid hahaha. I was reading step 2: subtract 37 and just couldn’t figure out what that could mean. Thanks so much. Love the picture! They look really cute. Can’t wait to finish and show them off!
No problem at all! Thanks so much :)
Using your tutorial and a book called I Taught Myself Crochet I am trying to teach myself how to make these for my daughter. When making part one it only took 26 rows of the 23 HDC stitches to reach all the way around her leg just a little below her knee cap.
I have a couple questions about the next part. I was wondering on your part 38it says: Hdc 12.(ch.1, sk 1 stitch, Hdc into next stitch, Hdc3). I was wondering with some being in parenthesis and some not what does the parenthesis stand for ? Also would this part of stitching be the same for 26 rows as it is for your 37 rows? Thanks for your help.
Shelly P.
Hi Shelly,
The parenthesis are around a whole part that is supposed to be repeated. This part is making the button holes, so you will repeat the entire sequence the indicated number of times. This would stay the same because there are only buttons on the top, so just adjust the rest of the stitches accordingly.
Hi,
I love these so thank-you for sharing your pattern. I’m really not sure yet how to figure out what you mean in steps 38 and beyond, but also if I add extra rows after 37, will that affect your instructions for the ending? Thanks.
Jenn
Hi Jenn,
You are welcome! Yes, you can add extra rows, just come back to 38 when you are ready to finish. And can you explain further what is confusing you? 38 is making the edge and button holes. To make button holes you need to skip stitches, is that what is confusing you?
I got 27 rows done and I am close to a foot so I used a H cuz I couldnt find my G I dont understand the second 1/2 of the instructions “left boot cuff: 37. I would also like to see a picture of the whole thing please thank you
Ooops, that is a typo! It should be step 38, not step 37. Sorry!
Oh my heck, Bethany you have been holding back with me. These are so cute. You have to teach me how to make these. I tried reading the pattern but it was greek to me. So after all the baby and the move if you could find the time I would love it. Love ya, Kellie
Haha! Thank you so much! I can definitely do that :) Maybe the abbreviations are scaring you? I have all of them on my FAQ’s page. Once you have them memorized, it’s much less intimidating! <3
http://www.whistleandivy.com/faqs