
Happy Fall! I’m not sure why I never thought about posting this how to make a pom-pom tutorial before. I’ve recently had several readers leave comments wondering how to make a pom-pom, which are the perfect finishing touch for crochet hats and scarves. Although I have a Clover pom-pom maker, and I find it’s a very useful tool, it’s not necessary to make a pretty one! This tutorial will show you how to make a pom pom and almost as important: how to attach a pom-pom to your finished project.

I do use my pom-pom maker, but you really don’t need to make yarn pom-poms. In fact, I have a yarn pom-pom maker and I prefer this method for large, or very small-sized pom-poms. It’s very useful to know, so grab a skein of yarn, some scissors and lets start making pom-poms!
[convertkit form=711319]
HOW TO MAKE A YARN POM-POM (AND ATTACH IT!)
What you need:
– Yarn scraps
– Scissors
– Sharp Darning Needle

You’re tired of sifting through complicated tutorials and patterns that leave you feeling overwhelmed.
Let me help.
PICTURE THIS:
Instant access to a library of modern, easy-to-follow patterns
Gifting your handcrafted treasures to your loved ones.
Feeling accomplished by your beautiful makes
It’s time to make your crafting experience as joyful as it should be.
STEP ONE:
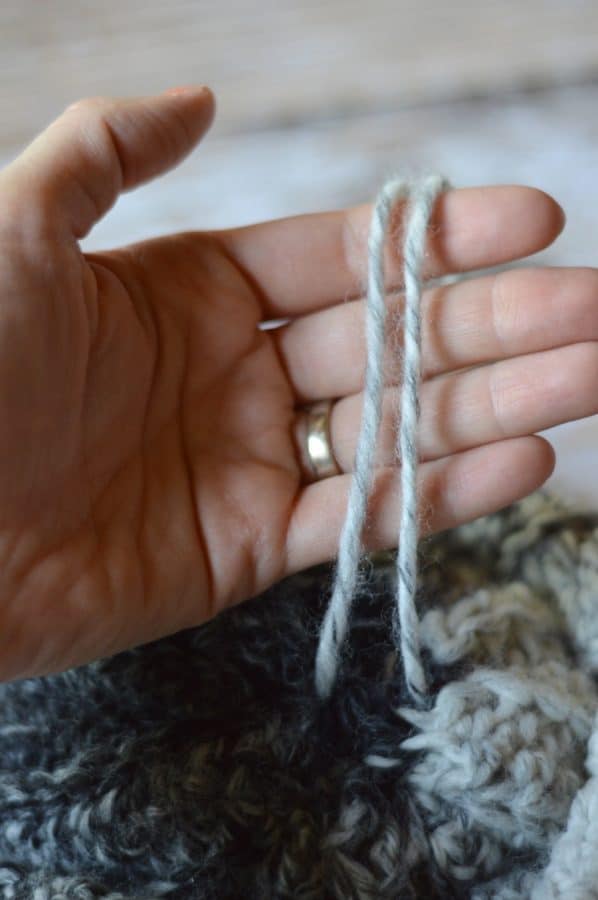
Start with your preferred color of yarn. Take the end and snip a 12″-24″ length and set it aside.
Start wrapping the yarn from the the ball around your fingers. 3 or 4 fingers makes a regular, adult-sized pom-pom for a hat, but you can make a few and decided which size you like.
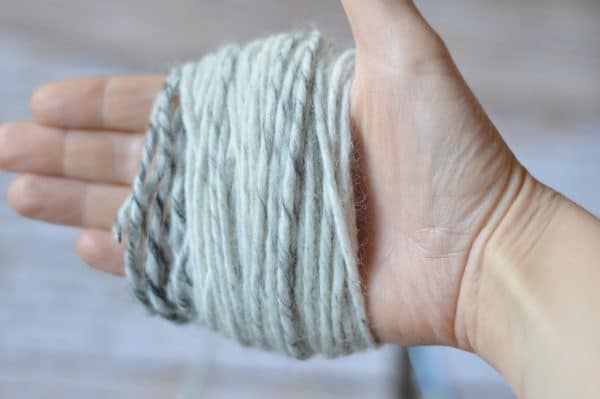
Wrap it many times. In fact, wrap it more times than you think you need to. You want your pom-pom to be nice and full and it requires more yarn than you realize.
Keep in mind, the bigger you want your pom-pom, the more times you need to wrap it. When you leave the yarn long on the pom-pom, it spreads out more, making it look less full. So if you are using the widest part of your hand, keep wrapping!
STEP TWO:
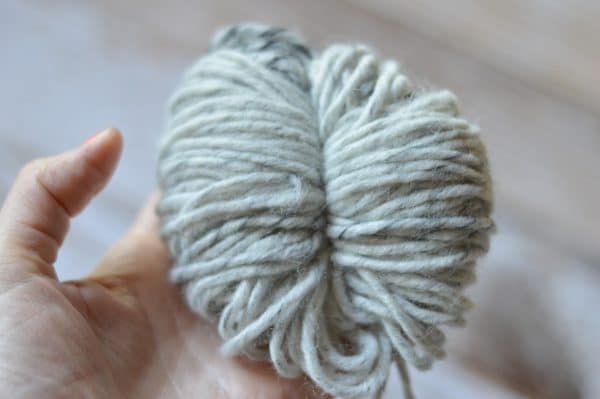
Once your pom-pom is as full as you need it, pull it off your fingers, holding it firm so you don’t loose any loops.
STEP THREE:
Take the yarn you cut previously, and tie it around the middle. You might need a second pair of hands here as you tie the knot because it’s very important that it’s tied as tight as possible. If it’s loose at all, the yarn pom-pom will easily come apart.
STEP FOUR:
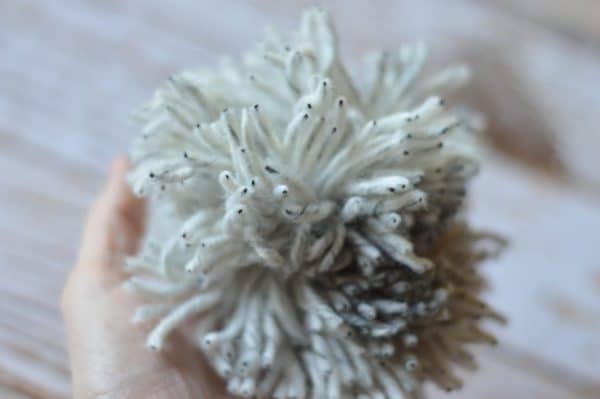
Once the knot is tied, cut all the loops. The yarn will fall into a haggard, overgrown pom-pom shape.
STEP FIVE:
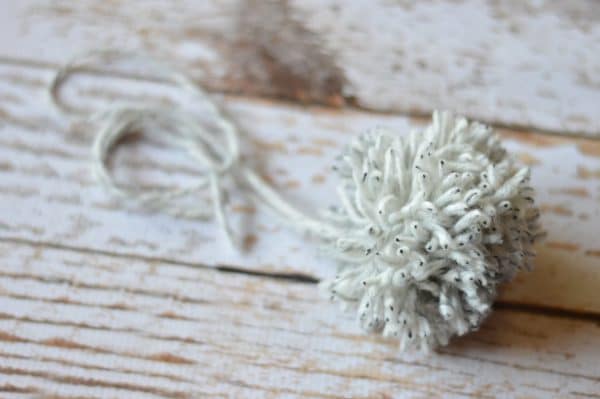
Finish your pom-pom by giving it a nice, round haircut. Don’t get carried away! It’s easy to go crazy and cut a side too short. This part takes practice, once you make 2-3, you will get the hang of it. (For easier clean-up, you can do this part right over the garbage can.)
Make sure you leave the two ends of your tie piece long.
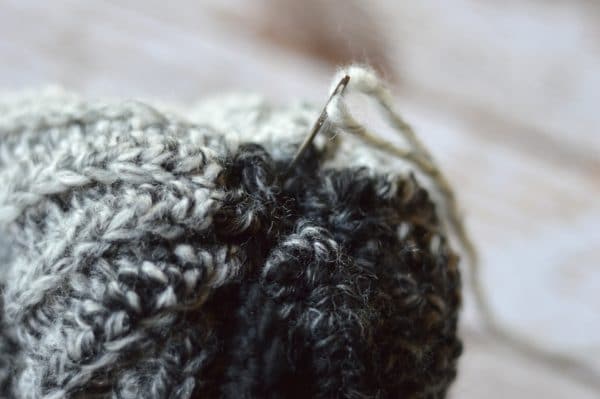
HOW TO ATTACH A POM-POM
A floppy, unsecured pom-pom happens when you simply use the two ends to sew it to your crochet piece.
To attach a pom-pom more securely, use a yarn needle and one of the attached ends of the pom-pom, push the needle through the top of the hat. This hat is gathered at the top, so I am working around the gathering.
Then, push the need up through the hat.
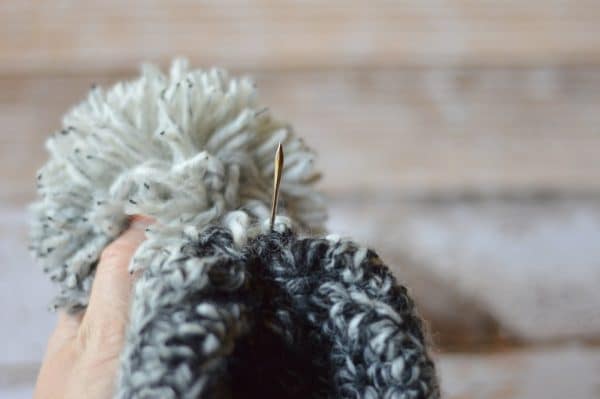
Then, take your needle up through the bottom of the pom-pom, right up the middle.
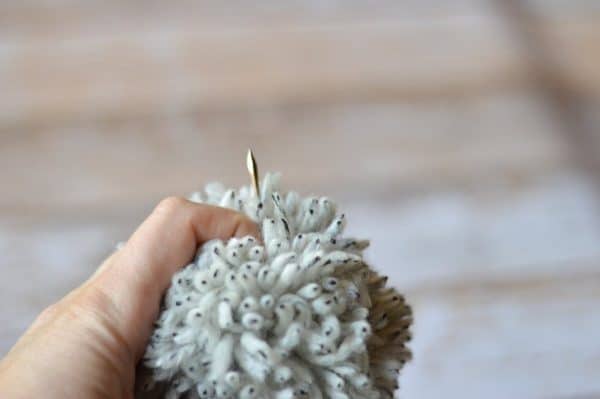
Next, go down through the middle of the pom-pom, and again down the hat. You will work in a circular sewing pattern around the top of the hat, but will always go straight up and down through the middle of the pom-pom.
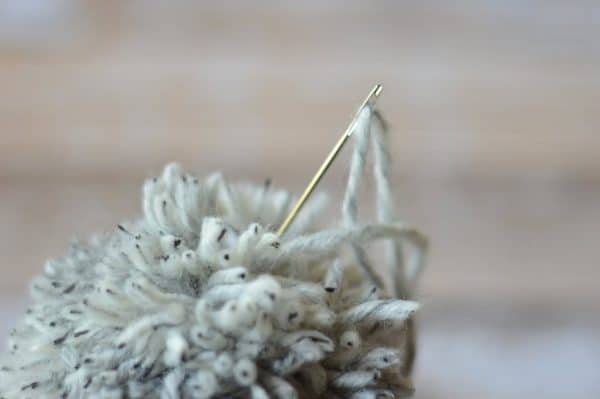
Once you have sewn a circle around the top of the hat, (6 or 7 stitches) pull both ends of the yarn through to the inside of the hat and tie a sturdy knot on the inside of the hat (or underside of your project).
This will keep those beautiful pom-poms in place!
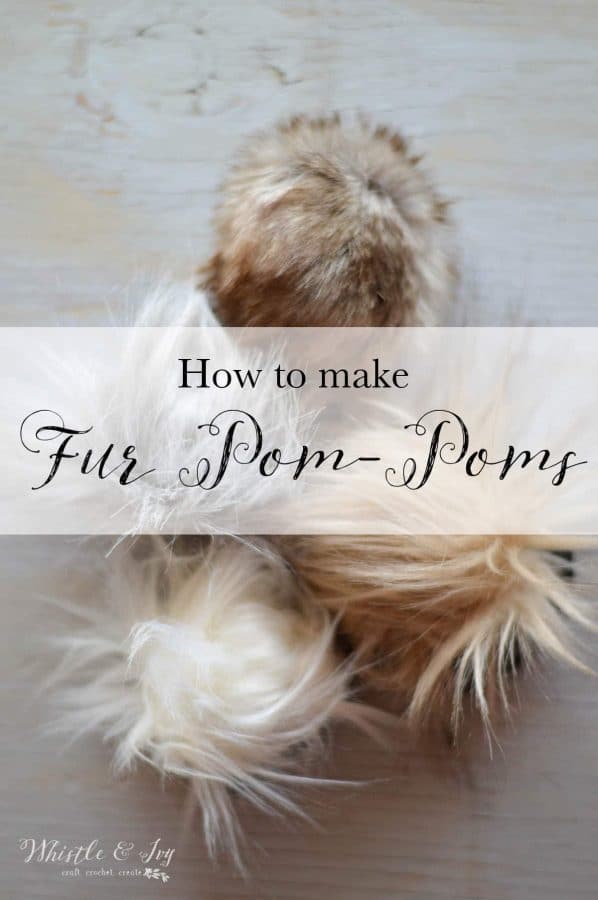
And check out my tutorial for DIY Fur Pom-Poms, you can make those yourself too! And once you learn how, you will wonder why you haven’t been doing this the whole time!
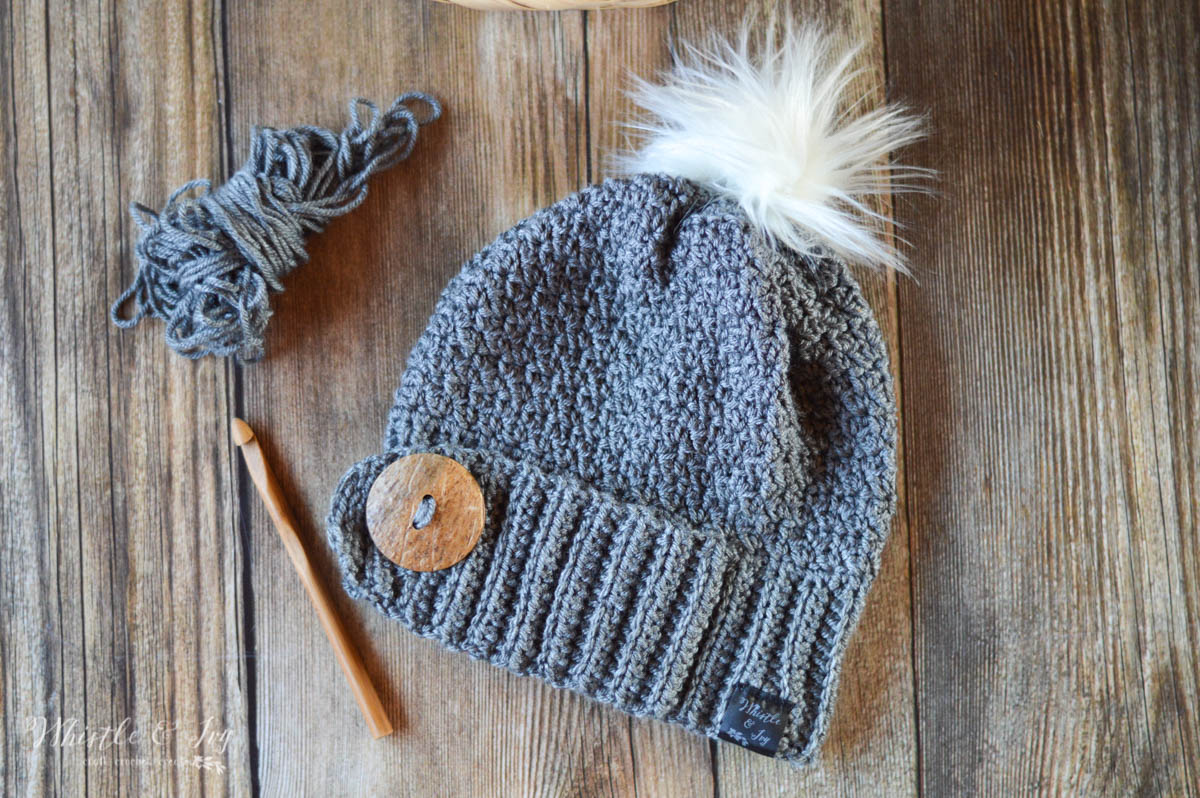
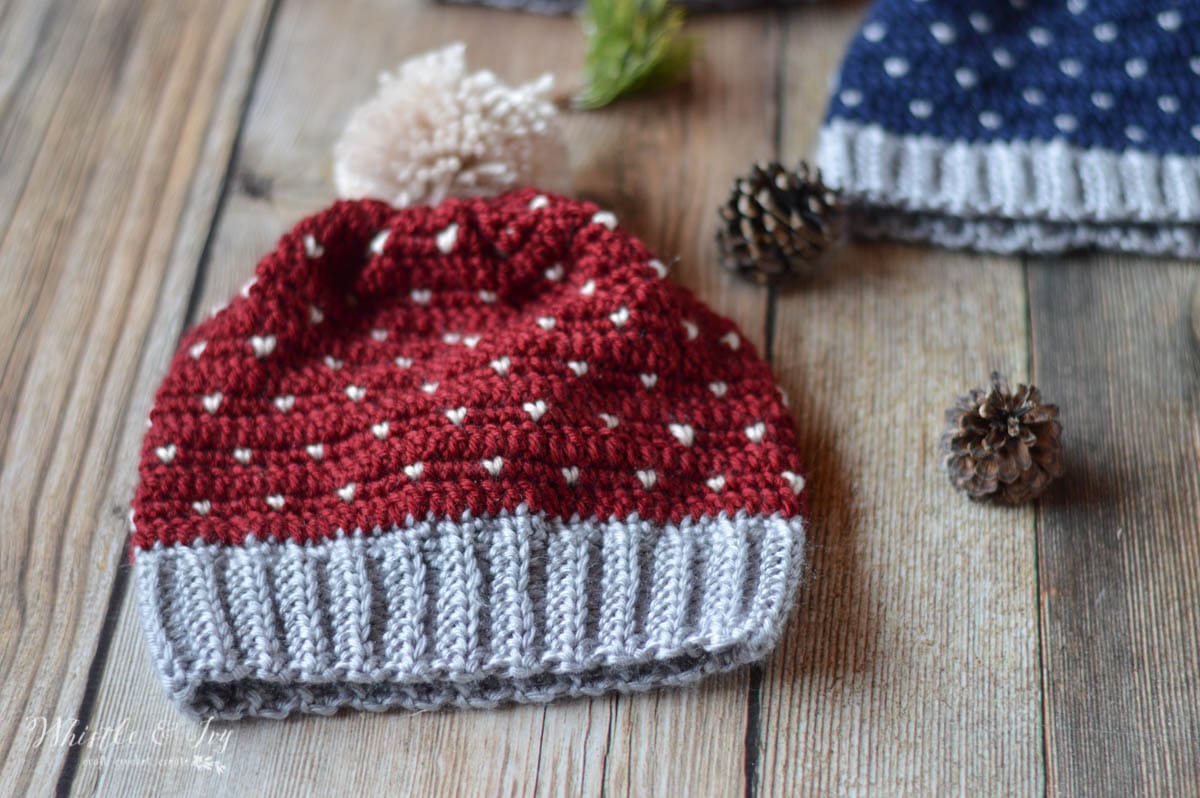
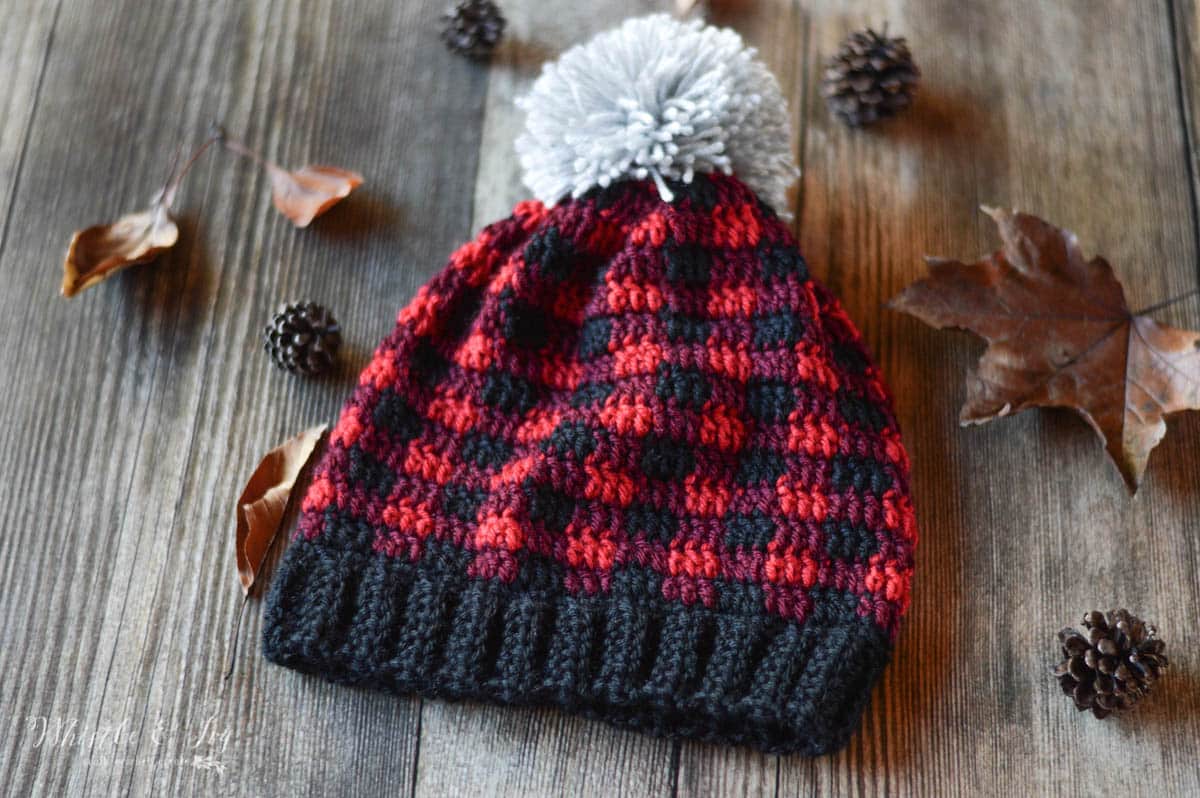
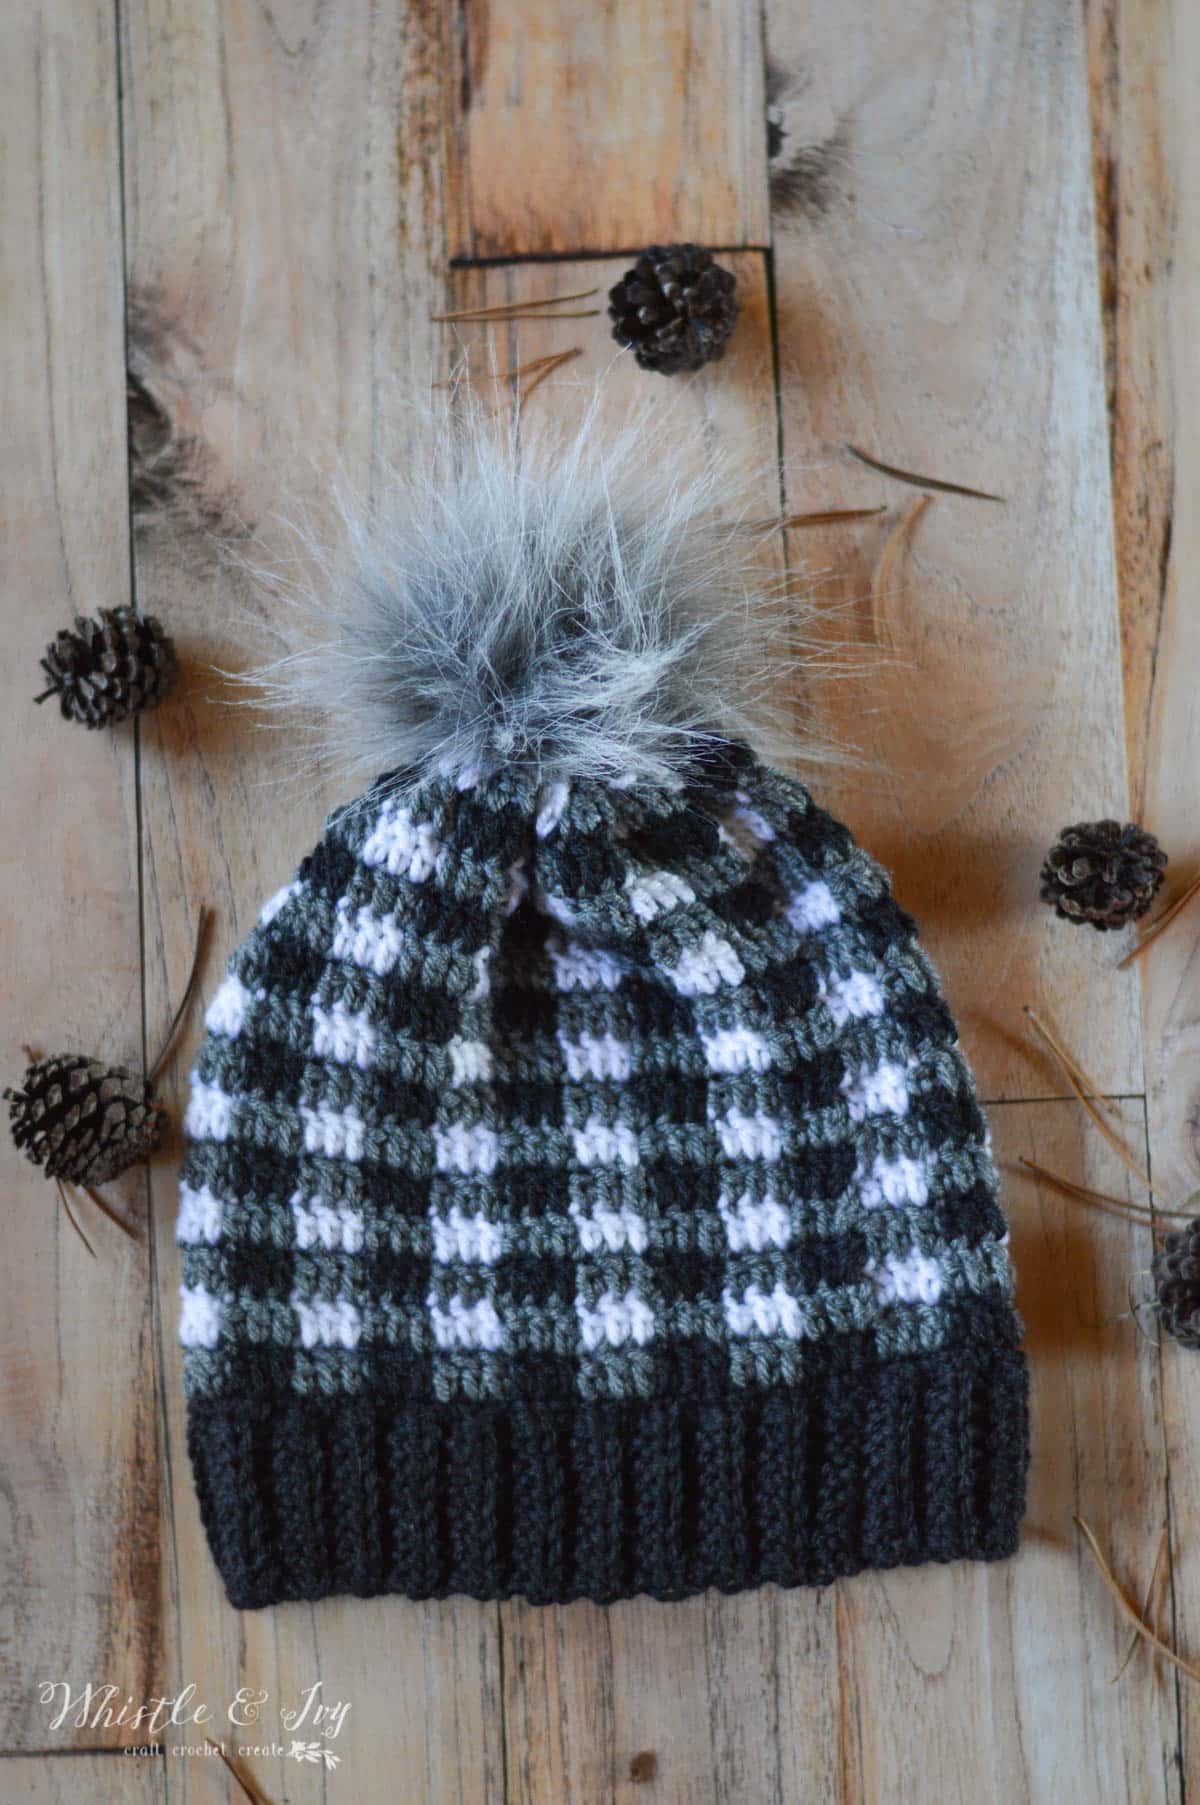
Want a hat to put these pom-poms on? Try these:
xoxo,


Thank you so much for this tutorial! I have been struggling to make pom poms for my hats and struggling even more at attaching them so this really helped. I made hats for my friends and they love, love, loved the pom poms!
You are so welcome!
Wonderful tutorial!! I love it.
Thank you!
I am having trouble centering the pompom on the top of the cap. Any suggestions.
Does your top cap have a center hole? I usually go in and out through that hole and it centers it pretty well.
Hi just curious would this work with a pillow to stitch it on for a small design? And if so do you pull through both strings and stitch them both in a circle or do u just stitch one in a circle n the other you pull through when your done to tie it up? Thanks 🙂
Yes, I would attach them the same way you would a hat. You could tie them simply with the two strings, but it depends on whether you want them to be firmly attached or a bit loose. Stitching them in a circle would make them very firmly attached.
I started making tobbogans with knitting looms, and wanted to add pompoms to some, but had no clue about the best way to make one. Your tutorial was the first one I found when searching Google, and the one I’ll use as it seems so simple. Both the making and attaching. Thanks so much for instructions anyone can understand.
You are very welcome!
I love the hat, but I especially love your method for making pom-poms. I have a pom pom maker but always struggle with it. I just made one with your method, and will pitch the makers into a junk drawer. Thank you so much!
You are very welcome! I am glad it works for you!
Bethany, thanks for making this hat available. We live in South Florida and this grandson will visit Chicago early December. After many hours of searching, we found your hat and loved it.
The baby will be warm and happy. He loved trying it on today. You rock.
So glad! You are welcome!
How many fingers would you use for a pompom for a child’s hat (1-6 years)? And what if you wanted to use more than one color? Thanks for any help (and sorry about the questions!)
Don’t apologize for asking questions! I would maybe do three fingers.
Hi, I was wondering… can homemade pompoms go into the wash or will they totally fall apart? Thanks ever so much for any assistance / thoughts on how to go about ensuring lack of destruction!
I wouldn’t wash them!
Thank you! Very helpful. How do you attach the fur pom poms? I have struggled with those too.
It’s a bit hard to explain, I guess I should do a video!
Thank you so much for this! I have been struggling with the best technique to keep them in place. This is perfect :)
You’re welcome!
I loved the ease of paying $1.25 to paypal for a pdf pattern from you. I get so tired of trying to edit out some of the ads so I can get more pattern on a page. I’ve spent hundreds of dollars on pages for patterns that I ended up throwing away because when I cut out what I needed, I had more trash than pattern!
I’ll certainly do this again. Thanks for the great pattern. I crochet all the time and yet, I love having a pattern to refer to.
Katy Horn
You are very welcome!! I am glad they are so useful to you!!
Thank you for your technique <3
You’re welcome!
I want to crochet woman’s flip flops or something close please show me pictures thank you abarra729@gmail.com
Just what I needed. Thank you so much.
You are welcome!
Thank you for this tutorial!! I have struggled with attaching the pom pom and you made it so easy. Now to hone my shaping skills….
You are welcome! The shaping is tough. My pom-pom ends up being half the size when I am done ;)
I’m a sucker for a pom!! Thanks for linking up to Merry Monday! Sharing on the MM Pinterest board! Have a great week!
Kim
Thanks so much!
Hi Bethany, I’m itching to knit to a blanket with pom pom fringe…so thanks for the pom pom tutorial. Have a fantastic day!
Lynn
You’re welcome! Glad it was helpful to you!
Thanks for the pompom instructions. I have a PPmaker too, but this sounds so much easier and the sewing on, great, avoids the ever floppy PP.
D
The flopping is the WORST isn’t it!? I hope this is helpful to you!
It is very naice
Thanks! I hope it’s helpful to you!