
This tutorial is a review and is 100% my own opinion. I was provided products free of charge by Oriental Trading. No other type of compensation was received for this review.
I am loving all this state pride lately! SO many tutorials for cute state pride projects. I love this pendant, and I used this tutorial for map art to make a keepsake for a youth from my church who was moving to a different state. Well, I got these canvases from Oriental Trading, and have hung on to them for a while, trying to think of a perfect project to use them for. I decided we needed some state love in our home.
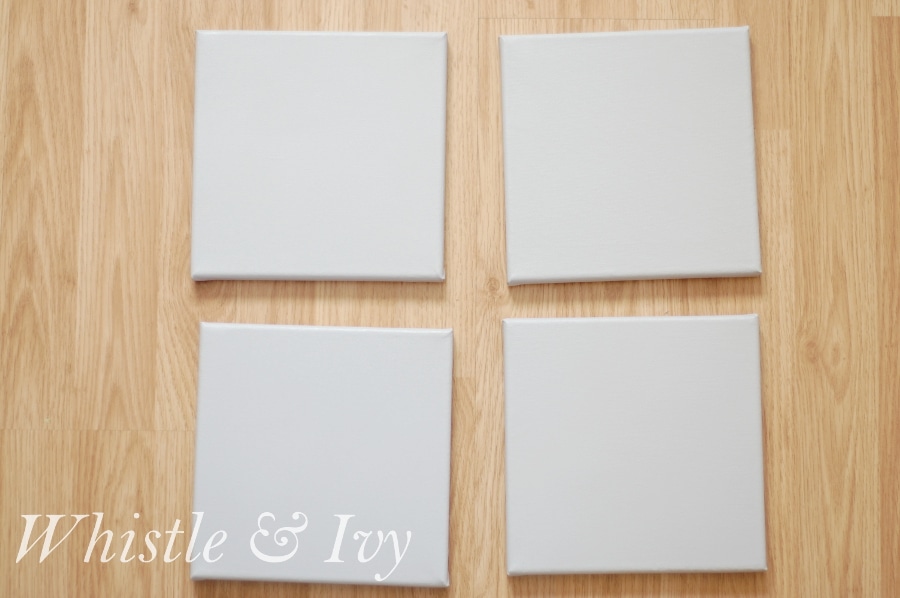
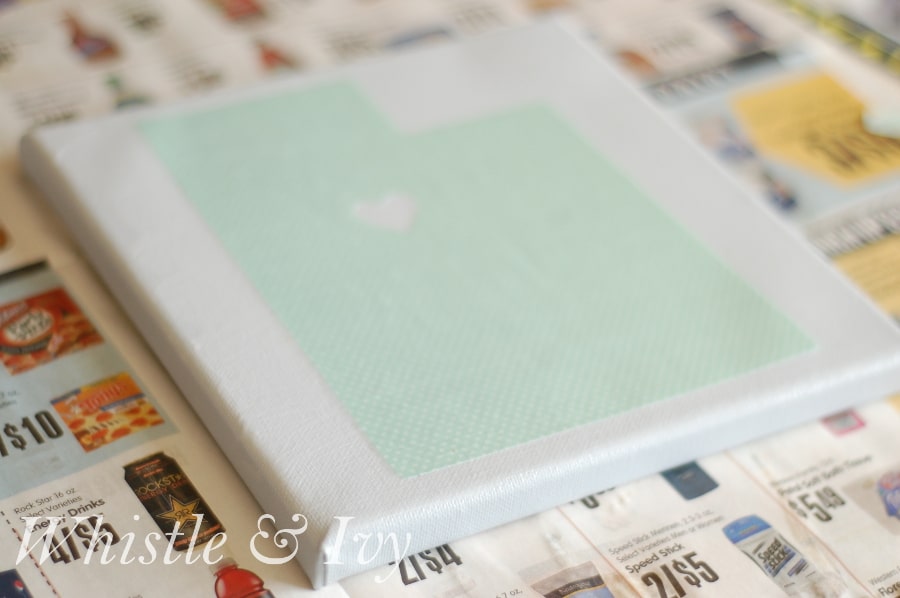
These canvases were a breeze to put together! These canvases come in a set of 4, so they are perfect for this project. Start by painting the canvases your desired background color. I chose this light gray acrylic paint. While it’s drying, work on your letters.
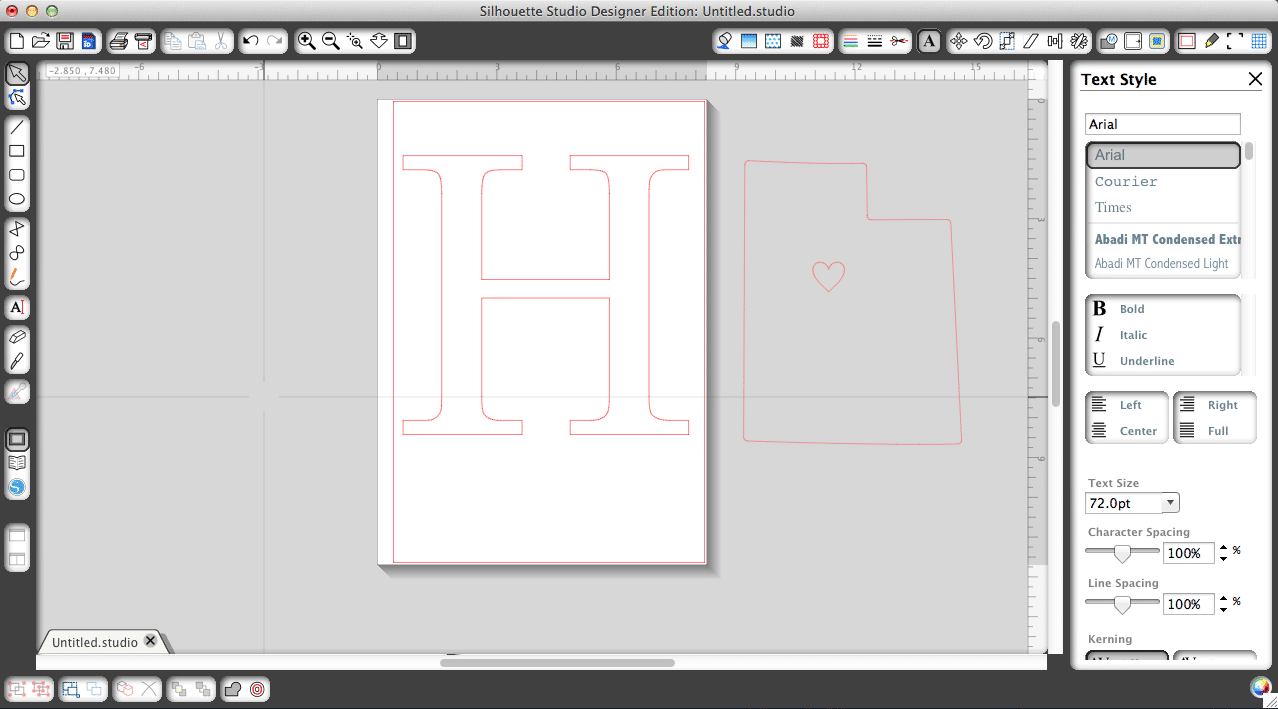
I used my Silhouette to cut the letters, but you can print your letters on your desired paper and hand-cut with scissors are an X-acto knife. Utah is a pretty easy state to cut ;) If you are using the Silhouette, start by adding your state image, I just found mine in the store. Stretch it to the size you want. My canvases are 8 x 8, so I stretched mine so they would fit on top. Then, pick your font and type one letter, and stretch it to match your state. I kept my state off to the side, and cut each letter one at a time, simply backspacing and typing the next letter in it’s place. Since my M was a bit wide, I had to pull it a bit narrower to fit width-wise.
Once you have your letters cut, paste them onto the dried canvases. Make sure to spread paste on the canvas and on the back of your letters. This part gets a bit tricky. I had to reposition mine a few times to get it perfect. The paper just became saturated with glue, that it felt more like paper mache than decoupage! If you are careful, the paper won’t rip and you can position it a few times until you get it right.
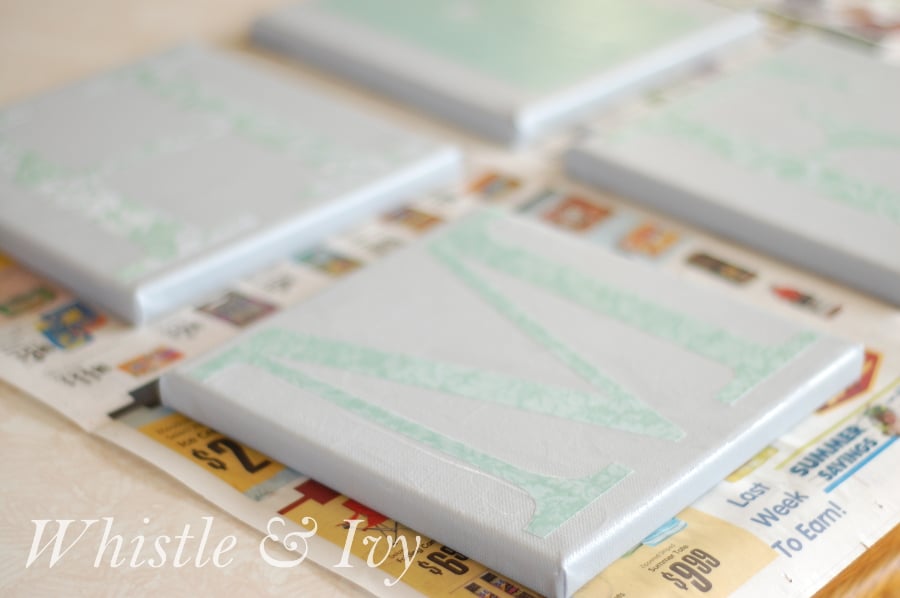
The state was the easiest! No thin pieces.
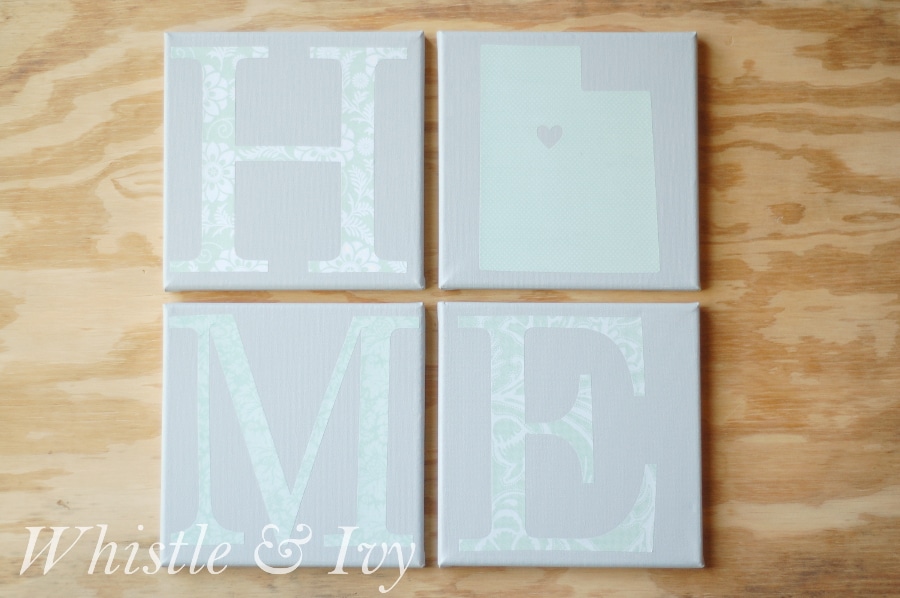
I finished with another layer of paste and let them dry. Now, I just need to decide where to put them!
Happy crafting,


Oh!!! I’ve been looking for new projects!!! I love this idea! Mostly because we moved to a new state & we are still trying to find an appreciation for this state. I think this would be a great addition to our home! Thank you!
Thanks so much Kaylene! I hope you learn to love your new place, each state has a reason to love it :)
What a cute idea! Our walls are almost saturated with art at the moment, but this is something I’d like to do in the future, when we live in a bigger house.
Thank you! Oh yes, it definitely gets that way here , too! We have lots of windows too, so that takes up wall space :)
Love it! Glad to see so much state pride lately.
Thanks! Me too!
Supercute idea!!
Thank you!