Skip to content
Facebook
Instagram
YouTube
Pinterest
SEARCH
Search
[All-Access]
PATTERNS
Expand
ACCESSORIES
ARMS + HANDS
BABIES + KIDS
BUFFALO PLAID
FEET + LEGS
FOR HOME
HEADWEAR
HOLIDAYS
NECKWEAR
TOYS
TIPS
Expand
COLOR WORK
QUICK FIXES + HACKS
CROCHET BASICS
Reviews
ABOUT
Toggle Menu
SEARCH
Search
Decor/Home
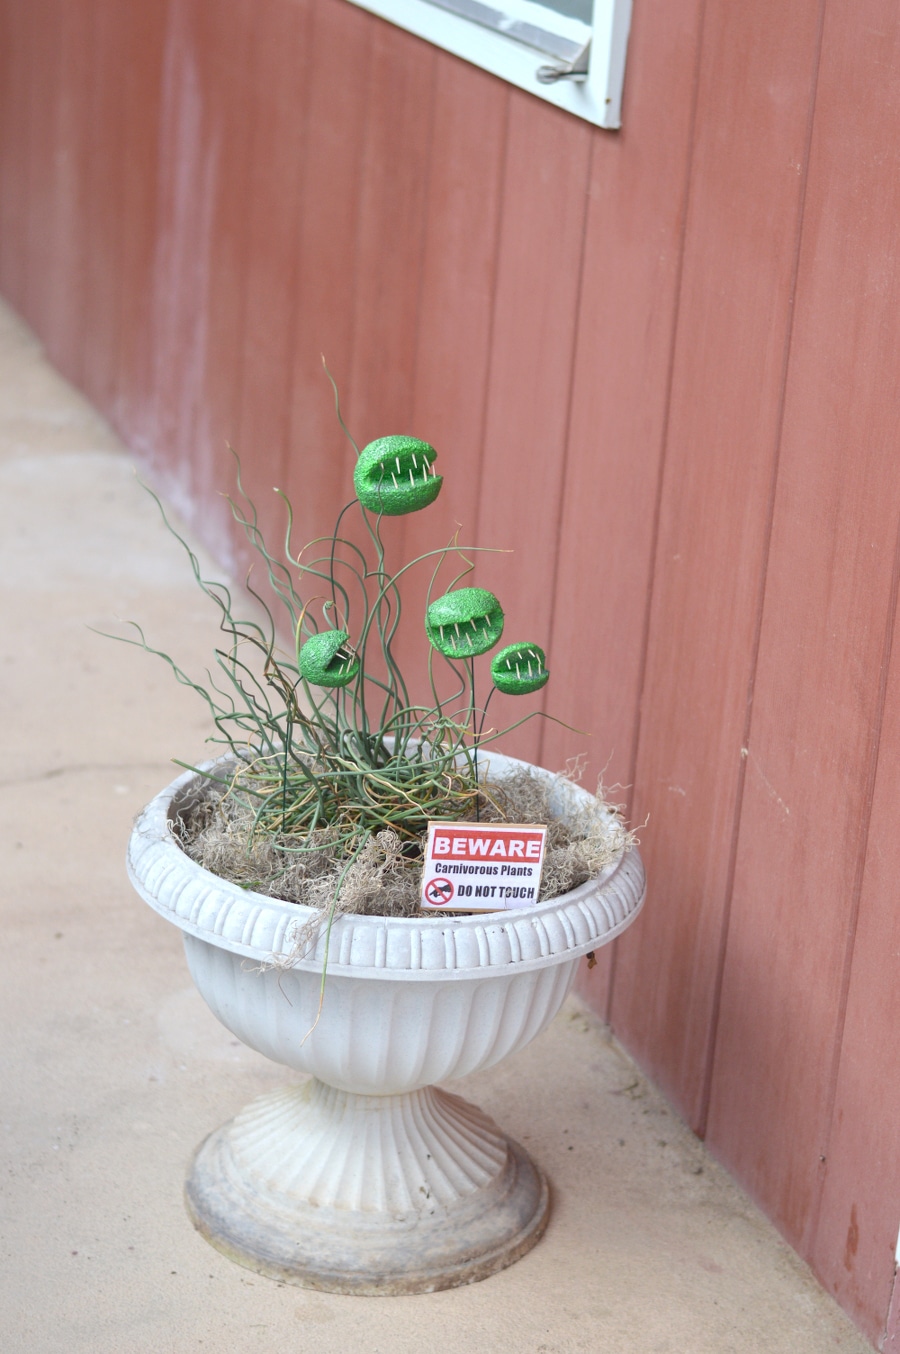
Carnivorous Plants Halloween Decor
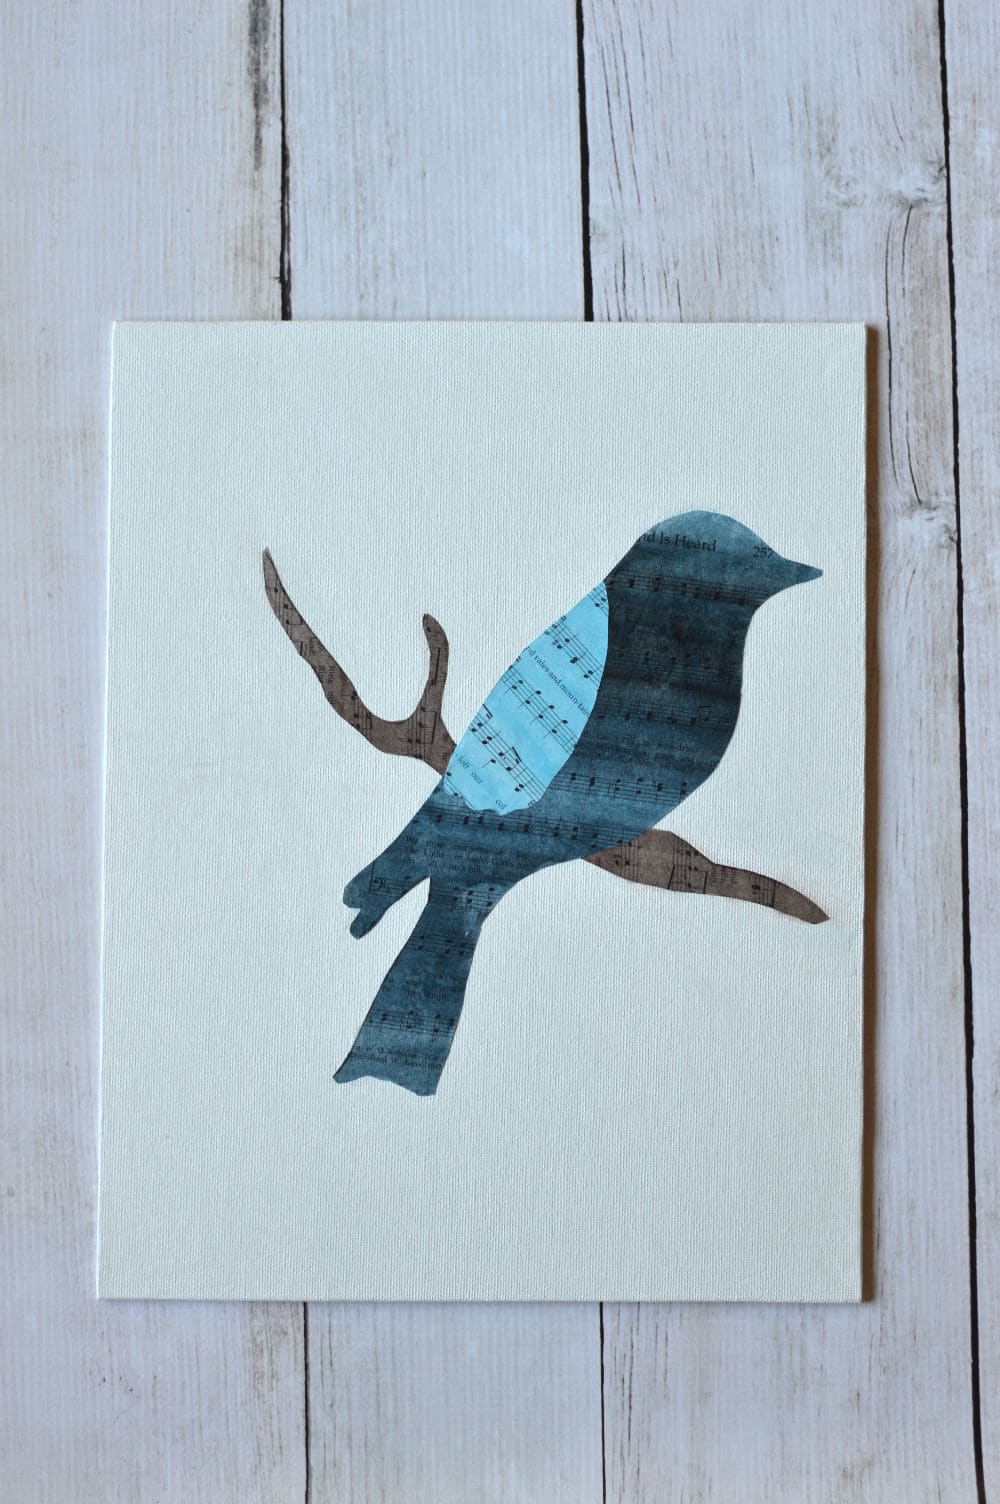
Watercolor Sheet Music Art
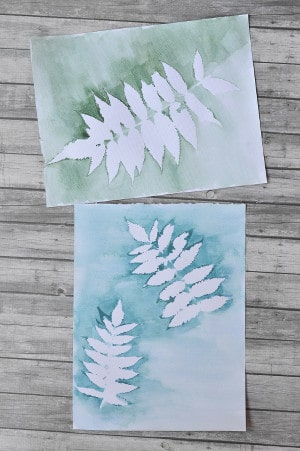
Watercolor Leaf Print
Concrete Countertops Over Existing Laminate
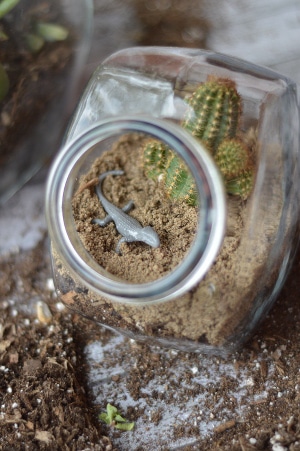
Candy Jar DIY Terrarium
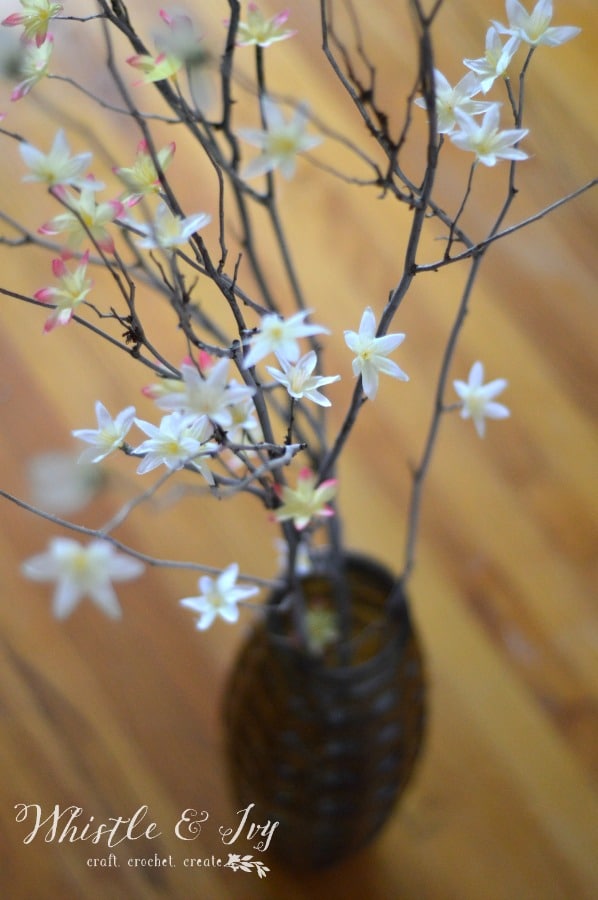
Twig Blossom Bouquet
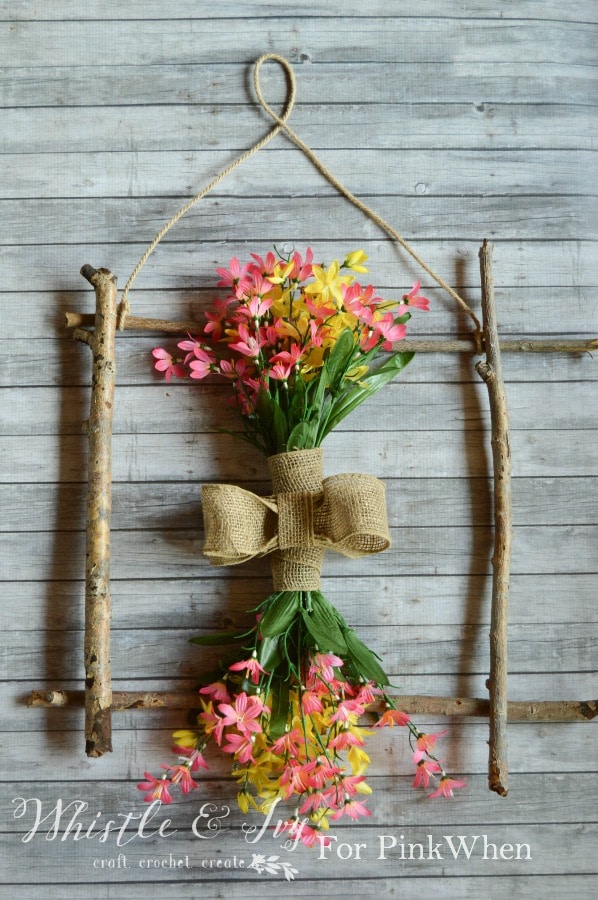
Found Stick Summer Wreath
15 Fabulous Jewelry Organization Ideas
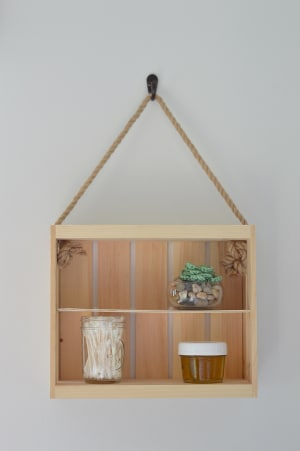
Simple Rope and Crate Shelf
DIY Trinket Dish
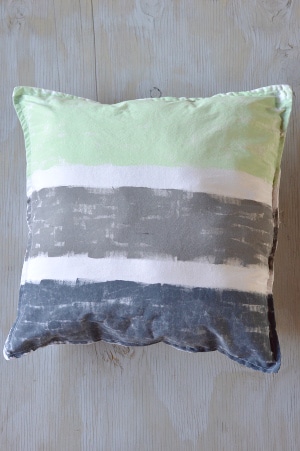
Hand-Painted Recycled Pillowcase Throw Pillow
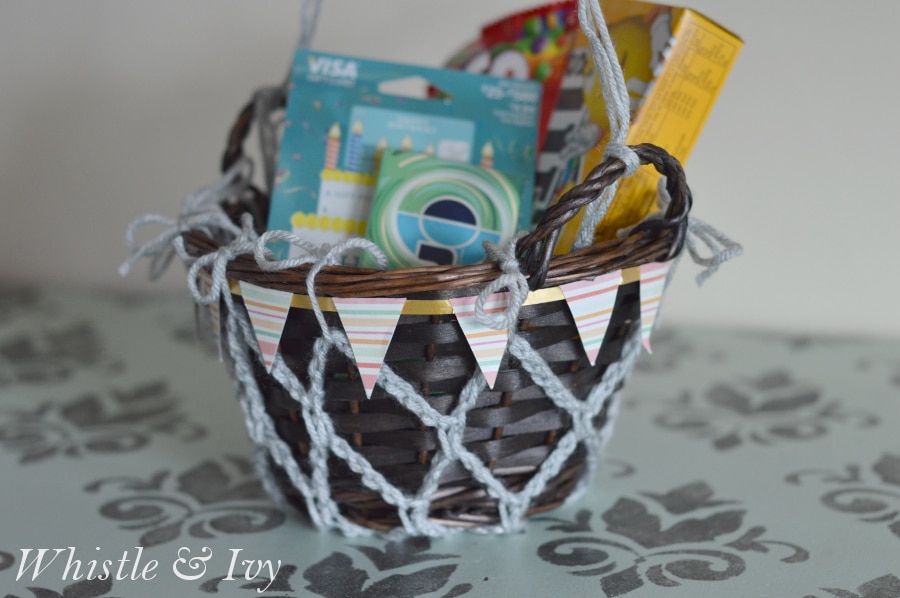
Gift Card Birthday Basket
Page navigation
1
2
3
Next Page
Next
FREE Mini Course
Make your crochet simpler and more enjoyable with easy and actionable hacks.
SUBSCRIBE!
Success! Check your inbox!
[All-Access]
PATTERNS
Toggle child menu
Expand
ACCESSORIES
ARMS + HANDS
BABIES + KIDS
BUFFALO PLAID
FEET + LEGS
FOR HOME
HEADWEAR
HOLIDAYS
NECKWEAR
TOYS
TIPS
Toggle child menu
Expand
COLOR WORK
QUICK FIXES + HACKS
CROCHET BASICS
Reviews
ABOUT
Toggle Menu Close
Search for:
Search