
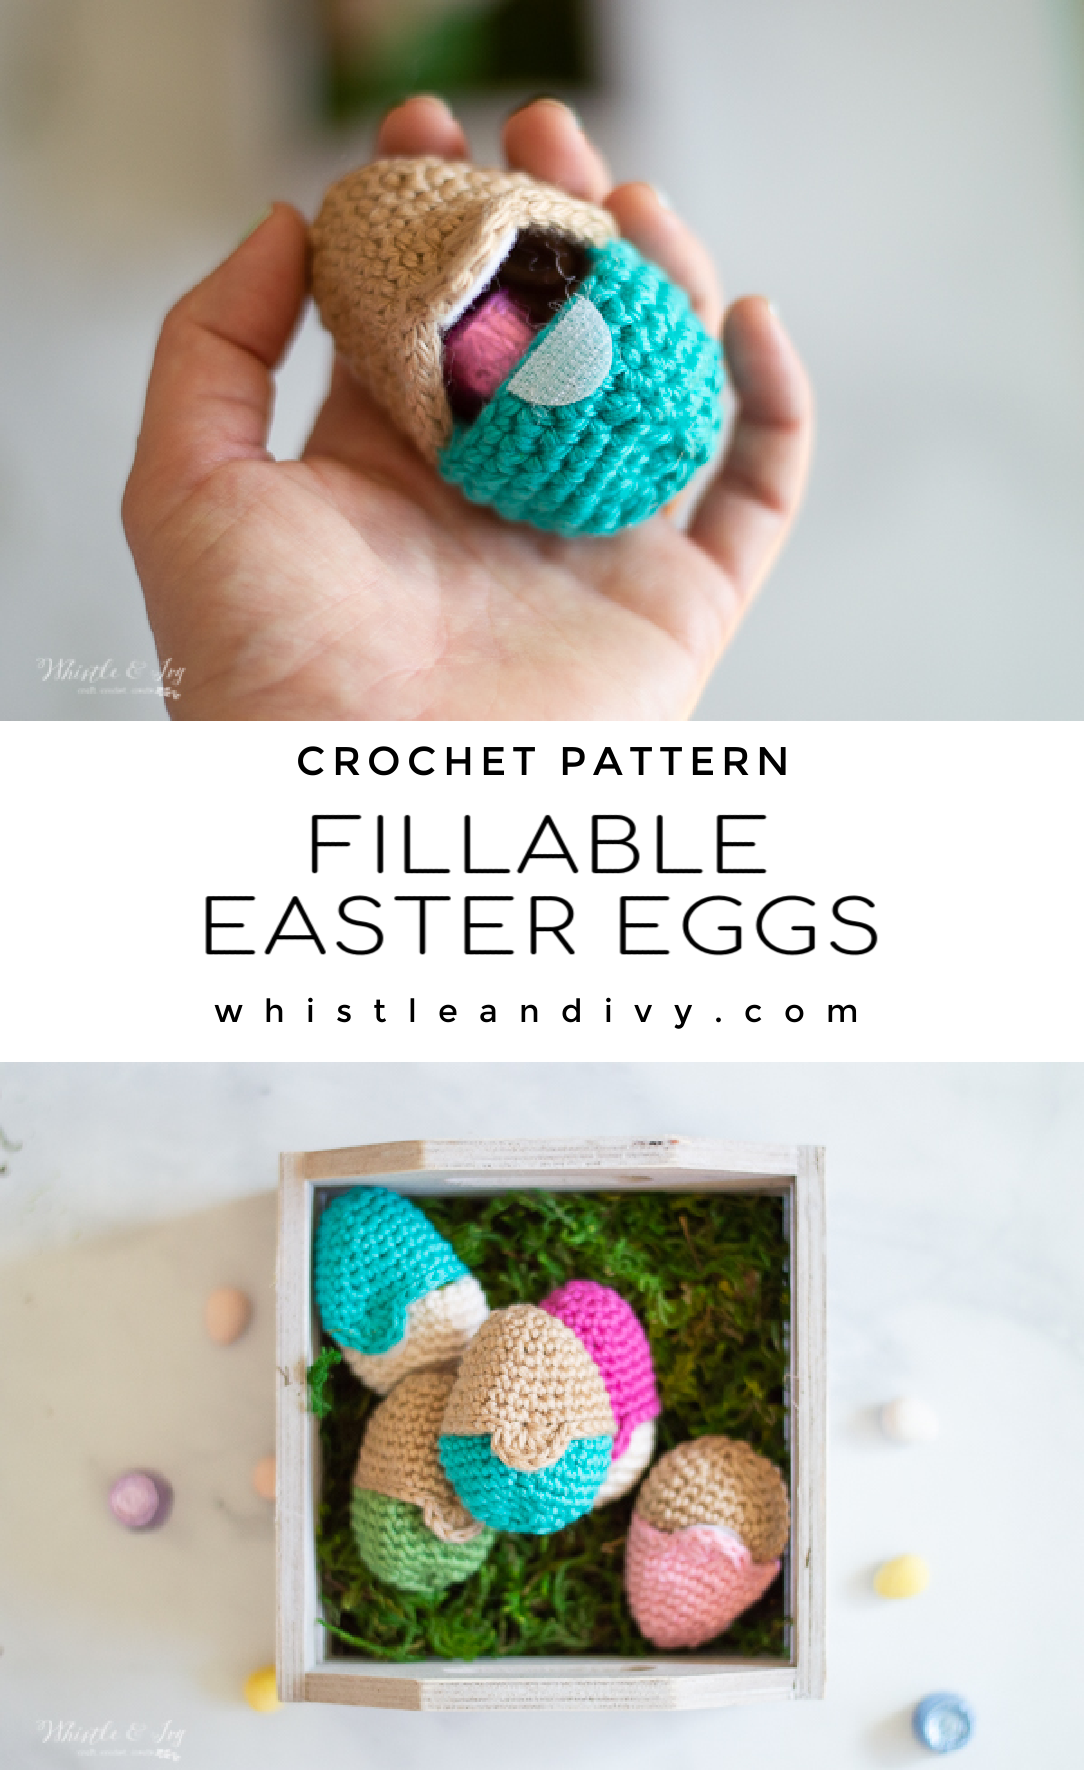
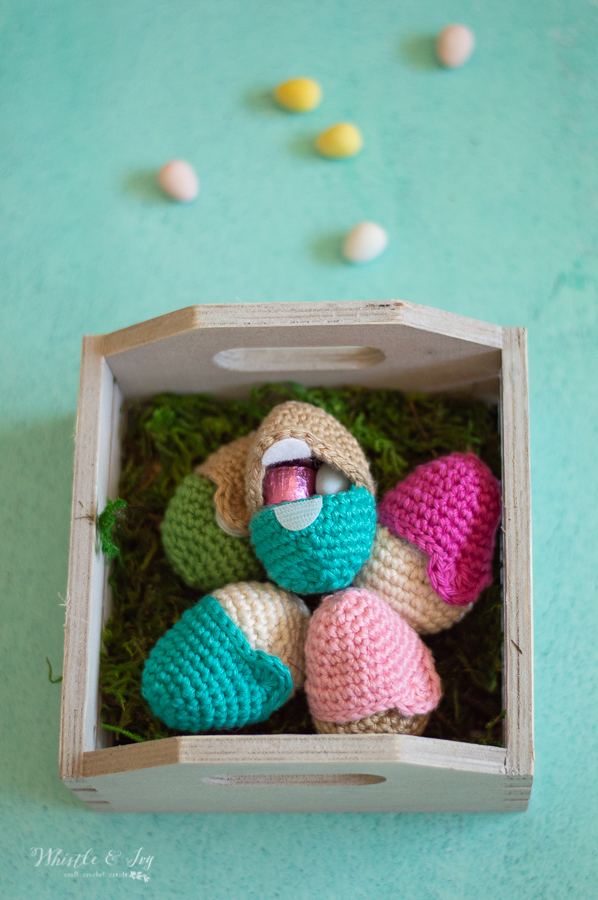
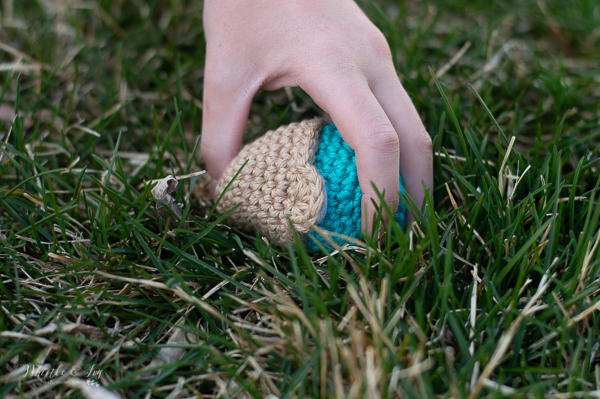
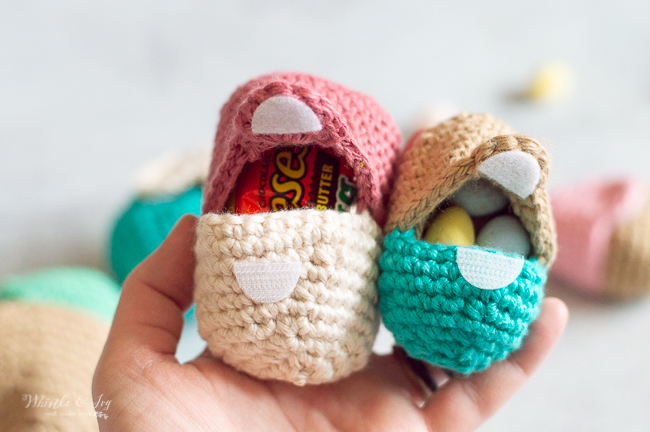
These fillable crochet Easter Eggs are an eco-friendly way to have your egg hunt each year! Get rid of those cheap, plastic eggs that never stay closed and make your own, beautiful crochet Easter eggs. Use these eggs year after year, and add a few more each Easter.
This post may contain affiliate links, which means I get a small commission at no extra cost to you.
I quite amazed myself a few weeks ago when I had the idea to made these fillable crochet Easter eggs. Why hadn’t I thought of this before??

I greatly dislike those cheap plastic eggs that break so easily and never seem to pop together well enough. They are broken by next year so I have to buy a new package each season. Such a waste!
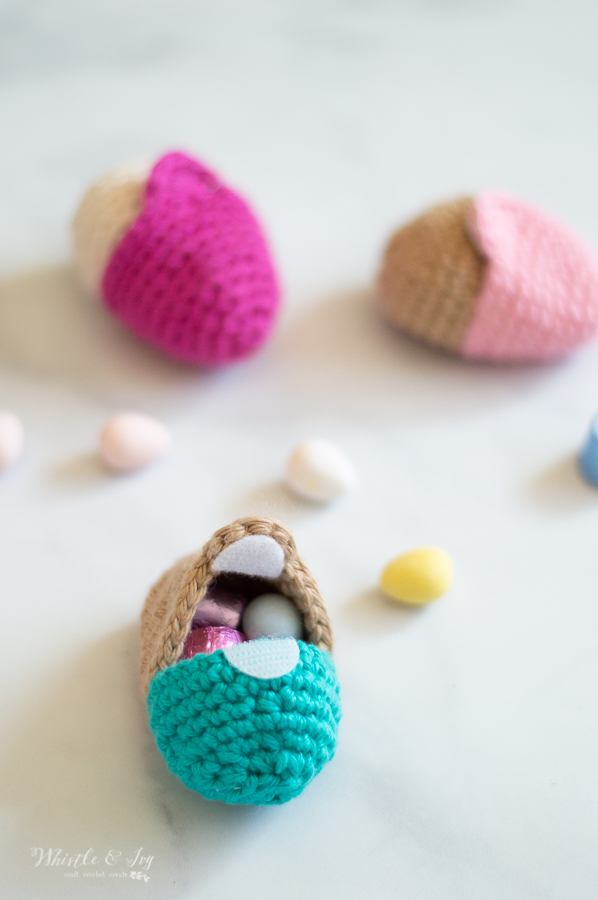
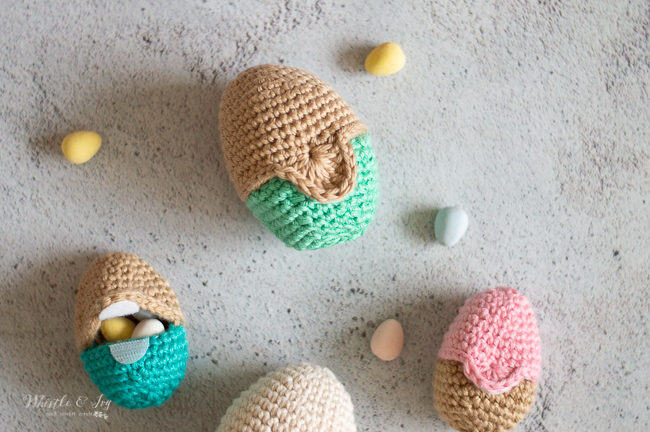
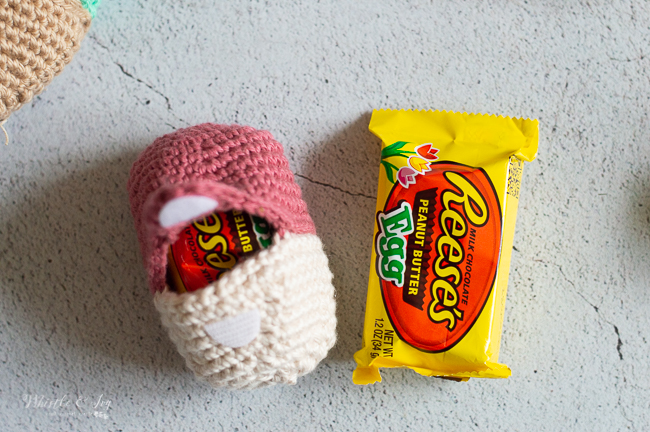
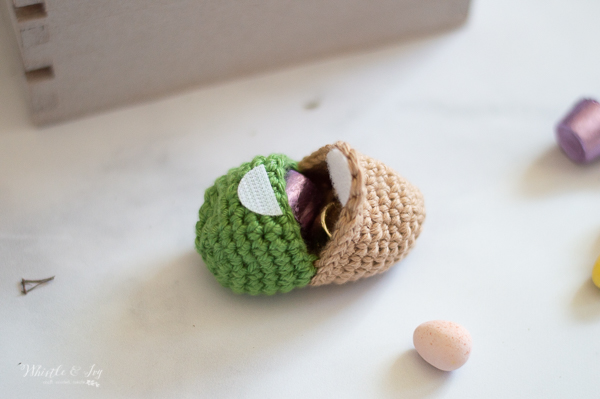
These crochet Easter eggs are the answer! I decided to go with Velcro instead of buttons to eliminate any worry about the eggs being a choking hazard for the littlest egg hunters. The kids actually love the Velcro, so I think it was a good choice.
I suggest using any kind of cotton. My favorites are Shine and Comfy, for the feel and color palette, but anything you have on hand would work wonderfully.
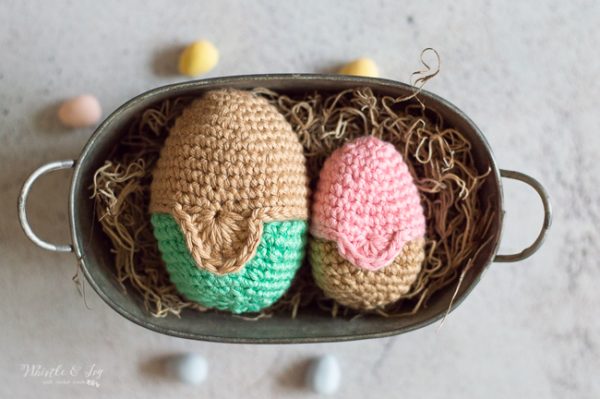
The pattern for these crochet Easter eggs includes 2 sizes, small and large. The small is about the size of plastic eggs, and the larger ones are big enough for larger, more special treats!
Peanut butter eggs are one of my favorites!)
Ready to make you own crochet Easter Eggs?
Let’s do this!

You’re tired of sifting through complicated tutorials and patterns that leave you feeling overwhelmed.
Let me help.
PICTURE THIS:
Instant access to a library of modern, easy-to-follow patterns
Gifting your handcrafted treasures to your loved ones.
Feeling accomplished by your beautiful makes
It’s time to make your crafting experience as joyful as it should be.
FILLABLE CROCHET EASTER EGGS – CROCHET PATTERN
Please remember: You are free to use this pattern to make and sell, but do not republish or distribute this pattern in any way. DO NOT use my photos in your listings.
What you need: (affiliate links)
– 4mm Hook
– Worsted Shine (Cotton/Beechwood Yarn) in two colors
– Darning Needle
– Fabric Adhesive Velcro (be sure to get the kind specifically for fabrics)
Abbreviations: US Terms
Ch – chain
Sc – single crochet
Sc2tog – Sc Decrease
Dc – Double Crochet
Sl st – Slip Stitch
St – stitch
Gauge: Not important, make sure your stitches are as tight as possible

READY TO MAKE YOUR CROCHET EASTER EGGS?
This pattern can be purchased in my shops! Where would you like to shop today?
Now, time to make a few more.
Aren’t these crochet Easter eggs fabulous? The kids absolutely cannot wait for our egg hunt next weekend. I hope my Cadbury Mini Eggs can last until then.
(unlikely)
xoxo,


They are just too CUTE !!!
Thank you!!
So, this was called a free pattern. Is that no longer true?
It is no longer free! Very sorry!
What a wonderful idea! So clever…gee, maybe you could do plaid eggs too LOL. Environmentally friendly too…just perfect idea! Thank you for sharing 😊
I can see an advent calendar coming up in the future :o)
Oooh! This idea it brilliant!
I absolutely agree with you about the plastic eggs. It probably won’t happen this year because it is too late, but I am planning to do some for next year to see the reaction of the children in our church. Thank you.
These are adorable. Kudos to you. Stay healthy and safe.
Thank you!
This is so cute! Thank you.
Thanks so much! You are welcome!