
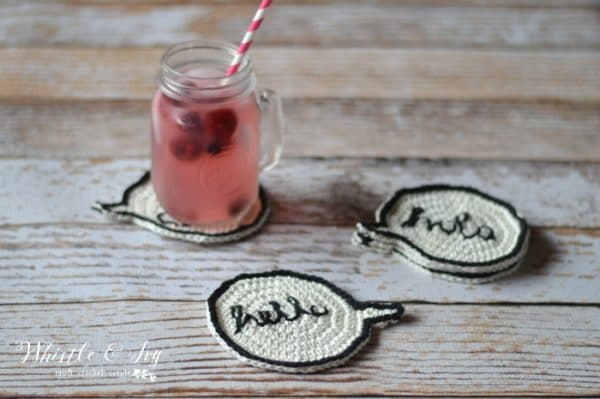
This week started with a fail and ended in success. Well, it started with a couple of fails actually. This speech bubble idea came in the form of a pillow, but after several hours of frustration (I couldn’t get the shape exactly right), I switched gears to these coasters. After a funny venture with paint and stencils, I finally completed these adorable crochet speech bubble coasters, and I’m glad at how they (eventually) turned out.
To begin with, I had the wonderfully brilliant idea to stencil onto the finished coasters in awesome block letters. It would be super easy, requiring only a stencil and a bit of paint, and I could put any text I wanted!
Unfortunately, it didn’t turn out quite the way I had hoped or envisioned.
#nailedit
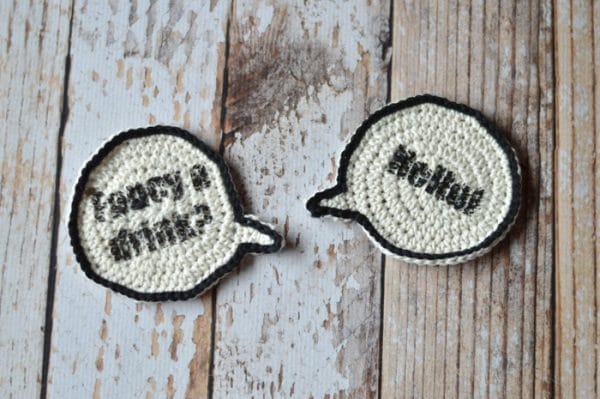
Well, now I know. This method of paint/stenciling on crochet is not something that works. I decided to stitch the letters, and it turned out much better.
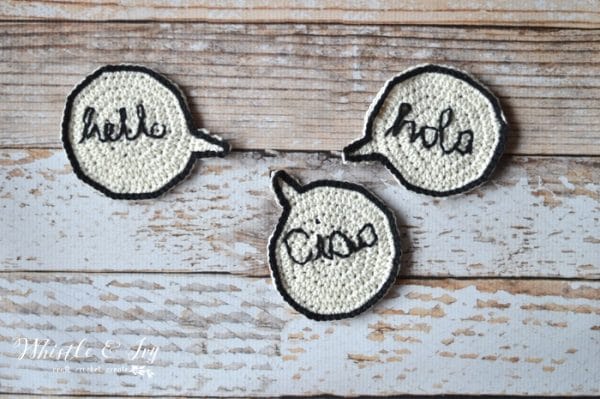
Although my “ciao” looks like I did it with my toes, OR handed my needle to my 4-year-old and had him give it a go. Maybe I DID. I guess you will never know ;)
The stitching was done purely freehand, but if I would do it again, I wouldn’t choose cursive lettering. Or I would have drawn the letters on first as a guide.
I like to fly by the seat of my pants, clearly.

You’re tired of sifting through complicated tutorials and patterns that leave you feeling overwhelmed.
Let me help.
PICTURE THIS:
Instant access to a library of modern, easy-to-follow patterns
Gifting your handcrafted treasures to your loved ones.
Feeling accomplished by your beautiful makes
It’s time to make your crafting experience as joyful as it should be.
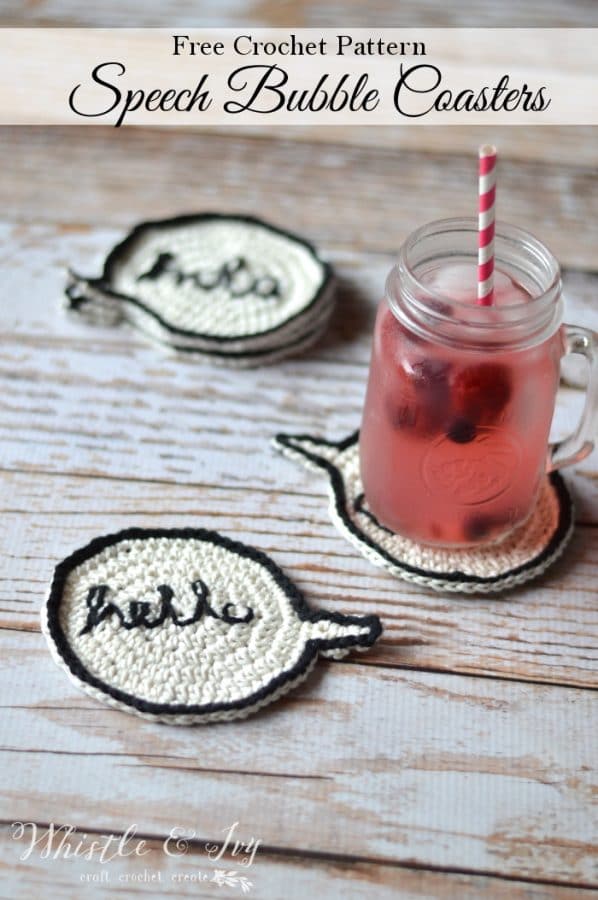
Crochet Speech Bubble Coasters – Free Crochet Pattern
What you need: (affiliate links)
-Cotton Yarn (Knit Picks Dishie in Swan, Comfy Worsted in Black )
–Size G hook
–Darning Needle
Begin with magic ring (worked in continuous rounds)
1. Hdc 10 in ring. (be sure to use a stitch marker to mark the beginning of each round)
2. 2 hdc in each st around (20 sts)
3. *Hdc, 2 hdc in next st* repeat all around the circle. (30 sts)
4. *Hdc 2, 2 hdc in next st* repeat all around the circle. (40 sts
5. *Hdc 3, 2 had in next st* repeat all around the circle. (50 sts)
6. *Sc 4, 2 sc in next st* work 9 times. Sc 5. Turn. (59 sts)
Tail:
1. Working from the back of the coaster, Ch 1. Sc in next 3 sts. Turn. (3 sts)
2. Ch 1. Sc2tog. Sc in last st. Turn. (2 sts)
3. Ch 1. Sc2tog. Turn. (1 st)
4. Ch 1. Sc in same st. Tie off. (1 st)
To make the outline, join black yarn anywhere (it’s easiest to join somewhere on the circle, not on the tail) and slip stitch all around the coaster (with right side facing you).
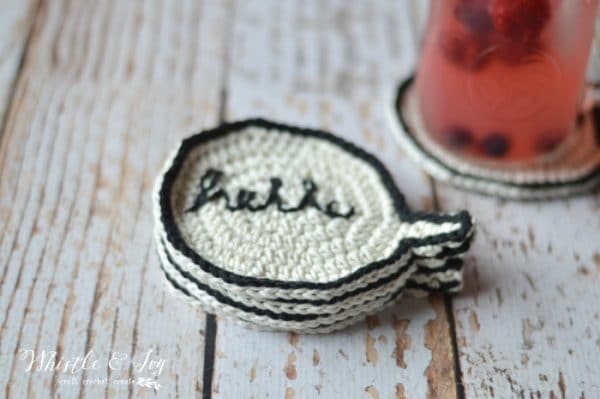
Finish by stitching any word you prefer onto the coaster with a length of black yarn and your darning needle. Like I said, I freehanded mine, but you are welcome to print the word and use it as a guide for your stitching. It takes a bit of practice, but I love how my coasters turned out! The cotton yarn is perfect for coasters; it absorbs the water and dries nicely.
xoxo,


Love the pattern, i want to make it as gift for friend, but i hope you can make a video for this pattern as im not quite sure how to do the tail. Thanks!
Thank you! I will put it on my list :)
These are so cute! Maybe I can convince my grand daughter to make some for her mom for Mother’s Day. You could also put names on them for place cards for a tea party!
Aw, I love that idea!
Hi, please tell me how you did the slip stitch border. I’m confused, I started to do a sewing stitch but yours looks more like a crocheted stitch. Also I’d love to see the underside of the coaster. Great directions by the way, I’ve made several coasters now just need to decorate… thanks!!!
Hi Elizabeth!
yes, it is a slip stitch, which is a crochet stitch. I have a video here: https://www.youtube.com/watch?v=7ev1pp21h3E
These are so adorable!! I would have never have thought to crochet these cute little speech bubbles as coasters for drinks. This would be a great gift-giving idea for housewarming parties and friends. Thank you so much for sharing! I will definitely have to try this out :)
Thank you!! So glad you like them!
These are absolutely adorable! Thank you so much for sharing them with the party. #HomeMattersParty
Thanks so much!
These are too cute!! Thanks for linking up with Merry Monday last week; I chose your speech bubble coasters as my Feature pick for this week’s party! Come on by and grab a button!
Thank you so much for featuring me! Have a wonderful week!
Oh my word! Your bubbles are so cute! I love pinning unique and different things and I am so glad I landed on your page. I will definitely be back.
Thank you so much, Amanda! You are very kind!
These are really cute :)
Thank you so much!
They are really cute. Thank you for sharing the fails too, I love it when that happens. We all have them but not everyone shares!
Now I’m picturing embroidering with your toes…sounds tricky!
Haha! “Caio” turned out so bad, but I couldn’t brig myself to redo it. So, I just went with it! And yes, it was so funny. I just KNEW it would be awesome, so I had to share it with everyone, LOL! Thanks for your kind comment!
Genious !!!!!
Anna
Thank you!
Have you considered using puffy paint for the letters?
I haven’t! It might look messier than the stitching, I don’t have a very steady hand! That is a great suggestion!
I adore these coasters! Such a fun idea! I’m pinning these! I’ll have to make some later!
Navy Wifey Peters @ The Submarine Sunday Link Party
thank you!!
These are ADORABLE!!! Can’t wait to try. You have the best ideas, thanks!
THANK YOU!!!