
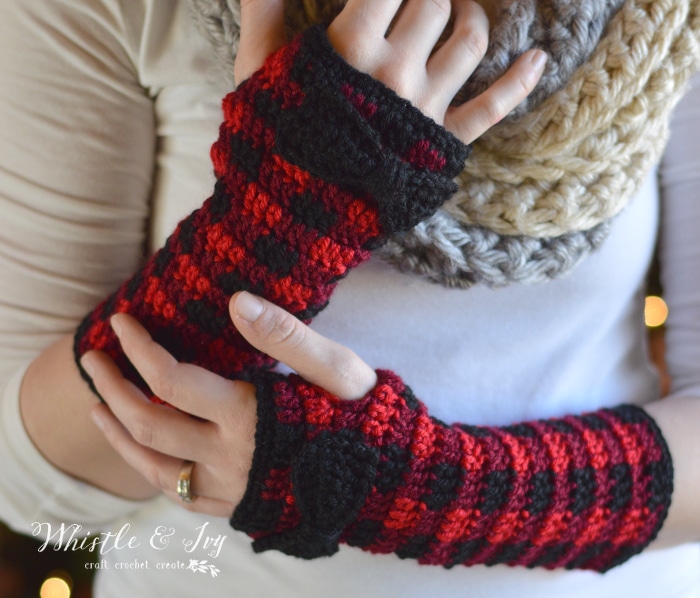
These crochet plaid arm warmers are perfect for when your hands and wrists are cold, but you still need to use your fingers. Leave the bow on or off, or embellish with your own idea! Enjoy this free crochet pattern.
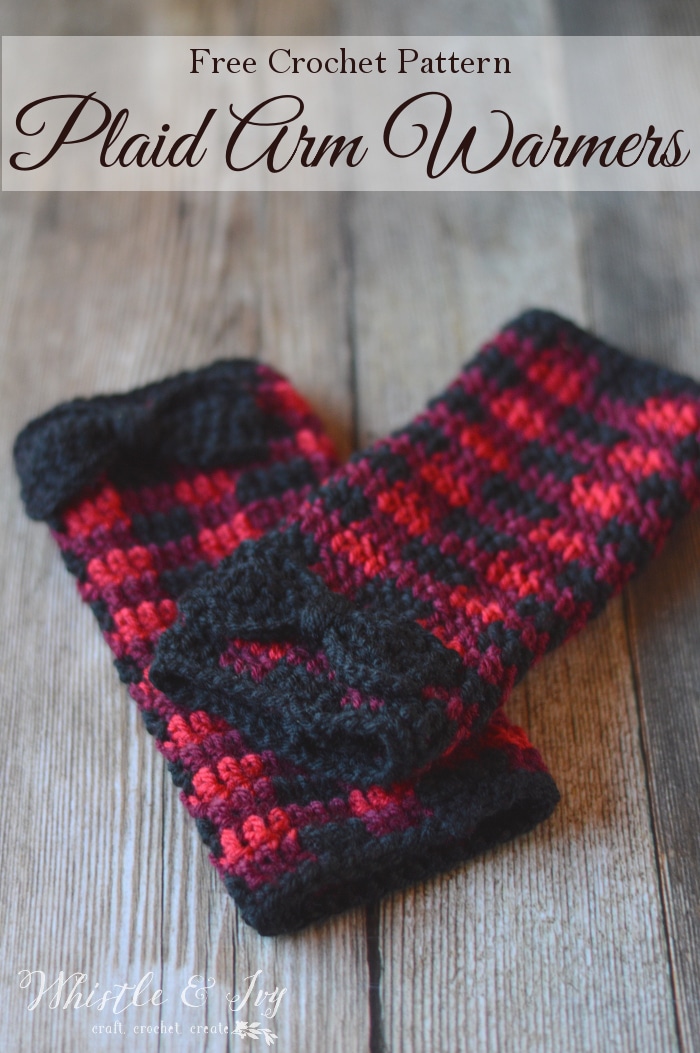
I think these crochet plaid arm warmers were on a few minds in the Facebook group, I even saw your own versions! You all are so clever and one step ahead of me! :) But crochet plaid arm warmers have been on my mind too, so if you haven’t made your own version, you can use mine! These work up really nicely and I love how they look and feel on. I added a cute little bow to mine, but you should feel free to omit that if it isn’t your style!
You can size these differently two ways: the easiest I think is going up a hook size or using bulky yarn. The other way is starting with a longer foundation ch. Bear in mind, to keep a seamless color pattern, you foundation chain needs to be in multiples of 6.

You’re tired of sifting through complicated tutorials and patterns that leave you feeling overwhelmed.
Let me help.
PICTURE THIS:
Instant access to a library of modern, easy-to-follow patterns
Gifting your handcrafted treasures to your loved ones.
Feeling accomplished by your beautiful makes
It’s time to make your crafting experience as joyful as it should be.
CROCHET PLAID ARM WARMERS – FREE CROCHET PATTERN
Please remember: You are free to use this pattern to make and sell, but do not republish or distribute this pattern in any way. DO NOT use my photos in your listings. Please do share my blog links! It’s a quick and FREE way of supporting Whistle and Ivy and more free crochet patterns in the future.
What you need: (affiliate)
G hook
Knit Picks Brava Worsted in Black, Wine and Red (1 ball each)
Darning Needle
Abbreviations: American Terms
Ch – Chain
Sc – Single Crochet
Dc – Double Crochet
Sl st – Slip Stitch
Gauge: 15 dc = 4″

LOVE THIS PATTERN BUT HATE THE ADS?
An ad-free PDF download can be purchased in my shops! Where would you like to shop today?
These arm warmers are worked from the top down (from the hand down to the arm)
Ch 30. Careful to not twist the ch, sl st into first ch, forming a loop.
1. Ch 1. Sc in each ch. Join with sl st. (30 sts)
2. Ch 2. Work the Dc Plaid Stitch, alternating between your dark and mid. Join with sl st. (30 sts)
3. Ch 2. Work Plaid stitch alternating between your light and mid. Join with sl st. (30 sts)
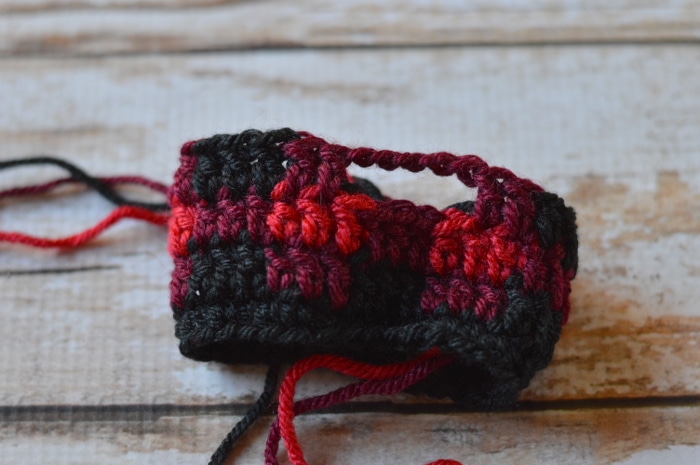
4. Ch 2. Work 3 Plaid stitch sets (9 sts). Switch to your mid and dc twice. Ch 5. Sk 5 sts. Dc 2, still working with your mid colored yarn. Switch to black and continue working the plaid stitch for the rest of the round. Join with sl st. (30 sts). Keep your black loose so you can tack it down in the back later.
5. Ch 2. Work Plaid Stitch all the way around. Be sure to work your sts through both loops on the 5 chains from previous round. Join with sl st (30 sts)
6. – 18. Ch 2. Work Plaid Stitch all the way around. Join with sl st (30 sts)
19. Working with your dark, ch 1. Sc in each st around. Join with sl st. (30 sts).
Tie off. Weave in ends.
Using a bit of black yarn, tack the carried yarn at the thumbhole down by sewing a stitch or two around the nearest black plaid stitch.
Add a bow like mine by working this pattern. Be sure to sew down to two outside ends only, so it can stretch easier. Sew it down with a simple running stitch.


Thanks for joining in on plaid week! You guys are awesome and so kind with your comments and words.
See you tomorrow for Day 4!
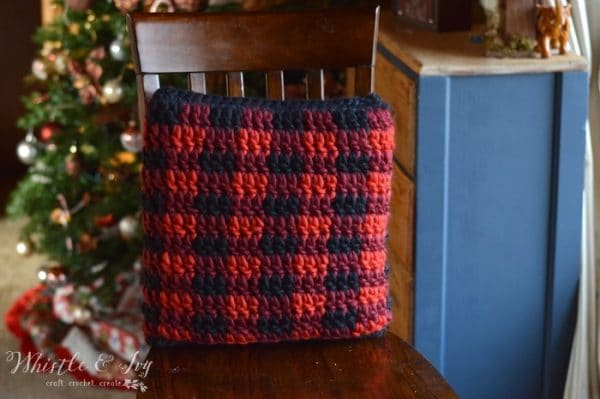
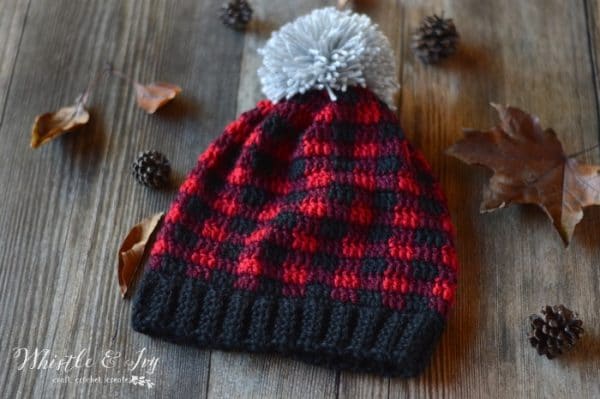
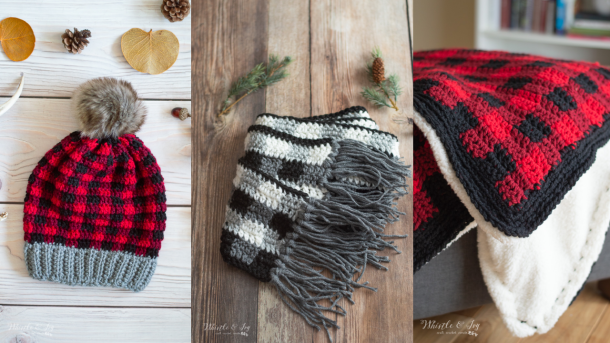
More Plaid Awesomeness:


Okay for the plaid stitch is it two or three of each color I have 30 stiches but where you chain five that’s the end of my round what am I doing wrong
You should have worked the ch 5 starting at stitch #10, after working 3 blocks (9 sts). It sounds like maybe you just put it in the wrong place.
Do you have these fingerless gloves in a size for a man? It would be much appreciated.
I don’t, I am sorry! I will keep that idea in mind!
What scarf are you wearing in these pictures? BTW I love the pattern!
Thank you so much! I am wearing this one:
https://www.whistleandivy.com/chunky-ribbed-infinity-scarf/
Thanks! I am going to try both of these patterns out!
i made one of these and found that the diameter is too small for my arm. what would be the best way to increase without messing up the plaid pattern? would just up a hook size or 2 work? these are super cute, btw. definitely hoping to find a way to make this work! TIA!
Yes, a hook size would be best! You would need to increase it by 6 to keep the pattern consistent. So you can make the pattern as is with a larger hook, or go up 6 sts on the foundation and go down a hook size.
How do/did you carry the yarn in when you made the thumb hole?
I carry it loosely, and then tack the it down on the inside once the arm warmer is finished.
I have tried for 3 hours to just get the 1st row of plaid stitches to come out right.
After I finish doing all of the rows below…..
Ch 30. Careful to not twist the ch, sl st into first ch, forming a loop.
1. Ch 1. Sc in each ch. Join with sl st. (30 sts)
2. Ch 2. Work the Dc Plaid Stitch, alternating between your dark and mid. Join with sl st. (30 sts)
I come up with 3 stitches left. If i keep going the black will be next to the black again. HELP!? I have ordered the same yarn you are using and needle.
Are you counting your stitches? 30 sts is 5 sets of 6( 5 sets of 2 alternations of black and wine). The only way you would get 2 colors next to each other is if you are working 27 stitches or 33. What is your total row count?
Oh my goodness! What a fabulous Christmas gift idea!
Thank you!
These are SO cute and perfect for this time of year. Thank you for sharing at Merry Monday!
These are so me! I’m going to have to make them :) Thank you so much for offering the pattern for free!
Yay! I am so glad you are making them for you :) You are welcome!
Love the bow accent! Pinning to make later!
Thank you!
Hello, is there some instruction on what you’re calling a plaid stitch?
Thanks
Yes, there is a video in bold lettering above the pattern instructions, under the gauge.
I can not even believe how cute these are. I can’t wait to crochet a pair for myself! I recently made my niece a blue, purple, and cream version of your plaid slouchy hat. I was so surprised how easily it came together. Your video was so helpful to me. Thank you for sharing these fantastic patterns!!!
These are so creative! I just love how you put those colors together to create the plain look! You are so talented! Love them!
Lol! I meant plaid of course!
Thank you so much Mary! You are so sweet!
These are cute! Thank you for the pattern.
Thank you!
Remarkably cute accessory! You are so talented and I appreciate you sharing it with us!
Thank you so much! You are welcome!!