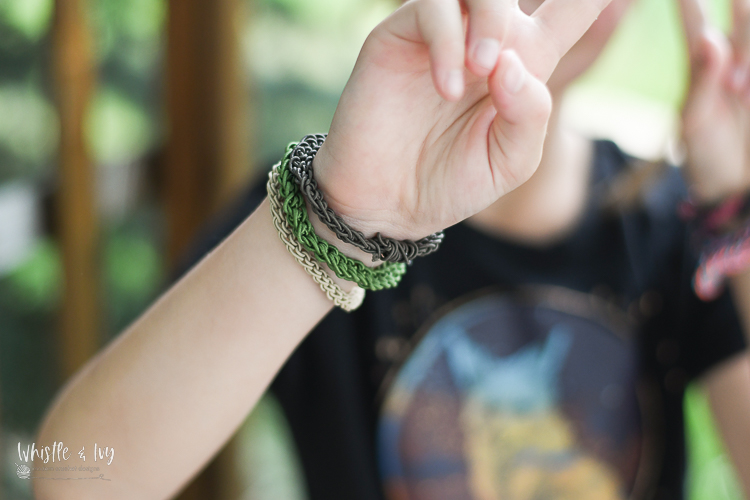
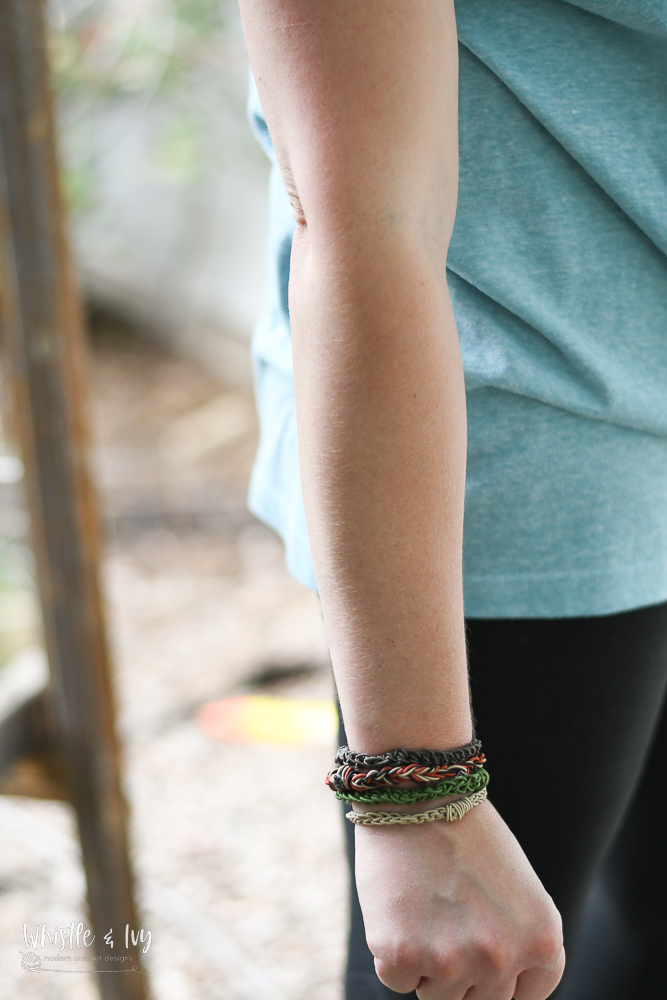
Life can be messy. Sometimes you need to tie your hair up and get to work. And you can always keep a hair tie handy with these handmade crochet hair tie bracelets. Whip one out in 5 minutes and keep it on your wrist for when you need it, no more boring hair ties!
This post may contain affiliate links. Thanks so much for your support!
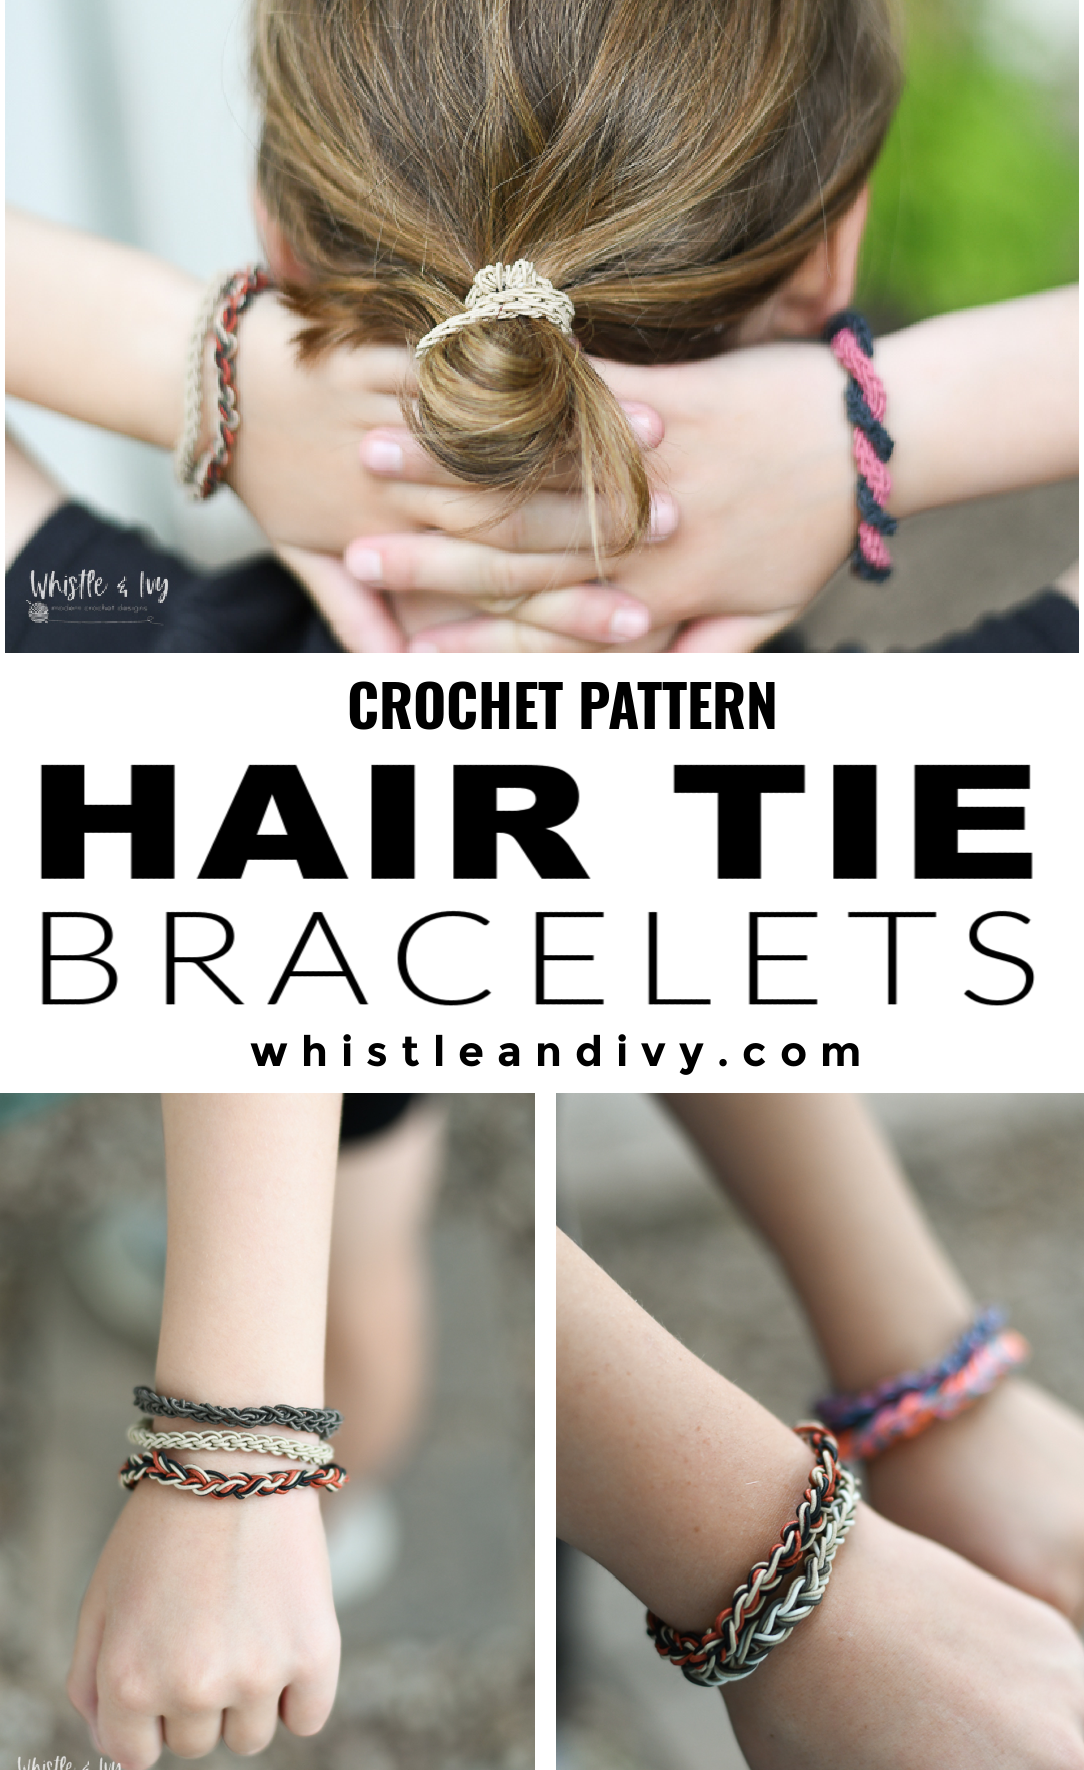
I’m the type of gal that likes to put my hair up and get to work. When the milk spills, or the toddler needs to be chased down and changed, I grab the hair tie on my wrist, tie my hair back, and get the job down.
But oh, how boring they look.
Enter the crochet hair tie bracelet. You can whip one of these out in 5 minutes, so they are an instant crochet win. And with these hair tie bracelets , you can always keep a hair tie handy without sacrificing your wrist real estate to a boring look.

I SEE YOU, BUSY MAKER
You’re tired of sifting through complicated tutorials and daunting patterns that leave you feeling overwhelmed.
Let me help.
Picture this:
🧶 Joining a thriving community of fellow crocheters who share your passion.
📚 Access to our ENTIRE library of patterns that will buildsyour confidence.
🎁 Gifting handcrafted treasures to be cherished by your loved ones.
🌟 Modern, easy-to-follow patterns that will leave you feeling accomplished.
It’s time to make your crafting experience as joyful as it should be. We can’t wait to meet you!
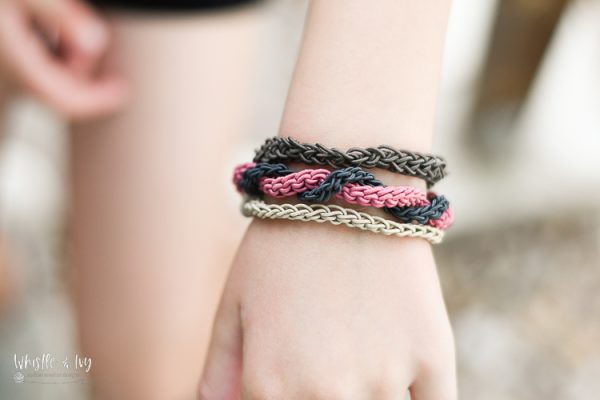
The pattern includes 4 variations, so you can make a few and mix it up. Style 1 is a 5-minute project, the others you can whip out in under 30 minutes.
This one looks a bit less pretty on the wrist, but it’s the most stretchy and my favorite to use!

READY TO MAKE YOUR CROCHET HAIR TIE BRACELET?
One stye is FREE in-text, but the PDF download includes 3 additional designs! Where would you like to shop today?
Crochet Hair Tie Bracelet – Crochet Pattern
What you need:
– 4.5mm Hook
– 1mm Elastic Cord
– Hot Glue Gun
Abbreviations: (Standard US Terms)
Ch – chain
Sc – single crochet
Sl st – Slip Stitch
St – stitch
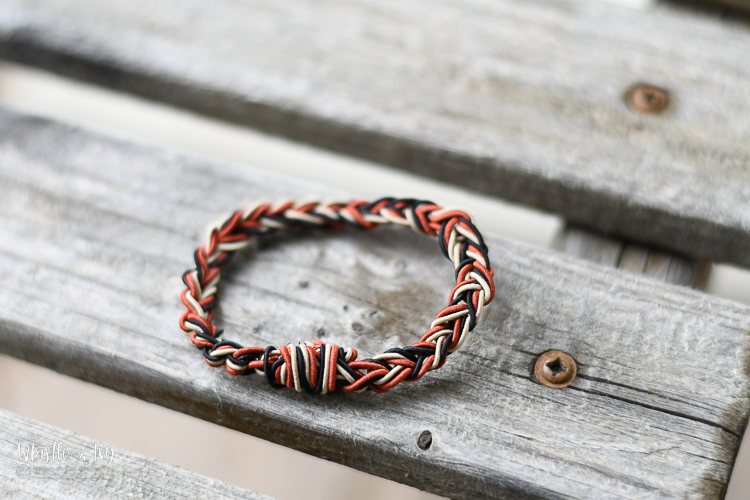
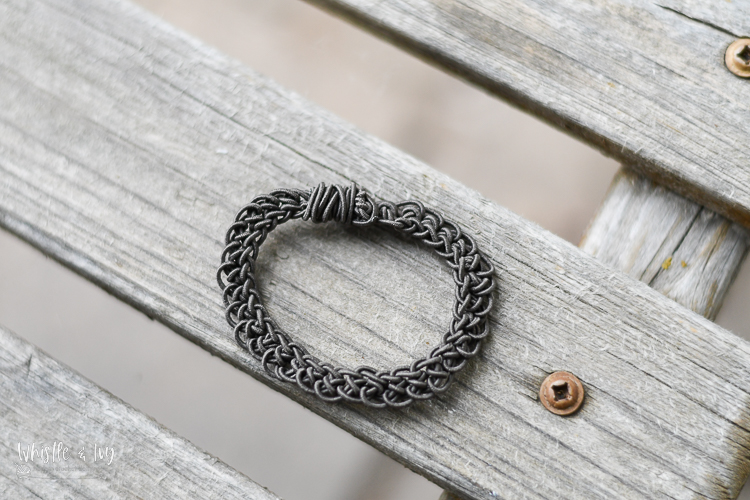
STYLE 1
(other styles available in the PDF Download)
(4.5 mm hook)
Using three strands together, begin with a long tail.
Work a chain that is snug on your wrist. (it will stretch out with first use) .
Taking care that your chain is not twisted, sl st to join with the first ch.
Leave a long tail.
Glue the beginning ends in place at the seam. Take the end tails and wrap a few times around the seam and around the glued end. Inconspicuously as you can, glue the ends in place. Snip at close to the glue as you can.
All done? Share it!
Tag me on INSTAGRAM, share in our group, or share on my FB pa
Happy crocheting!
xoxo,