Skip to content
Facebook
Instagram
YouTube
Pinterest
SEARCH
Search
[All-Access]
PATTERNS
Expand
ACCESSORIES
ARMS + HANDS
BABIES + KIDS
BUFFALO PLAID
FEET + LEGS
FOR HOME
HEADWEAR
HOLIDAYS
NECKWEAR
TOYS
TIPS
Expand
COLOR WORK
QUICK FIXES + HACKS
CROCHET BASICS
Reviews
ABOUT
Toggle Menu
SEARCH
Search
Knit
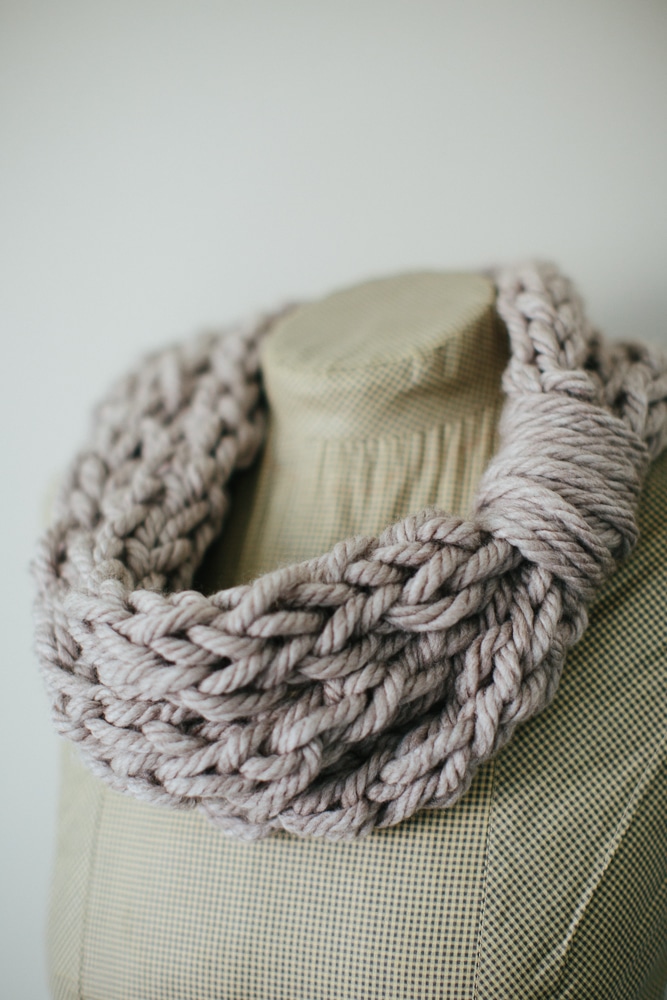
Finger Knit Cowl and Tutorial
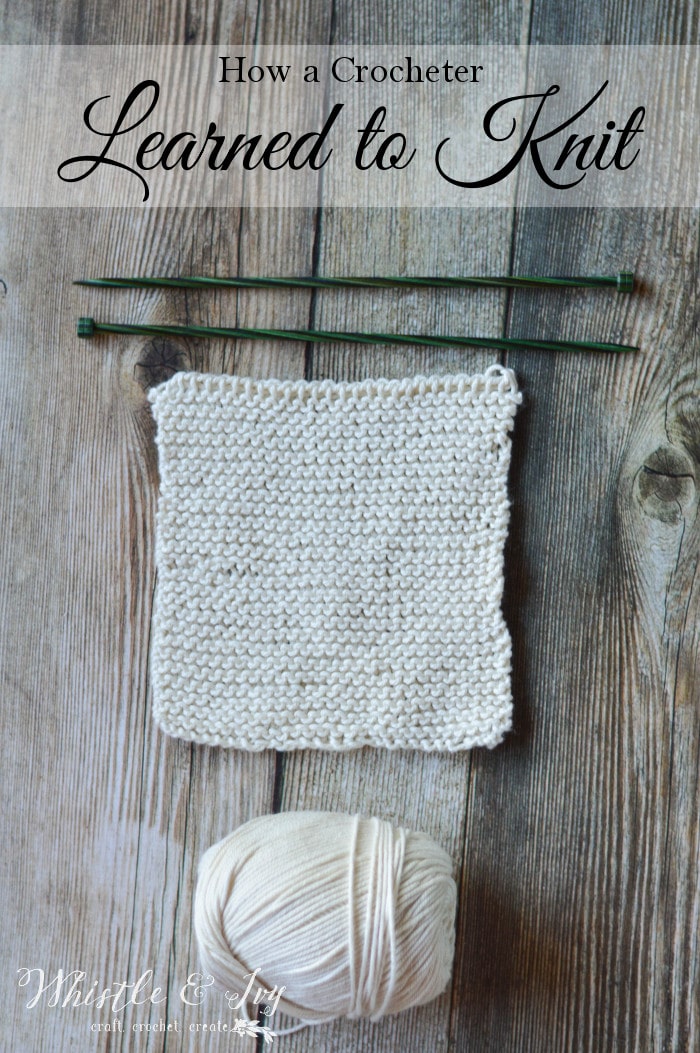
How a Crocheter Learned to Knit
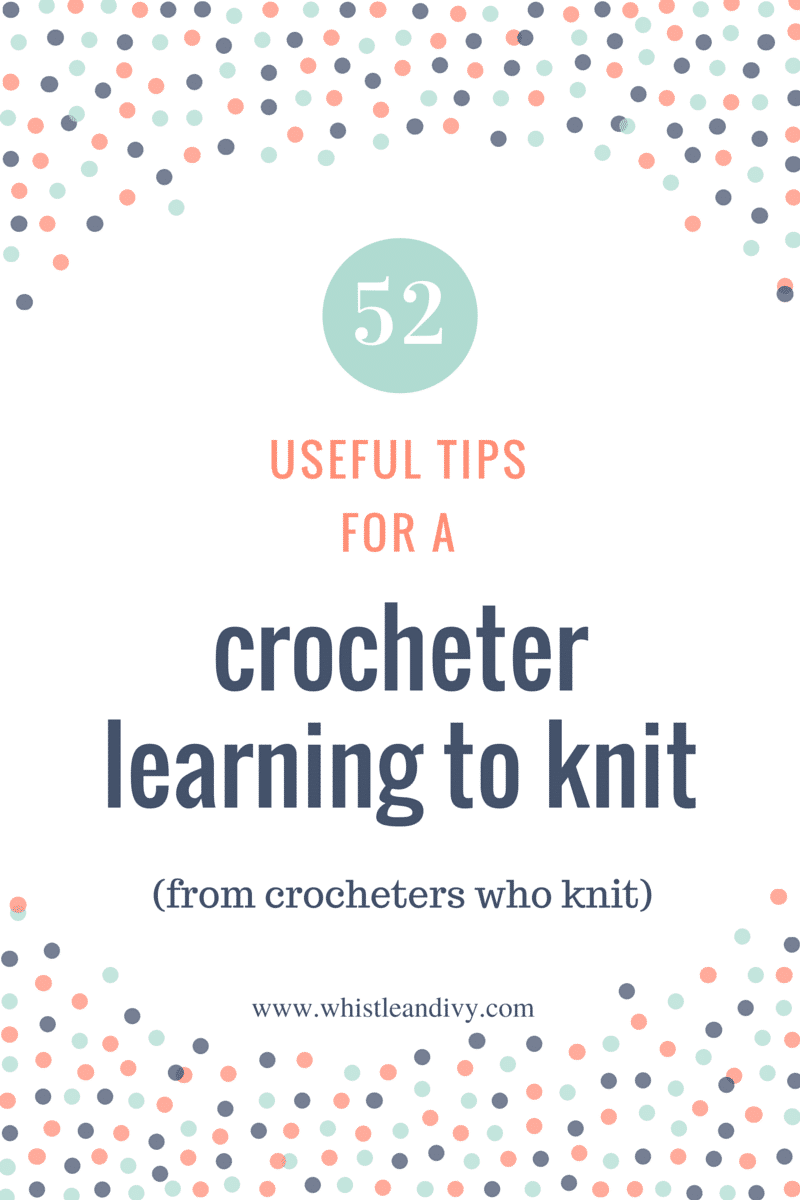
52 Tips for a Crocheter Learning to Knit
FREE Mini Course
Make your crochet simpler and more enjoyable with easy and actionable hacks.
SUBSCRIBE!
Success! Check your inbox!
[All-Access]
PATTERNS
Toggle child menu
Expand
ACCESSORIES
ARMS + HANDS
BABIES + KIDS
BUFFALO PLAID
FEET + LEGS
FOR HOME
HEADWEAR
HOLIDAYS
NECKWEAR
TOYS
TIPS
Toggle child menu
Expand
COLOR WORK
QUICK FIXES + HACKS
CROCHET BASICS
Reviews
ABOUT
Toggle Menu Close
Search for:
Search