
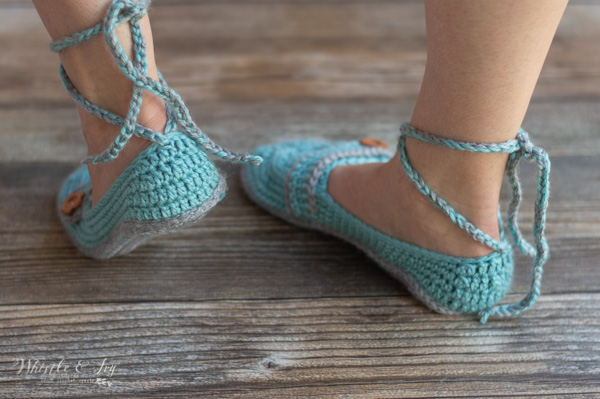
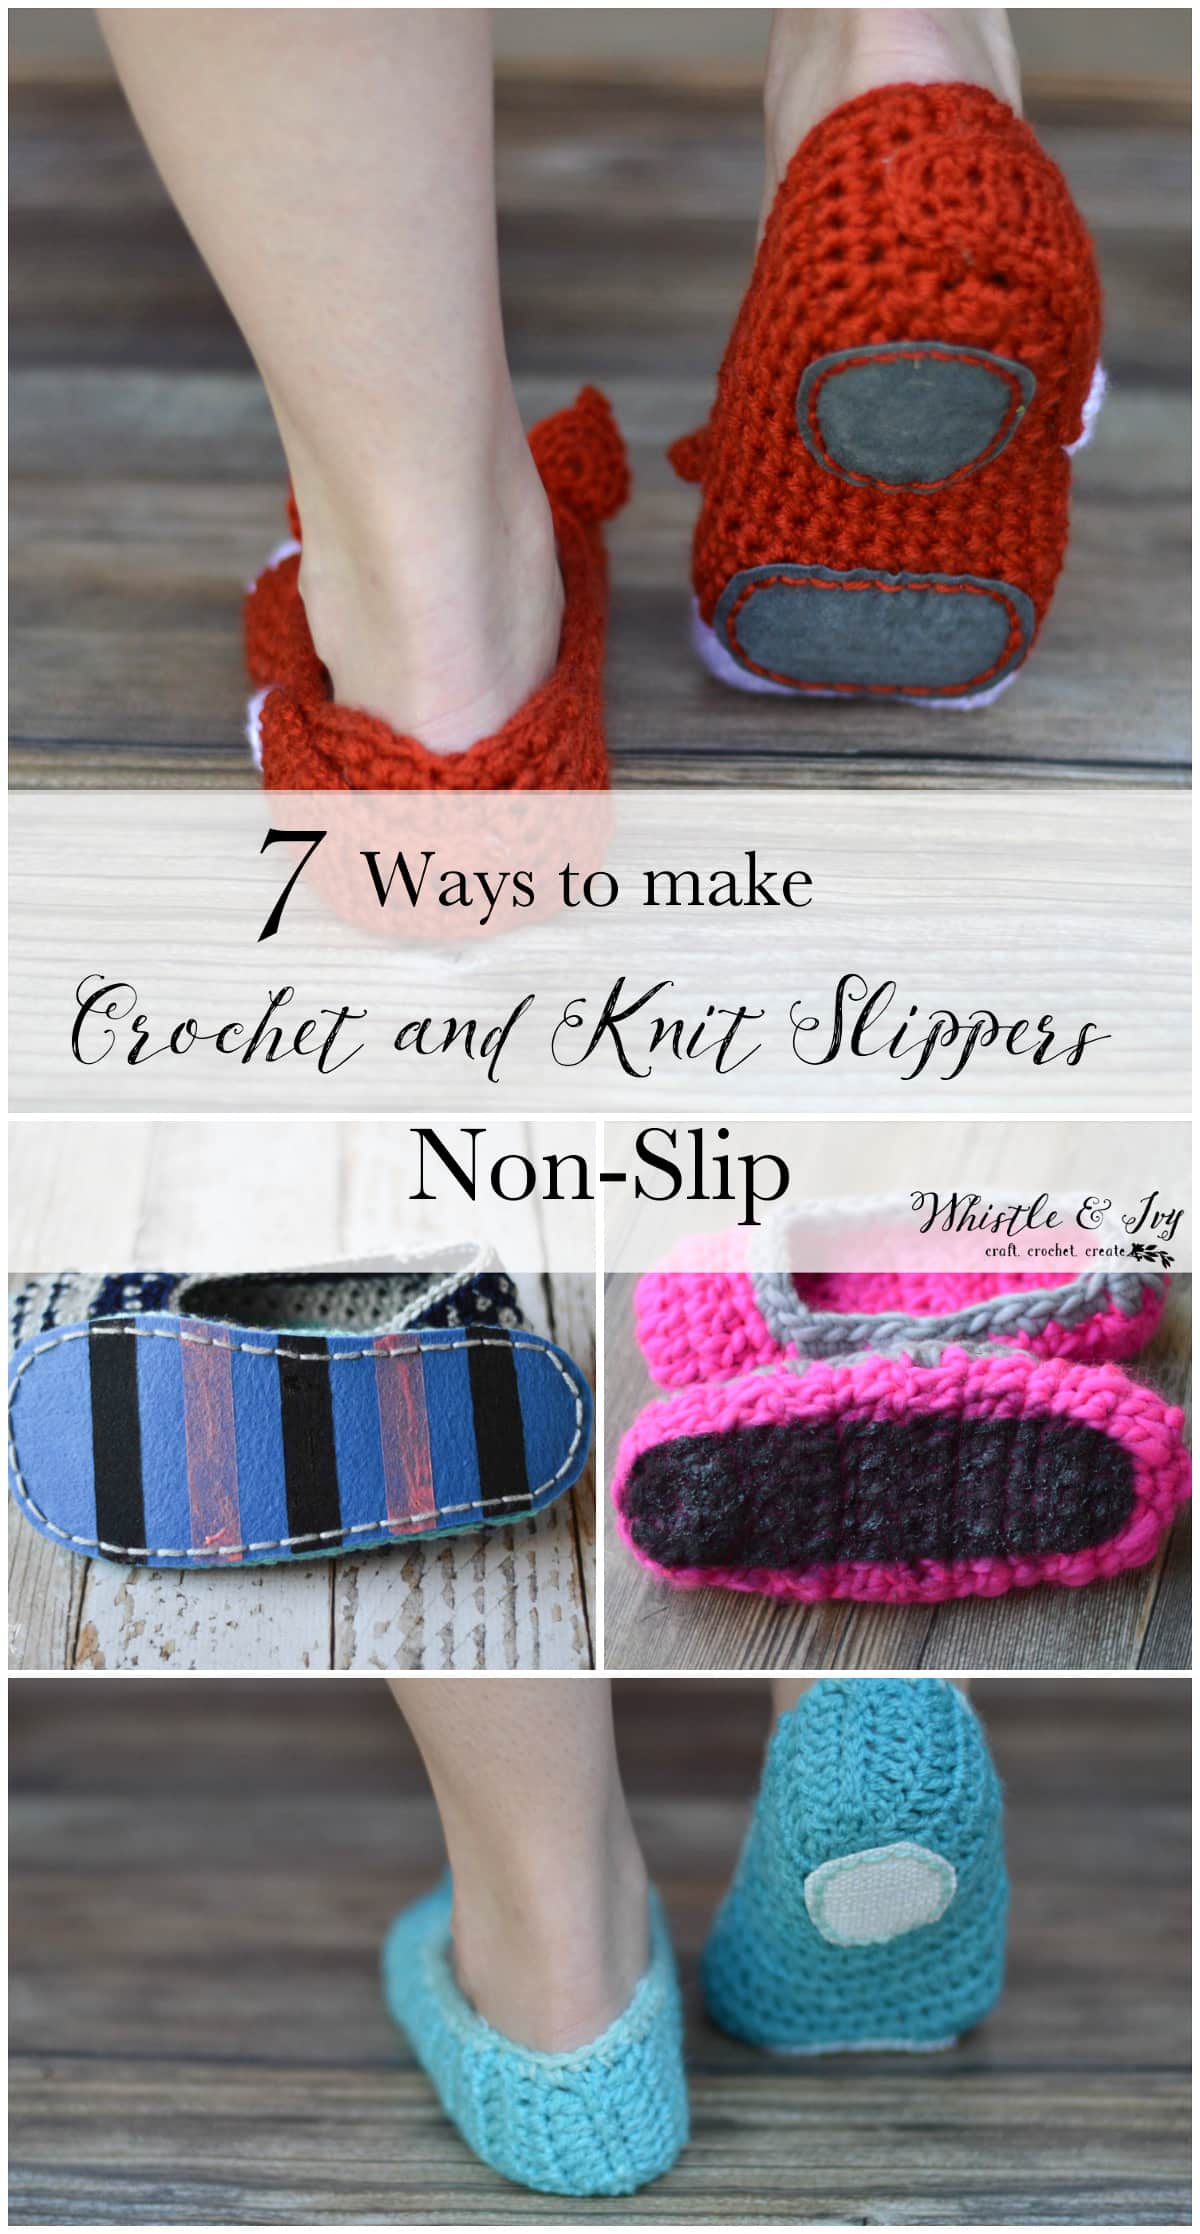
These pretty Ankle Tie Crochet Slippers add an extra touch of style with a tie around the ankle. The double layer sole make them extra comfortable. Be sure to make them non-slip with one of these methods! This post contains affiliate links, wich means I get a small commission if you made a purchase. Thanks for your support!
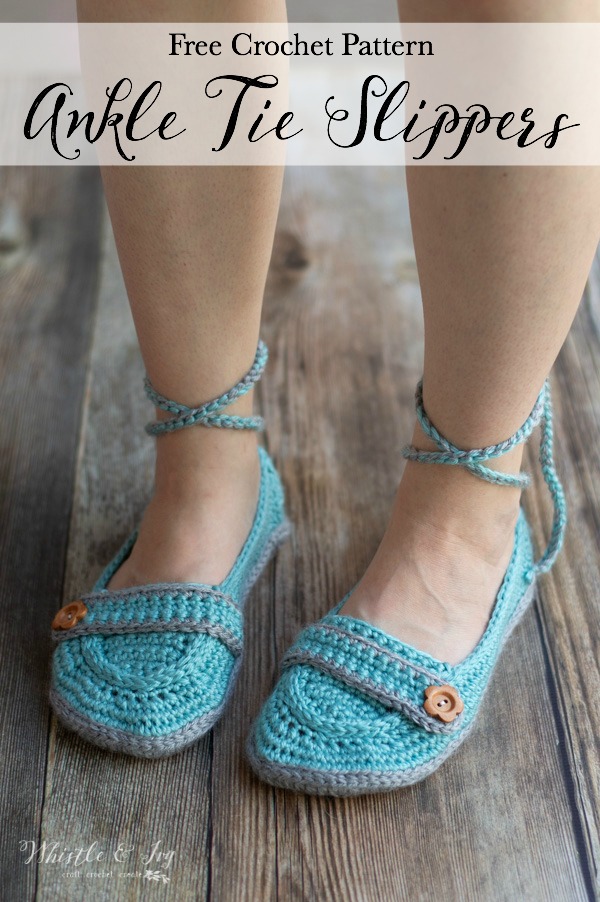
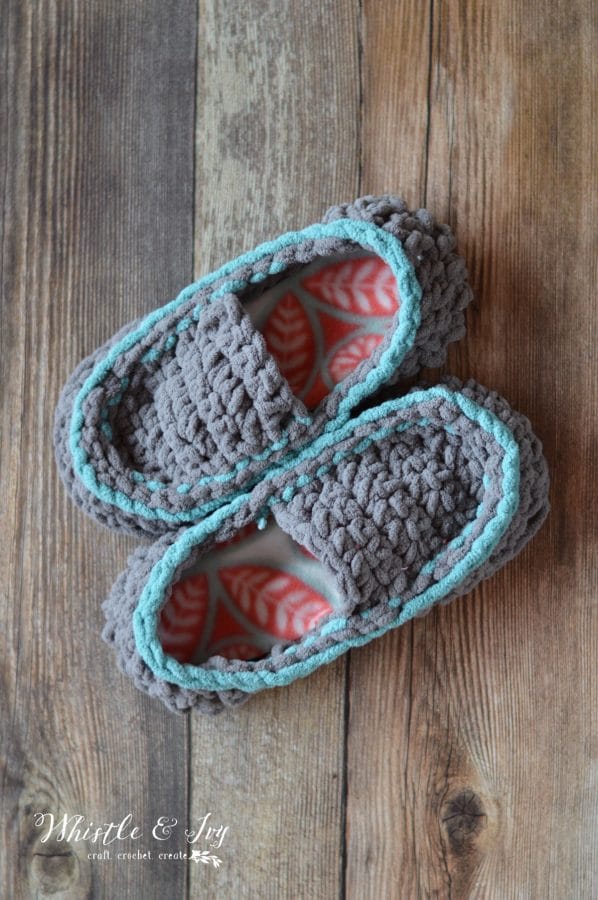
These cute crochet slippers are an old pattern made new again. I have been meaning to revamp the original pattern for a while now and I thought our Christmas Gifts in July series was the perfect occasion. I have always loved these slippers and found them to be quite comfortable. I really like my Loafer Slippers, but I really like the toe on these ankle tie crochet slippers.
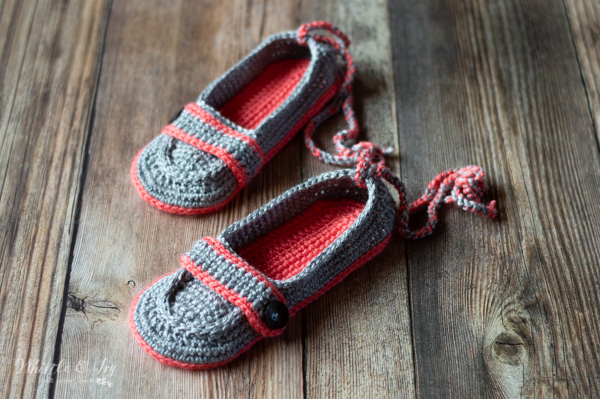
I changed the heel to be more comfortable and but I decided to add the ankle tie, isn’t it darling?
If you don’t love it, you can always omit it from the crochet slippers, but I love how it looks (and it does help keep the heel in place).

You’re tired of sifting through complicated tutorials and patterns that leave you feeling overwhelmed.
Let me help.
PICTURE THIS:
Instant access to a library of modern, easy-to-follow patterns
Gifting your handcrafted treasures to your loved ones.
Feeling accomplished by your beautiful makes
It’s time to make your crafting experience as joyful as it should be.
ANKLE TIE CROCHET SLIPPERS – FREE CROCHET PATTERN
Please remember: You are free to use this crochet slippers pattern to make and sell, but do not republish or distribute this pattern in any way. DO NOT use my photos in your listings. Please do share my blog links! It’s a quick and FREE way of supporting Whistle and Ivy and more free crochet patterns in the future.
PLEASE read my Disclaimer before working my free patterns!
What you need: (affiliate links)
– H Hook
– Medium Weight Yarn in two colors (Red Heart Soft)
– Large Button
– Darning Needle
Abbreviations: US Terms
Ch – chain
Sc – single crochet
Sc2tog – Sc decrease
Dc – Double Crochet
Dc2tog – Dc decrease
Hdc – Half Double Crochet
Sl st – Slip Stitch
St – stitch
Gauge: 15 sc = 4″ (Gauge Pattern)
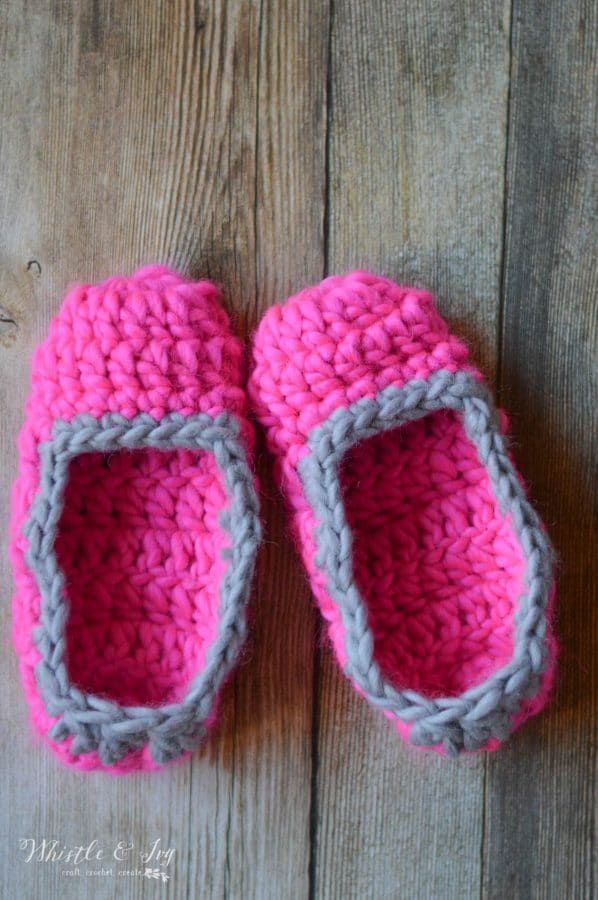
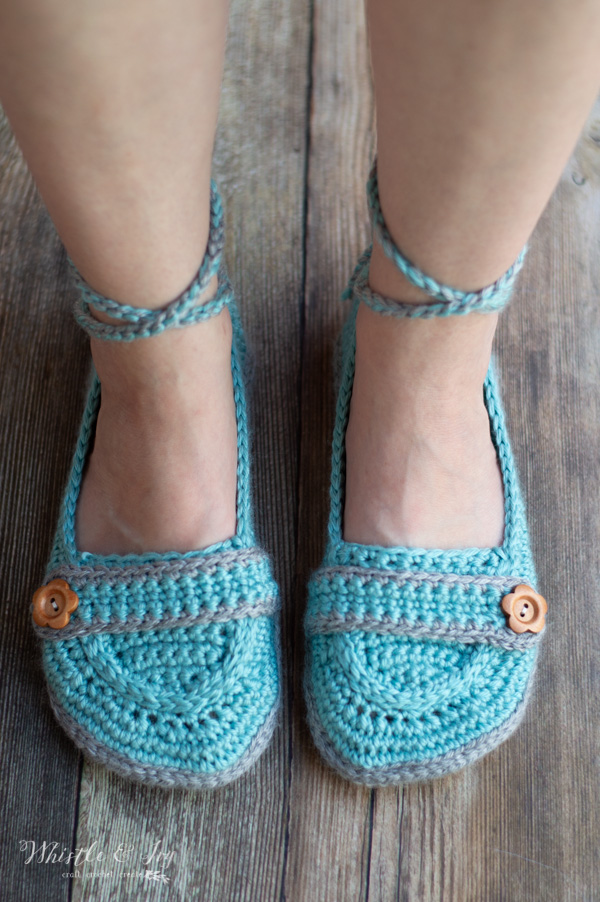
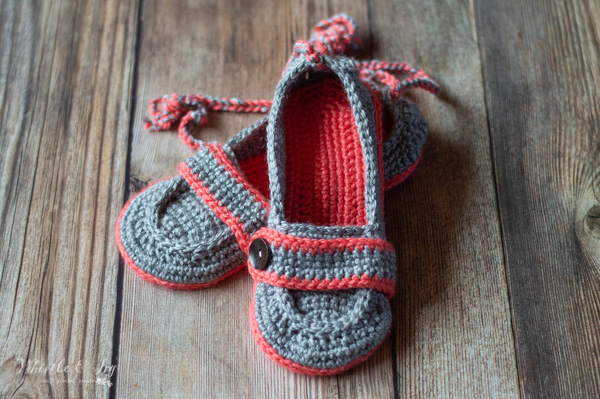
You may like these other crochet slippers:


READY TO MAKE YOUR CROCHET SLIPPERS?
The ankle tie crochet slippers written pattern below is for size US Women Size 8. You can find a PDF that includes 4 sizes, US Woman sizes 6-9. The PDF is formatted for easy crocheting on-the-go or for easy printing, it doesn’t include ads or comments. Thanks for your support! Where would you like to shop today?
Size 8 (9 3/4″ long)
Sole (make 4)
Ch 26
1. 2 sc in 2nd ch from hook. Sc in next 16 chs. Hdc in next 2 chs. Dc in next 5 chs. 7 dc in last ch. Working across other side of chain: Dc in next 5 chs. Hdc in next 2 chs. Sc in next 16 chs. 2 sc in last ch (same as the first 2 sc). Join. (57 sts)
2. Ch 1. 2 sc in next 2 sts. Sc in next 24 sts. 2 sc in next 5 sts. Sc in next 24 sts. 2 sc in next 2 sts. Join. (66 sts)
3. Ch 1. *Hdc in next st. 2 hdc in next st* work twice. Hdc in next 24 sts. *Hdc in next st. 2 hdc in next st* work 5 times. Hdc in next 24 sts. *Hdc in next st. 2 hdc in next st* work twice. Join. (75 sts)
4. Ch 1. *Sc in next 2 sts. 2 sc in next st* work twice. Sc in next 24 sts. *Sc in next 2 sts. 2 sc in next st* work 5 times. Sc in next 24 sts. *Sc in next 2 sts. 2 sc in next st* work twice. Join. (84 sts)
5. Ch 1. *Hdc in next 3 sts. 2 sc in next st* work twice. Hdc in next 24 sts. *Hdc in next 3 sts. 2 hdc in next st* work 5 times. Sc in next 24 sts. *Hdc in next 3 sts. 2 sc in next st* work twice. Join. (93 sts)
Join with sl st and tie off.
Match up your two sole pieces and using a loose sl st, stitch the two soles together, going through both loops of each sole. Use the color you want the slipper body to be. (93 sts)
Body:
1. Start your round on 18th st from the middle of the toe. Face the toe downwards and count 18 to the right. Going through the sl st loops and working towards the toe: Ch 1. Sc in next 55 sts. Hdc in next 2 sts. Dc in next 14 sts. Hdc in next 2 sts. Sc in next 20 sts. (93 sts) Join with sl st.
2. Ch 1. Sc in next 57 sts. Hdc in next 2 sts. Dc in next 10 sts. Hdc in next 2 sts. Sc in next 22 sts. (93 sts) Join with sl st.
3. Ch 1. Sc in the next 5 sts. Sc2tog twice. Sc in next 2 sts. Sc2tog 7 times. Sc in next 2 sts. Sc2tog twice. Sc in the next 26 sts. Hdc in next 2 sts. *Dc2tog. Dc in next 2 sts.* work twice. Dc2tog. Hdc in next 2 sts. Sc in next 22. Join with sl st. (79 sts)
4. Ch 1. Sc in next 5 sts. Sc2tog twice. *Sc in next 2 sts. Sc2tog* work twice. Sc in next 2 sts. Sc2tog twice. Sc in next 23 sts. Hdc in next st. *Dc in next st. Dc2tog.* work 3 times. Hdc in next st. Sc in next 22 sts. Join with sl st. (70 sts)
5. Sl st in each st around. (70 sts)
Toe Flap: (Make 2)
Same for all sizes
1. Ch 3. Sc 2 into 2nd ch from hook. Sc 2 in last ch. Turn (4 sts)
2. Ch 1. Sc 2 in same st. Sc in next 2 sts. Sc 2 in last st. Turn. (6 sts)
3. Ch 1. Sc 2 in same st. Sc in next 4 sts. Sc 2 in last st. Turn. (8 sts)
4. – 12. Ch 1. Sc in each st across (8 sts)
Work 2 more sc in same st. Sc 8 down the side of the flap. Around the round part work these directions twice: *2 sc in next space. Sc in next sp.* Work 2 sc in next sp. Sc 9 up the side of the flap. Join with first st of the row. Tie off but leave a long tail.
Strap (Make 2)
Ch 20.
1. Sc into 5th ch from hook. Sc in each remaining ch. Turn (16 sts)
2. Ch 1. Sc in same st. Sc in next 15 sts. Sc 5 in the 5-ch-loop. Sc in each remaining st. Turn. (37 sts)
Start new color with sl st.
3. Ch 1. Sc in same st. Sc in next 15 sts. Sc 2 in the 5 sts around the loop. Sc in each remaining st. (42 sts)
Tie off. leave a long tail
Construction:
Using your yarn needle, line up your toe flap and sew it in place. Make sure you secure the first st firmly by going in and out a few times. Work your way around until your entire flap is sewn in place. I like to stop after each st, or every other st to confirm everything is in place and even.
After your flap is sewn in in place, line up your strap. I like it right at the edge of the flap. Using your hook, reach through from the inside out, and grab the tails of your strap. You should have 4. Make sure you are pulling them each through a different space. Once all 4 tails are inside the shoe, tie 2 tails together (2 knots) securely and trim or weave in ends if you prefer.
Using your same hook, work with 2 strands of yarn, one of each color. Work a chain 32″ long. Pull through the top of the heel, and tie around the ankle when the slippers are being worn.
***To make a different size, go up or down 2 ch on your foundation ch. Make sure to adjust accordingly on the sides. The toe and heel should NOT be changed, just the length. Keep in mind, if you are changing the length of the ch by two, your entire round/row count will go up/down 4 sts.
Be sure to make your crochet slippers non-slip. Try one of these methods (tested by me!).

![How to make easy, adorable crochet succulents you will love all year round [free crochet pattern]](https://www.whistleandivy.com/wp-content/uploads/2018/04/DSC_3744.jpg)

Love the look of these slippers. Have completed 4 sole pcs. However, in pics showing them on a model they look as if there is a left and right but you do not address this. So are they same except for way the toe flap sewn on or is there sposed be a L and R?
Hi Barbara! They are the same, the toe is round :) As you said, the only different is the strap across the toe.
Thank you for this pattern, I love it ! I’m almost finished , but I’m wondering how you sewed the flap on. Are your stitches lined up to each other , or is it sewn on the inside ? Thanks !
Hi Kate! You sew it with a simple running stitch with a darning needle and a length of matching yarn. I sewed it from teh outside, which gives it a “loafer” type look.
How many of the soles do we make? Your pattern doesn’t tell us.
Thank you for catching that! Yo will need to make 4 total, 2 for each slipper. I updated the pattern on my blog and sent out an email with a download link (if you downloaded the pattern from ravelry).