
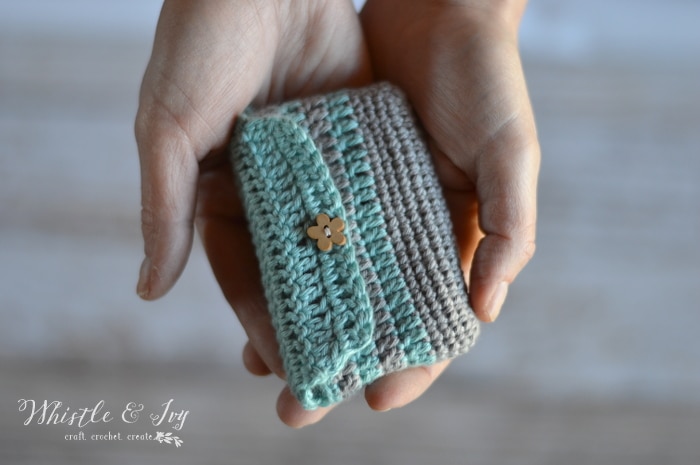
Make a classic kids toy! This crochet hacky sack, or crochet foot bag, is a fun summer and spring past time for everyone in the family. It takes skill and coordination, but keep practicing and you will get it!
This post contains affiliate links, which means I get a small commission at no extra cost to you.
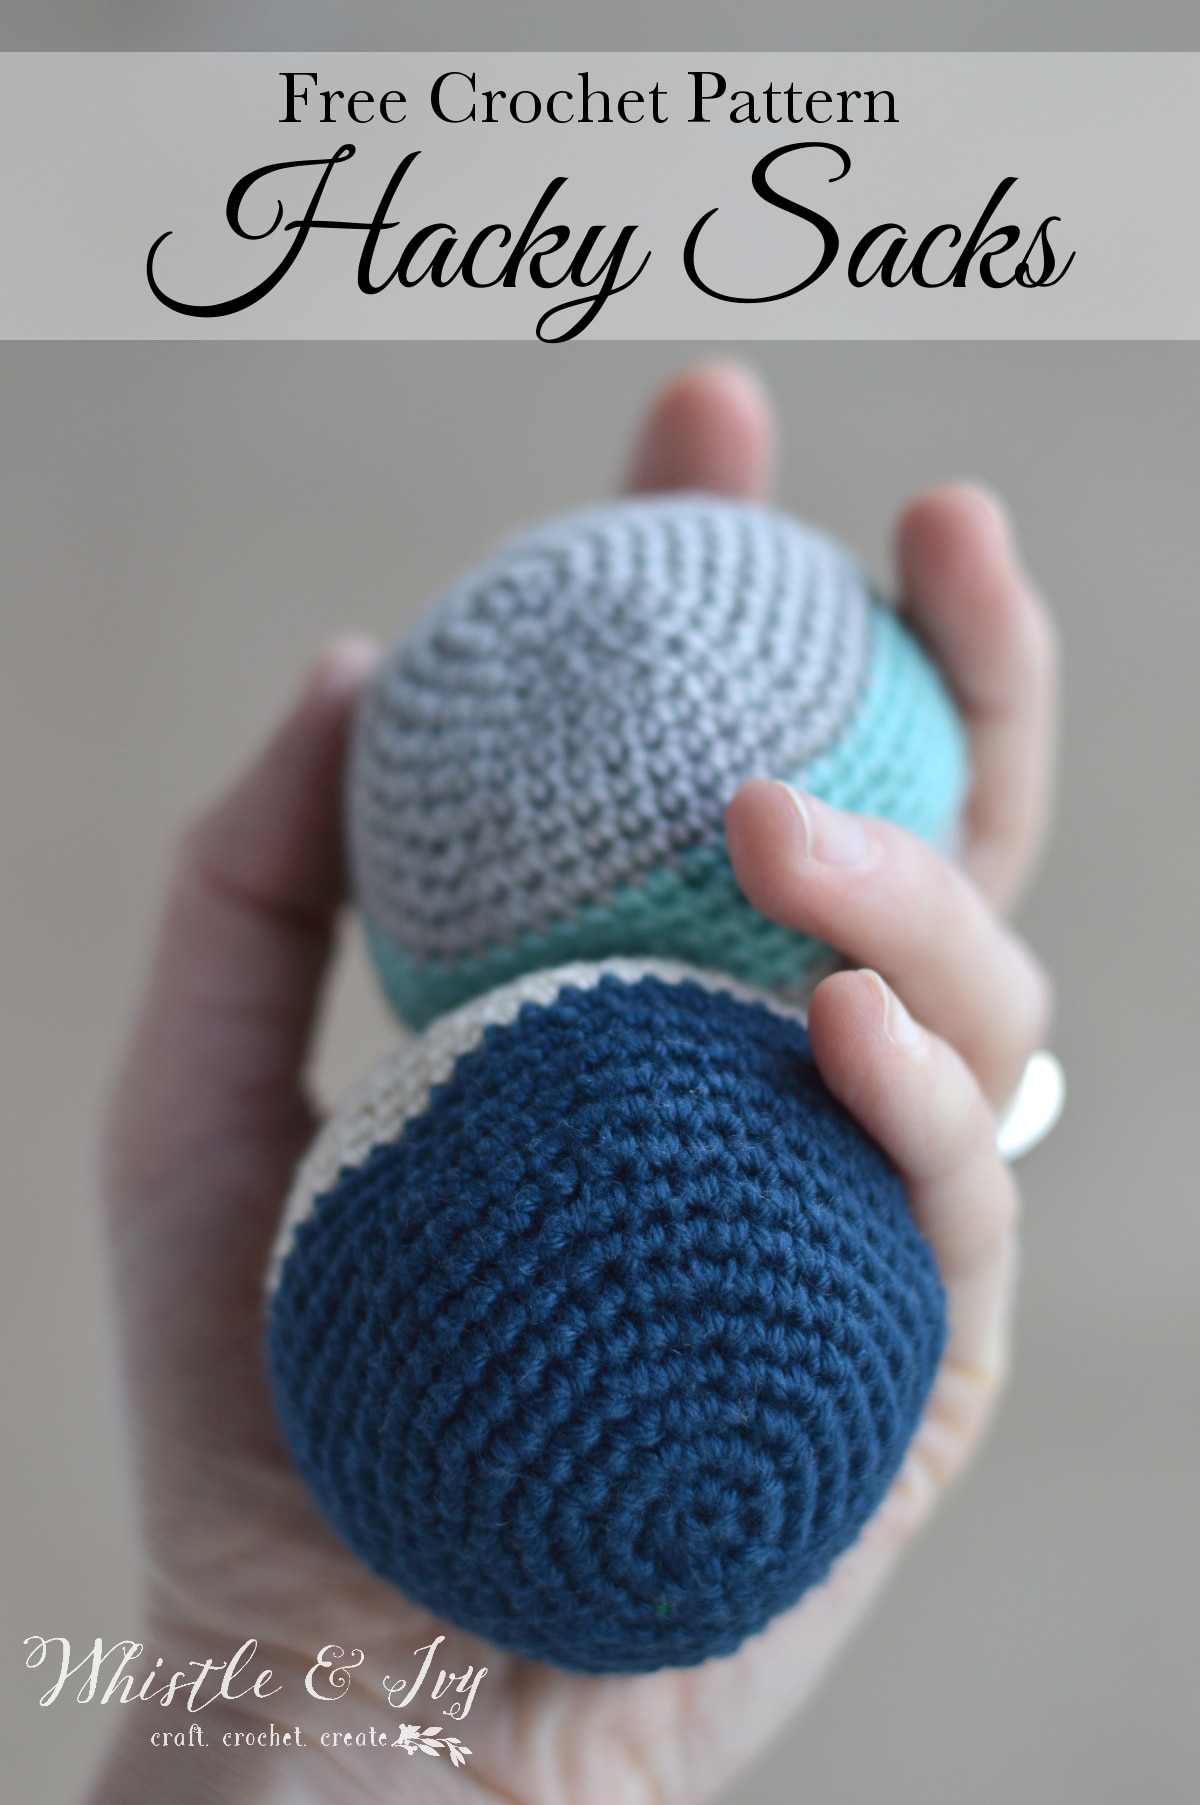
The idea for today’s free crochet pattern is brought to you by my husband Dallas! He was a real whiz with a hacky sack back in the the day (still is!). It’s funny, and really cool, how you can be married to someone for almost a decade but still learn little things about him/her. He can keep this crochet hacky sack going for a while, and it’s fun to watch him teach our 5 year old his mad skills! I was never good at it, but it’s fun to stand around in a circle laughing, chatting and kicking around a foot bag (fun fact: “foot bag” is the generic term for a Hacky Sack).

You’re tired of sifting through complicated tutorials and patterns that leave you feeling overwhelmed.
Let me help.
PICTURE THIS:
Instant access to a library of modern, easy-to-follow patterns
Gifting your handcrafted treasures to your loved ones.
Feeling accomplished by your beautiful makes
It’s time to make your crafting experience as joyful as it should be.
Crochet Hacky Sack – CROCHET PATTERN
What you need: (affiliate links)
–3.25 mm hook
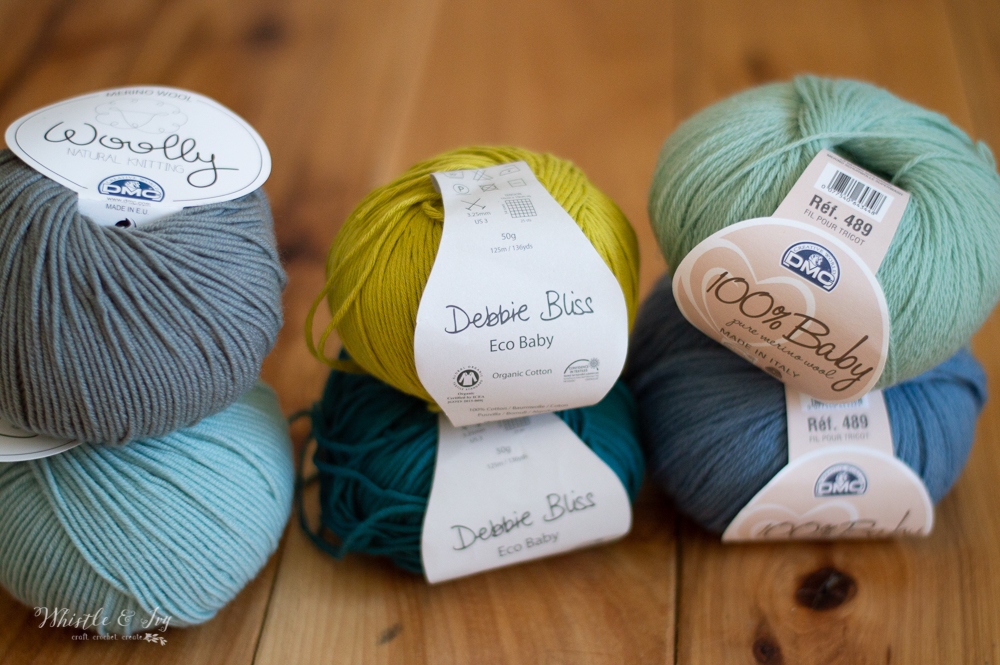
-Fingering Weight Yarn, Cotton works best (Knit Picks Comfy Fingering)
– Plastic Filler
– Darning Needle
Abbreviations: (US Terms)
Ch – Chain
Sc – Single Crochet
Sc2tog – Single Crochet Decrease
Sl st – Slip Stitch

LOVE THIS PATTERN BUT HATE THE ADS?
This pattern is FREE, but you can get an ad-free PDF from my shops! Where would you like to shop today?
Notes: The ch 1 does not count in total row count. 1st st will always be worked in same st at the beginning chain. Always join with first sc, not with the beginning ch 1.
Start with a Magic Ring
1. Sc 8 into ring. Join with sl st. (8 sts)
2. Ch 1. Work 2 sc in each st around. Join with sl st. (16 st)
3. Ch 1. *Sc in next 2 sts. Work 2 sc in next st* work 5 times. Sc in last st. Join with sl st (21 sts)
4. Ch 1. *Sc in next 3 sts. Work 2 sc in next st* work 5 times. Sc in last st. Join with sl st. (26 sts)
5. Ch 1. *Sc in next 5 sts. Work 2 sc in next st* work 4 times. Sc in next 2 sts. Join with sl st. (30 sts)
6. Ch 1. *Sc in next 6 sts. Work 2 sc in next st* work 4 times. Sc in next 2 sts. Join with sl st. (34 sts)
7. Ch 1. *Sc in next 8 sts. Work 2 sc in next st* work 3 times. Sc in next 7 sts. Join with sl st. (37 sts)
8. Ch 1. *Sc in next 9 sts. Work 2 sc in next st* work 3 times. Sc in next 7 sts. Join with sl st. (40 sts)
9. Ch 1. *Sc in next 9. Work 2 sc in next st* work 4 times. Join with sl st. (44 sts)
10. Ch 1. *Sc in next 10 sts. Work 2 sc in next st* work 4 times. Join with sl st. (48 sts)
11. – 16. Ch 1. Sc in each st around. Join with sl st. (48 sts)
17. Ch 1. *Sc in next 10 sts. Sc2tog.* work 4 times. Join with sl st. (44 sts)
18. Ch 1. Sc in next 4 sts. Sc2tog. *Sc in next 9 sts. Sc2tog* work 3 times. Sc in next 5 sts. Join with sl st. (40 sts)
19. Ch 1. *Sc in next 9 sts. Sc2tog.* work 3 times. Sc in next 7 sts. Join with sl st. (37 sts)
20. Ch 1. Sc in next 3 sts. Sc2tog. *Sc in next 8 sts. Sc2tog* work 3 times. Sc in next 2 sts. Join with sl st. (33 sts)
21. Ch 1. Sc in next 2 sts. *Sc in next 6 sts. Sc2tog* work 3 times. Sc in next 7 sts. Join with sl st. (30 sts)
22. Ch 1. Sc in next 2 sts. Sc2tog. *Sc in next 5 sts. Sc2tog* work 3 times. Sc in next 5 sts. Join with sl st. (26 sts)
23. Ch 1. Sc2tog. *Sc in next 3 sts. Sc2tog* work 4 times. Sc in next 4 sts. Join with sl st. (21 sts)
Fill the hacky sack with your desired filling about 3/4 full.
24. Ch 1. *Sc in next 2 sts. Sc2tog.* work 5 times. Sc in last st. Join with sl st. (16 sts)
25. Ch 1. Sc2tog in each st around. Join with sl st. (8 sts)
Leave a long tail.
Sew up the remain hole with your darning needle and tail. Weave in ends.

The Boy was having so much fun! Unfortunately, he is like me in that he gets frustrating quickly when things don’t come easily, but I think he will get it soon.
I think we found our new family game.
Do you remember playing Hacky Sack?
Be sure to share your beautiful version in the group>>>
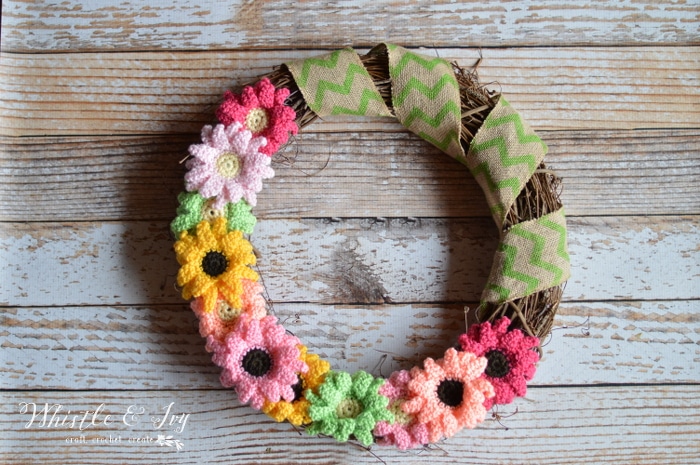
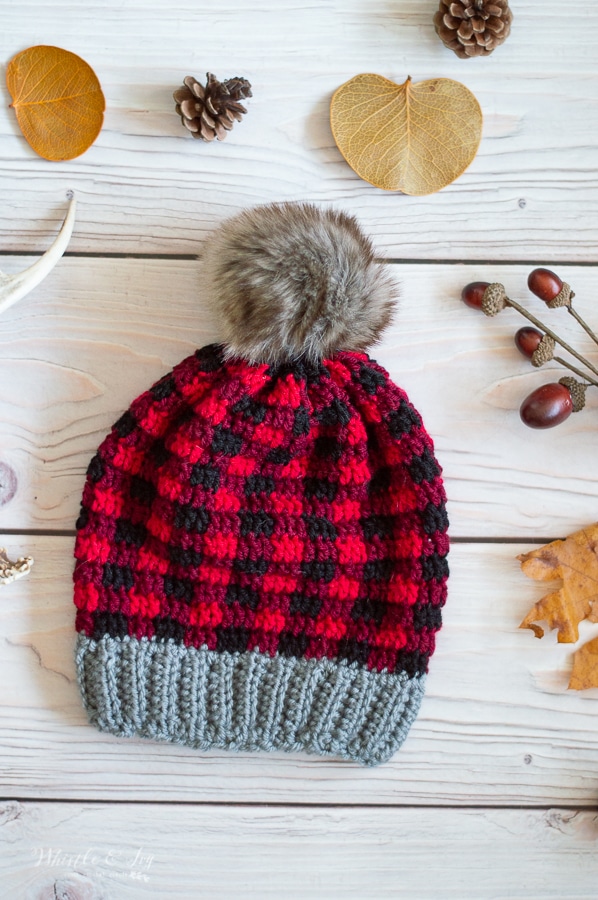
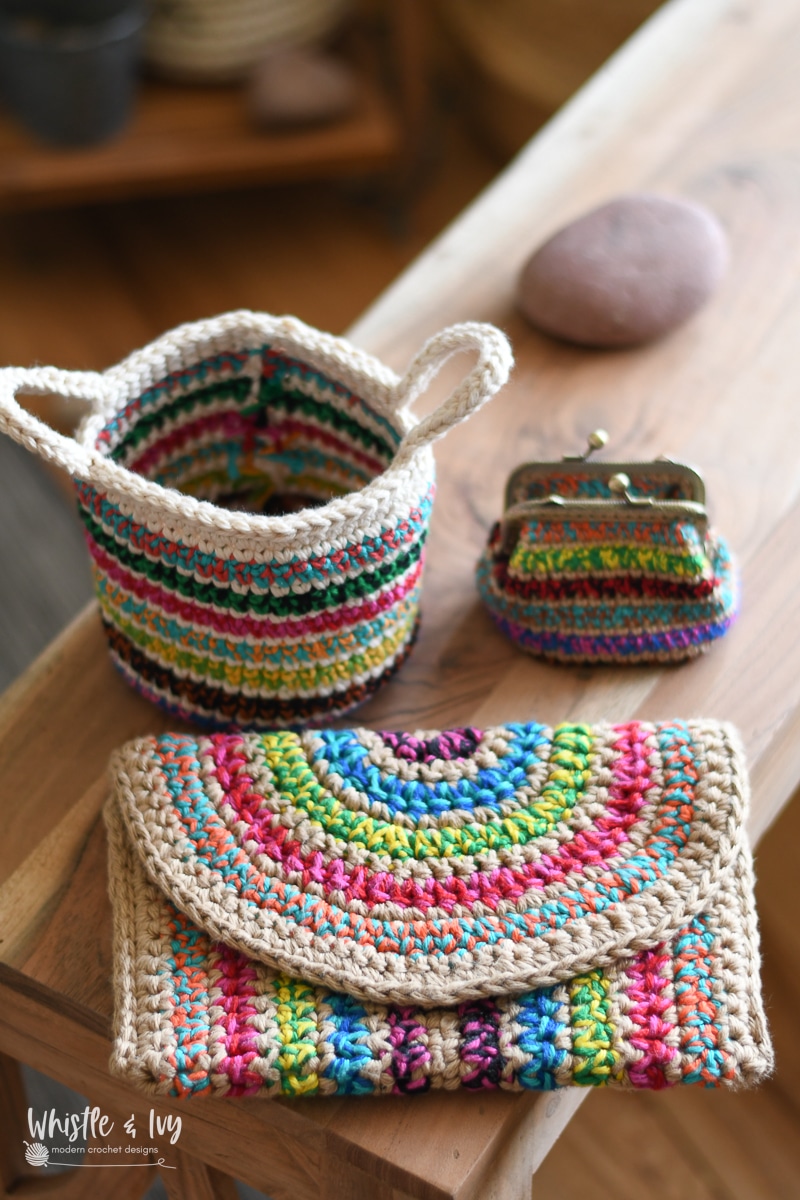
You may also like these FREE patterns:

Cheers!


I absolutely love this crochet hacky sack pattern! The step-by-step instructions are clear, and I appreciate the tips you included. I can’t wait to give it a try for my next project—thanks for sharing!
Thank you!
When you say this.
The ch 1 does not count in total row count. 1st st will always be worked in same st at the beginning chain. Always join with first sc, not with the beginning ch 1.
I’m confused on the part where do a slip stitch at the beginning. And then when you join with a slip stitch. I’m confused on that too. Apologies if this is annoying at all.
Hi Jess! You will sl st into the first sc of the round, not the ch 1. This is not worked in continuous rounds, or a spiral, it’s like laying bricks. The layer will begin with a ch 1, which give you some height to start, then you will work a sc in each st (or whatever the round calls for), then to end the row, you will complete the layer by joining the last st with the first st using a sl st. This sl st and ch 1 do not count in your overall round count, the SC stitches are the only stitches that count. The Ch 1 is there to start the round only, and the sl st is there to end th round only.
Sorry if I missed it in the pattern, but do you know roughly how many yards of yarn it takes to make 1 hacky sack?
Hi Rachel! Maybe 100 yards of fingering weight yarn? I used Comfy fingering, and I used about 1/2 of a skein.
Thank you so much! I can’t wait to make some hacky sacks!
You are very welcome!
Could you kindly explain what line 3 mean or how to crochet it. It is probably simple for a lot of and also very simple. I can come up with how I think it should be its just I have never read it in a pattern before. This is in the Crochet Hacky Sack – Whistle and Ivy. Need answer now, please. Thanks, Tutorial with the pattern is always very helpfu.l
Three is almost exactly like row 2, you are just working an extra sc in between the increases.
OMGosh! I can’t believe this is in my newsfeed today. Literally, 2 days ago my oldest grandson said, “Hey! We need hacky sacks! They’re so much fun!” He’s about to turn 23… and wants to teach his little brother to play. THANK YOU!!!
What else can I use to fill the hacks sack instead of corn kernels or dried beans?
Small beads would work!
What price would you suggest selling one of these at?
Hm. How long did it take you to make it?
So glad you shared this pattern. We participate in Project Christmas Box and I like to make boxes for the older kids. I messed around trying to get the right size hacks sack, but it just wasn’t quite right. I’ll be whipping up a few of these this year!
How fun! You are very welcome!
What is best to fill it with?
As indicated in the post, I used popcorn kernels, but I think beans would work as well.
Please, do not use beans or rice and anything else that puffs when wet. Not only will it absorb moisture, but can also rot.
Either use steel BB’s {this makes for more of a trick/stall bag} or get the plastic pellets from: http://www.footbagshop.com/plastic-footbag-filler.html {These are typically better for passing games and good to do a full 90 – 100% fill to keep the round shape better}.
Bethany, thank you for your kindness, in posting these pretty patterns. I love the pillow.
Marcy
Bethany,
I subscribed and tired to put in the password that was sent to me it did not work.
Send me an email and I can get it to you!
Bethany
I bought the hacky sack pattern and had trouble down loading . can you send again. Bought on 4-10-17
Thank you
Janet
Oh sorry! Reply to the email you received confirming your purchase and I can reply back and attach the pattern.
Thank you for getting back to me. Just can’t wait to make these!!
Janet
Exactly what do you do with hacks sacks, I am an Aussie and have never heard of them?
It’s a game! You stand in a circle and kick it back and forth to the different people standing in the circle. You can also get pretty fancy with the kicking by using the sides of your feet. It’s pretty fun when you get the hang of it.
how do I download the pattern? sandy
Hi Sandy!
I offer a pretty download at a very small cost. If you click the graphic above the pattern, you an buy it for less than $2.