
This tutorial is a review and is 100% my own opinion. I was provided products free of charge by Oriental Trading. No other type of compensation was received for this review.
I have been trying to use my Silhouette® a bit more because frankly, it takes a bit of practice to cut out projects perfectly each time (especially if I am using specialty media). Luckily, this project is very easy and hard to mess up!

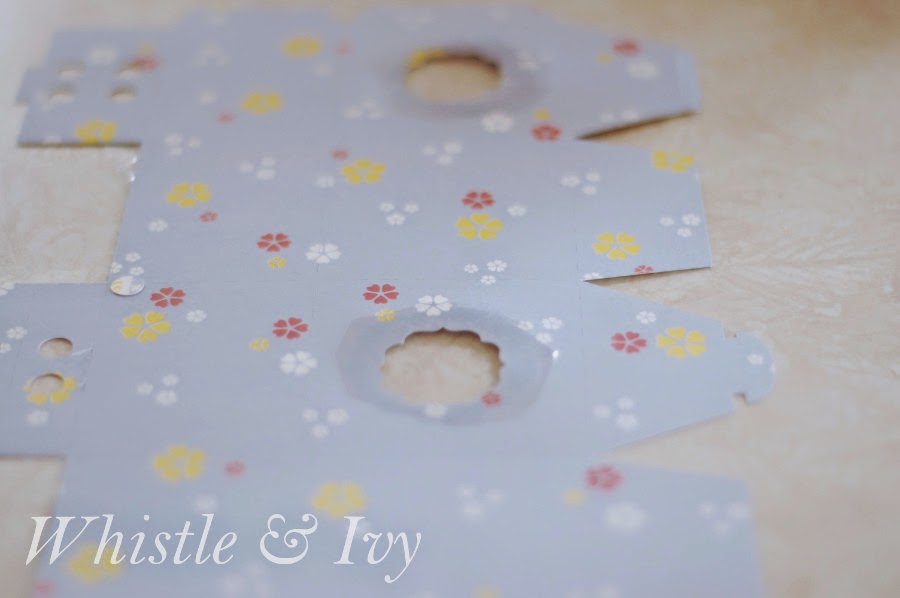
I was able to try this adorable Easter double-sided scrapbook paper from Oriental Trading. The texture and thickness is absolutely perfect for these little cartons.
Now, I am not experienced enough with my Silhouette® to create my own designs, so as of right now, I buy pretty much everything I use. Luckily most everything is only $1.
For this project, I used this small carton. Make sure to turn your page to Landscape and adjust the shape so it fills your page, but doesn’t go outside the red lines. For the cut-out shapes I used these, these and this bunny.
Open the shape on you project page. Ungroup and delete the excess shapes if necessary. Then, shrink your shape to the size you want. Copy and paste your second shape so it is exactly like your first one.
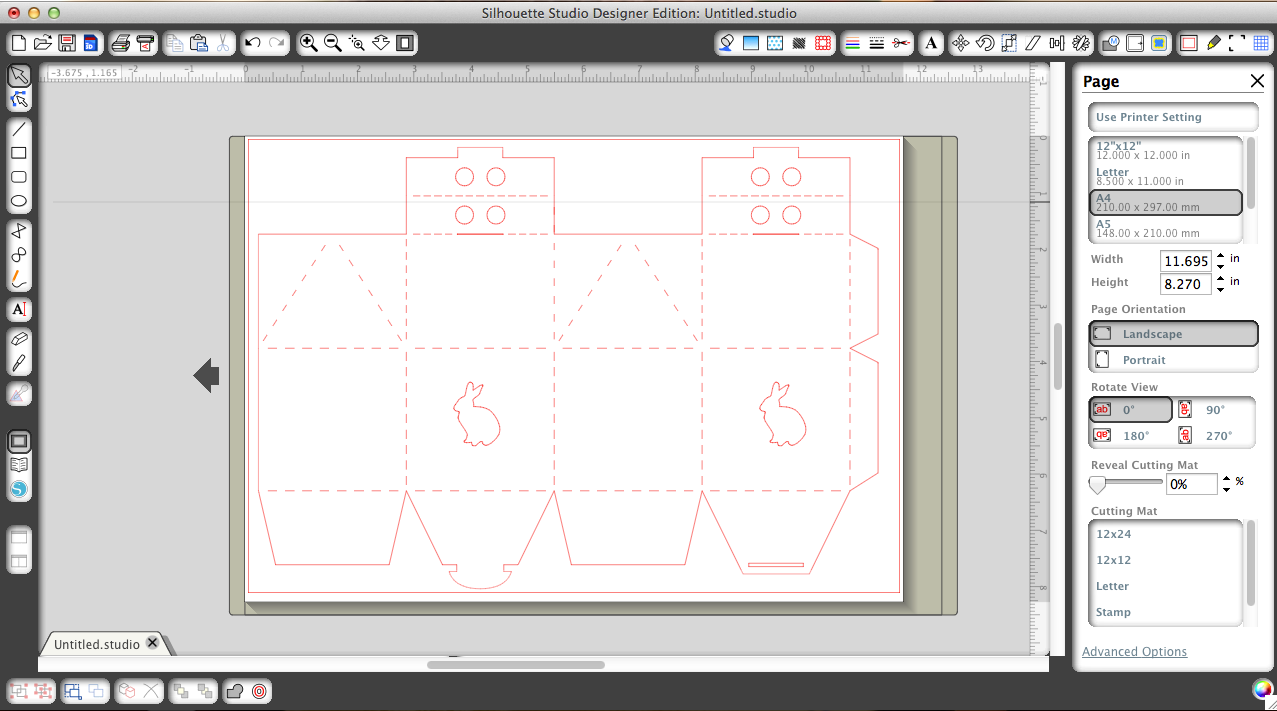
If your paper has an “up” side, make sure to face the right side to the right (or up if you are looking at it landscape oriented). The small holes will be the top of your carton.
Cut on “Patterned Paper” setting.
When it is cut, cover the holes with cellophane or other thin clear plastic. I actually cut up some treat bags that I had on hand. Glue them in place with a glue stick. Make sure you are gluing them from the back.
Finished by assembling and gluing the cartons in place. Fill with easter candy and tie up with string or ribbon.


SO CUTE! And now another reason I want a Silhouette!
Cute packaging :) I love your choices of paper too!
Thank you so much!
cute idea!!