
I LOVE making baby things, especially little girl things. And my friends and family are gracious enough to accept home made gifts from me for their babies!
One of my favorite things is a reversible baby skirt. It is really pretty simple and easy to make.
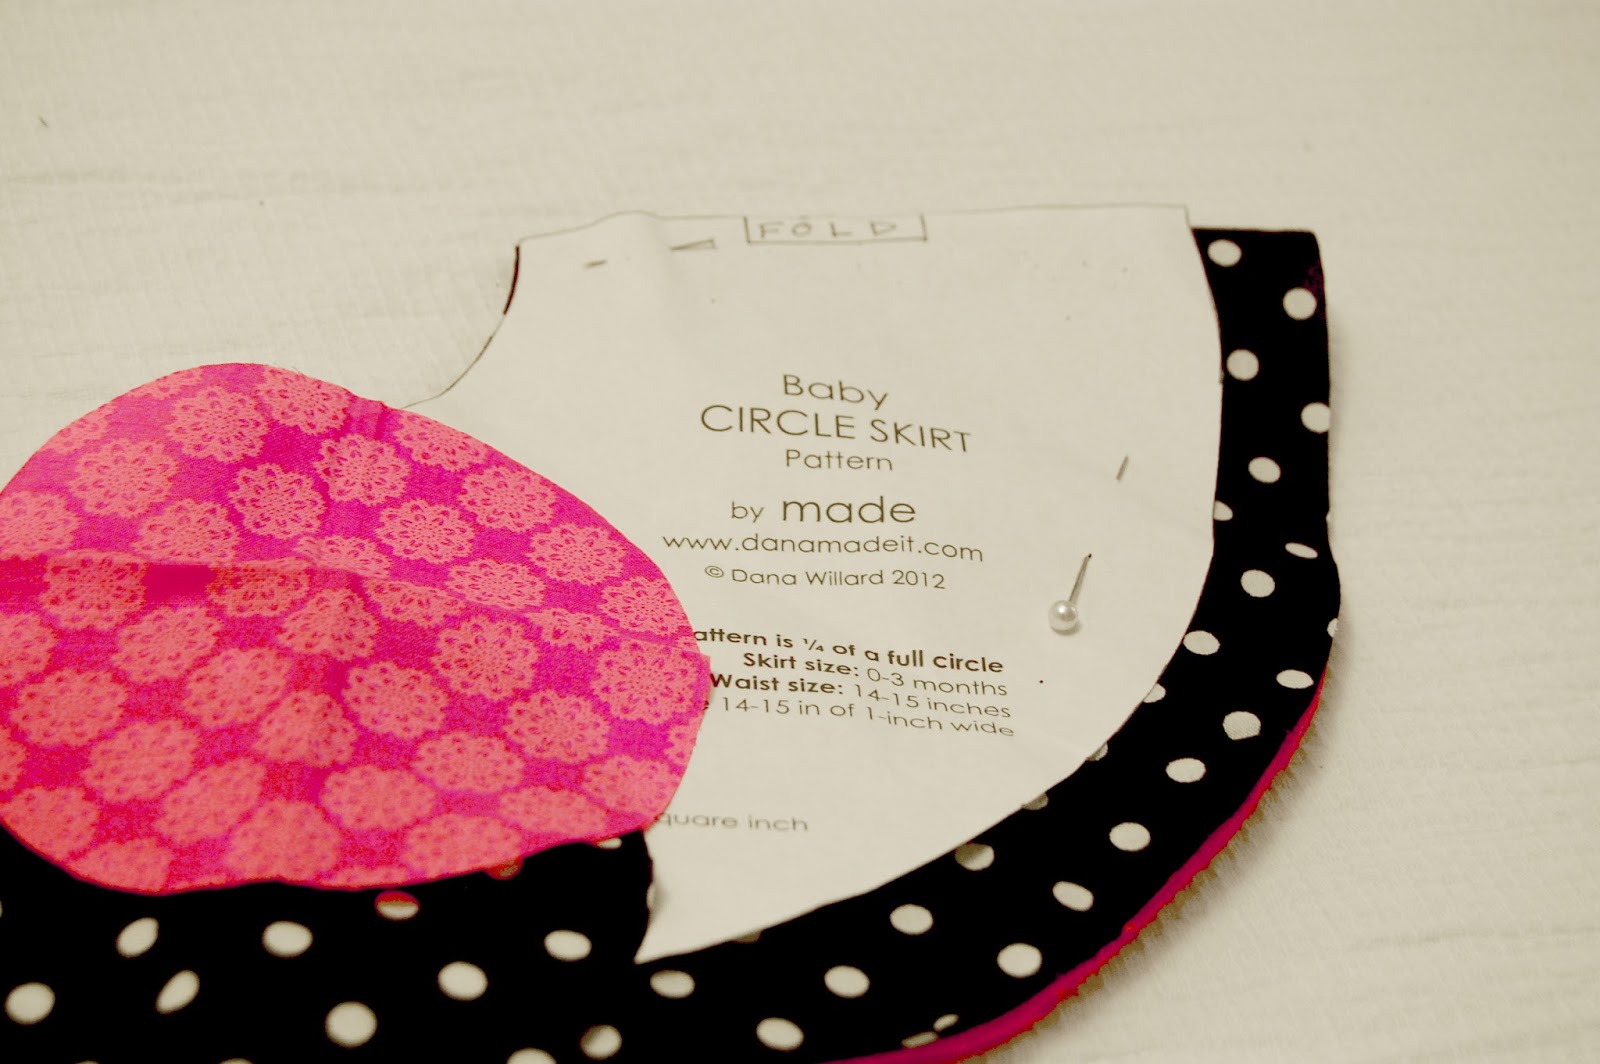
I got my pattern HERE from Dana at Made.
If you don’t read her blog, you should! She is amazingly talented and is so generous to share most of her patterns and ideas. She is wonderful and all of her stuff is adorable!
You need:
2 fat quarters or 2 pieces of fabric about 18″ x 24″
1 package of extra-wide double-fold bias tape that matches both fabrics
about 13″ of 3/4 inch elastic
2 baby headbands or yarn to crochet one
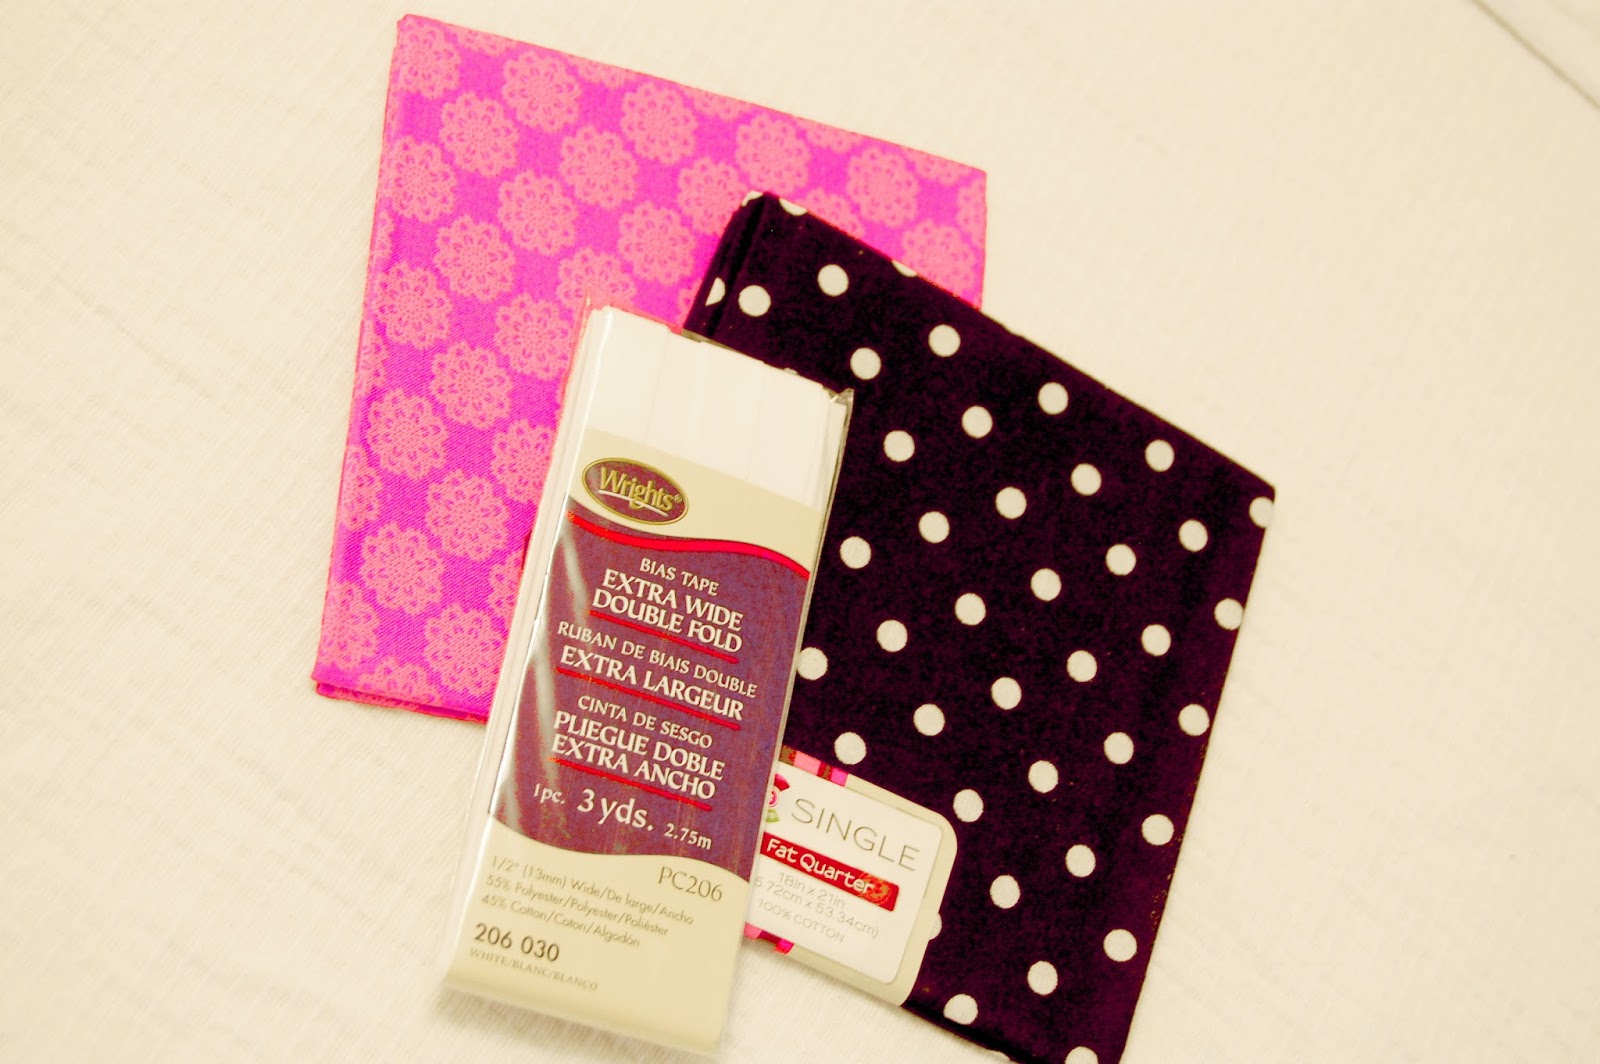
For this project, I chose white bias tape, but I would not recommend using white with dark colors, it kinda shows through and doesn’t look ideal.
Take your fabric pieces and fold them in half twice. Even though you are using the same pattern, they match up better if you just cut both of them together. Lay your pattern so the folded corner is where the inside circle is.
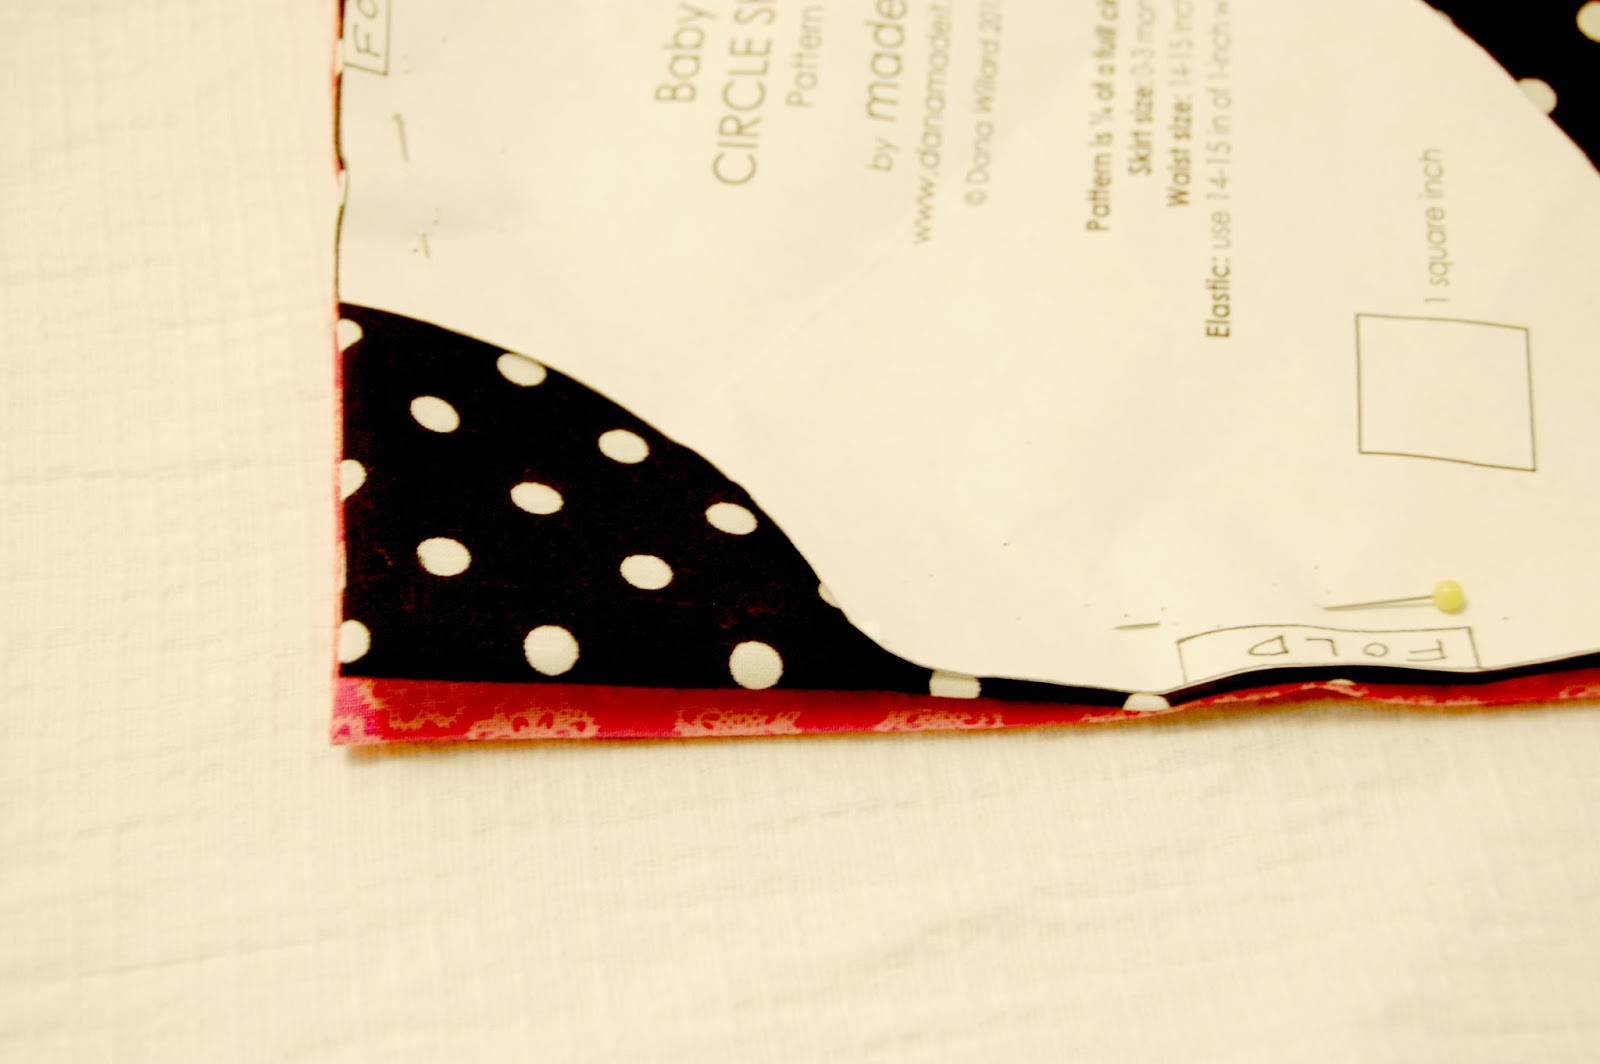
I actually cut about 1 or 2 inches longer than the pattern for a bigger size. If you choose to do a newborn size, cut at least 3/8″ longer, since we are doing something a bit different than the pattern’s original instructions.
Make sure to hold on to the circles you cut from the inside part of the pattern. We will use those later!
Unpin and unfold your fabric pieces and lay them flat, right sides together. Match them up and pin the inside circle.
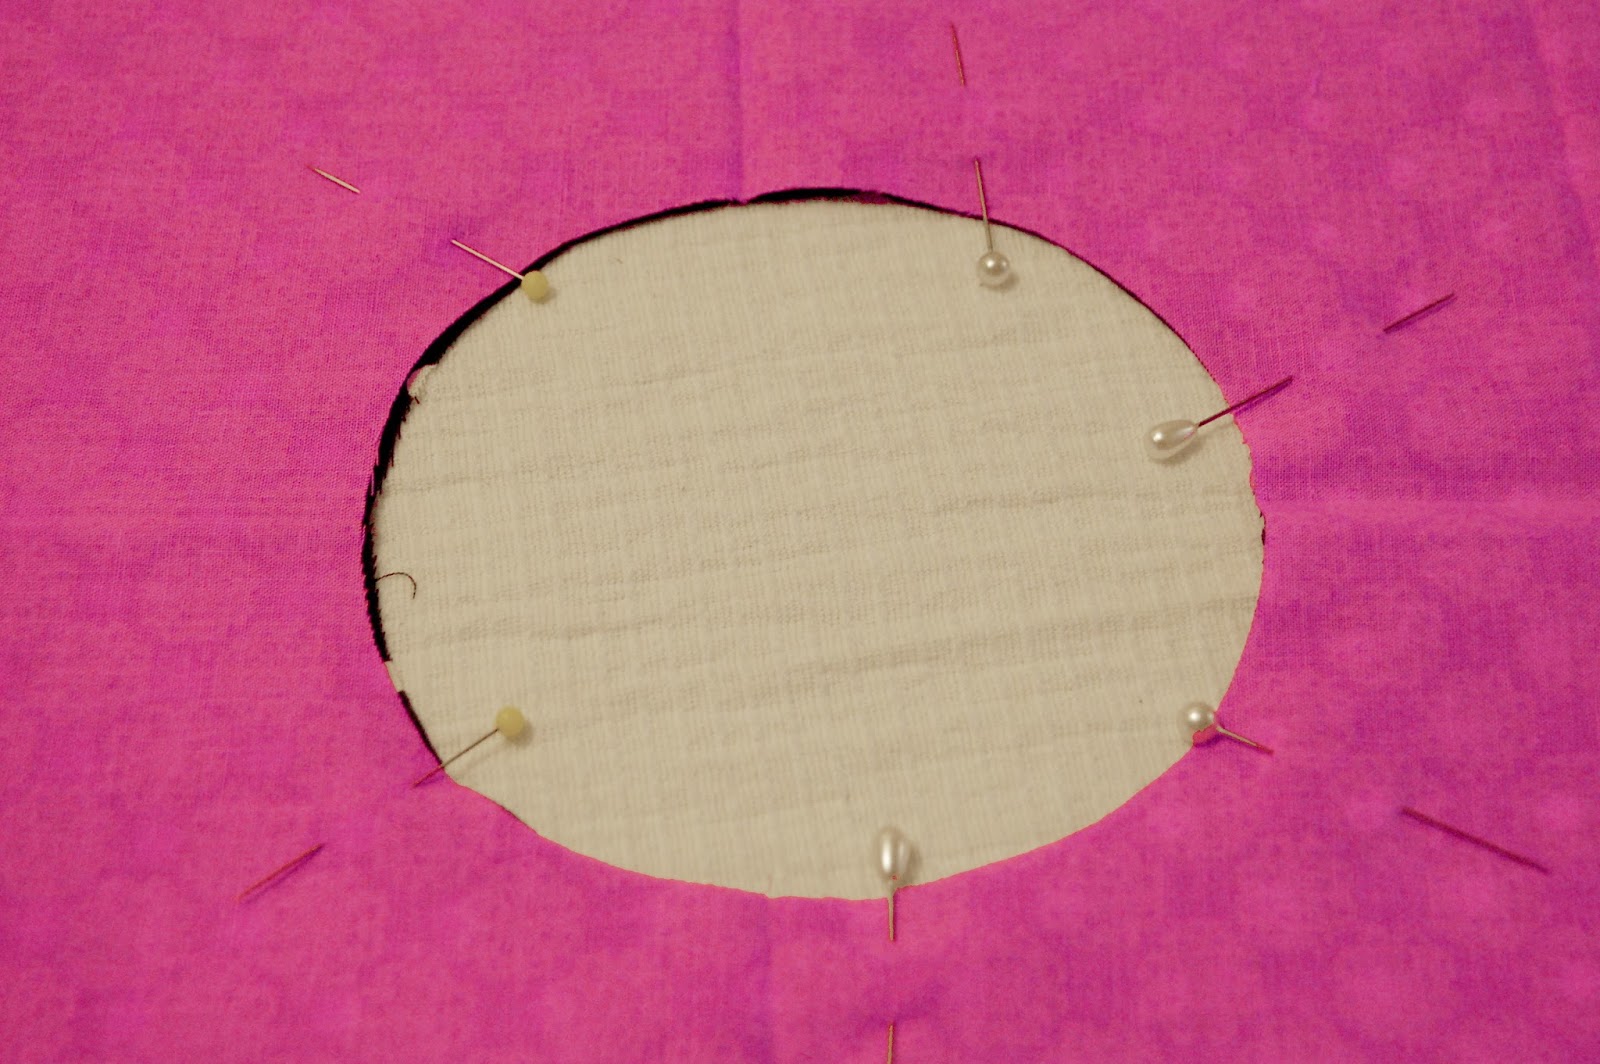
Sew around the inside circle, where you pinned.

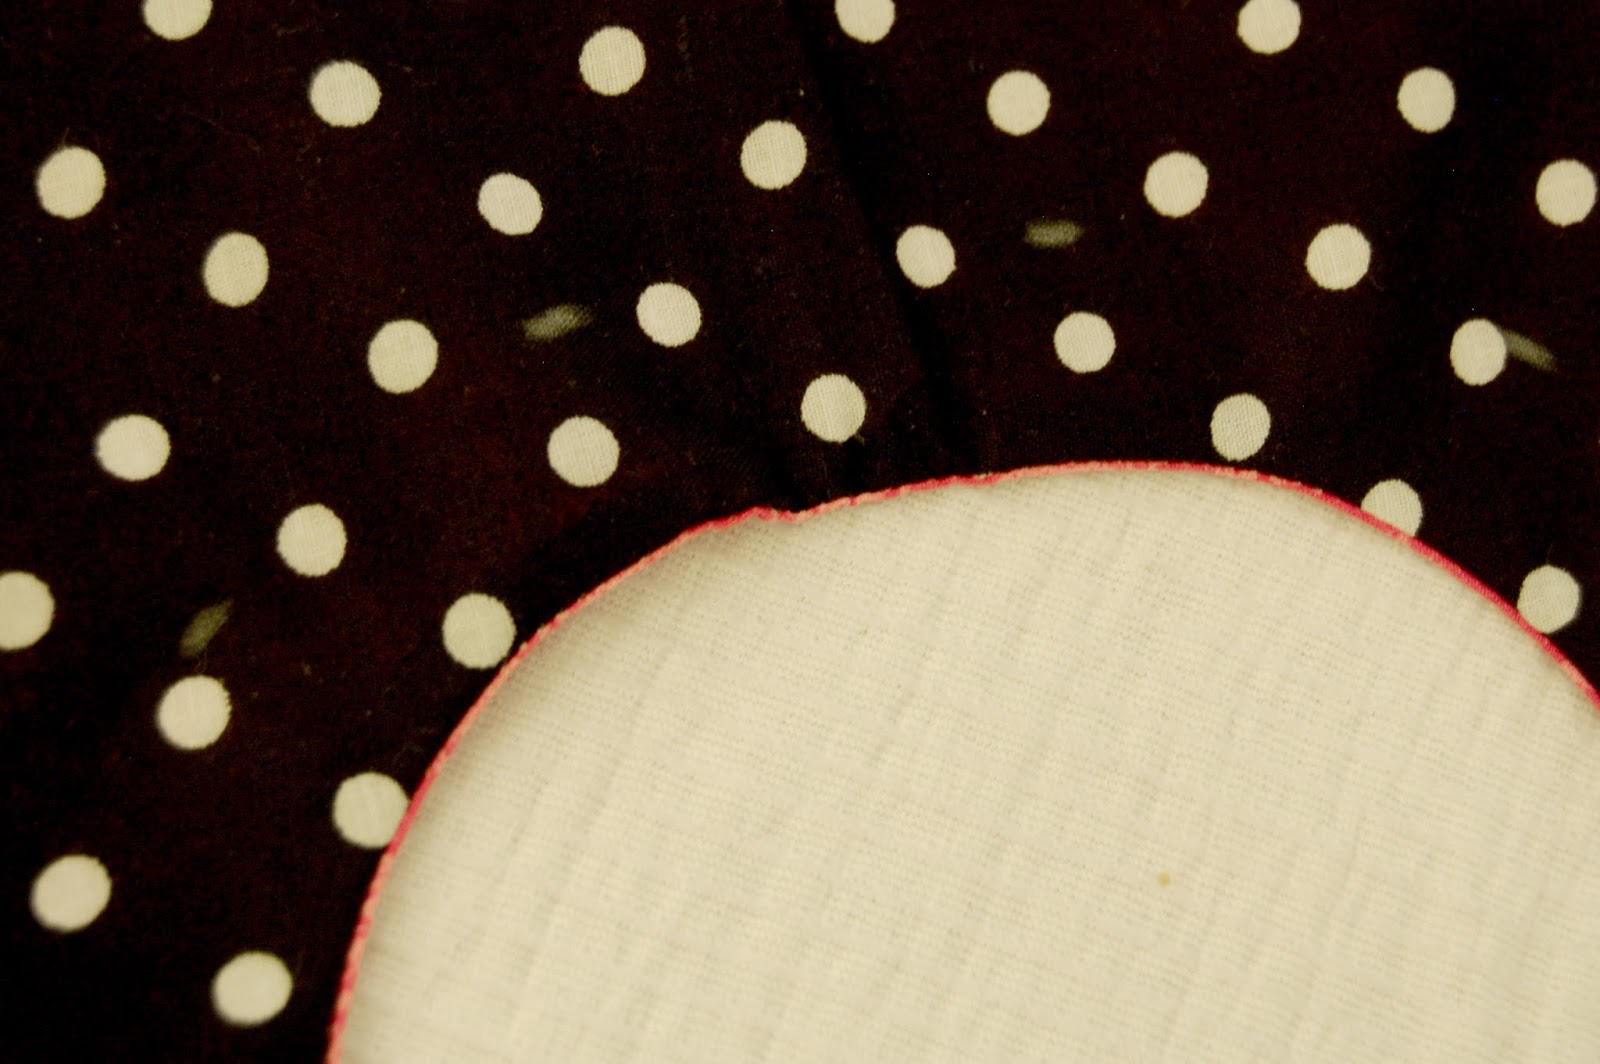
Now, turn your skirt right sides out by pushing one layer of fabric through the hold you have just sewn. Iron around it for a nice crease.

Now, for the elastic casing, you need to sew around the hole again. As I have mentioned in previous posts, I just dive in with a home-spun, usually unorthodox method, so if there is a better way, by all means do that!
I just took a ruler and measured 1″ and made marks every few inches with a marking pencil.
Now, sew around your circle, using your marks as a guide, but leave a couple inches un-sewn; you need to put the elastic in through this part.

Take your piece of elastic and put a large safety pin on the end of it.
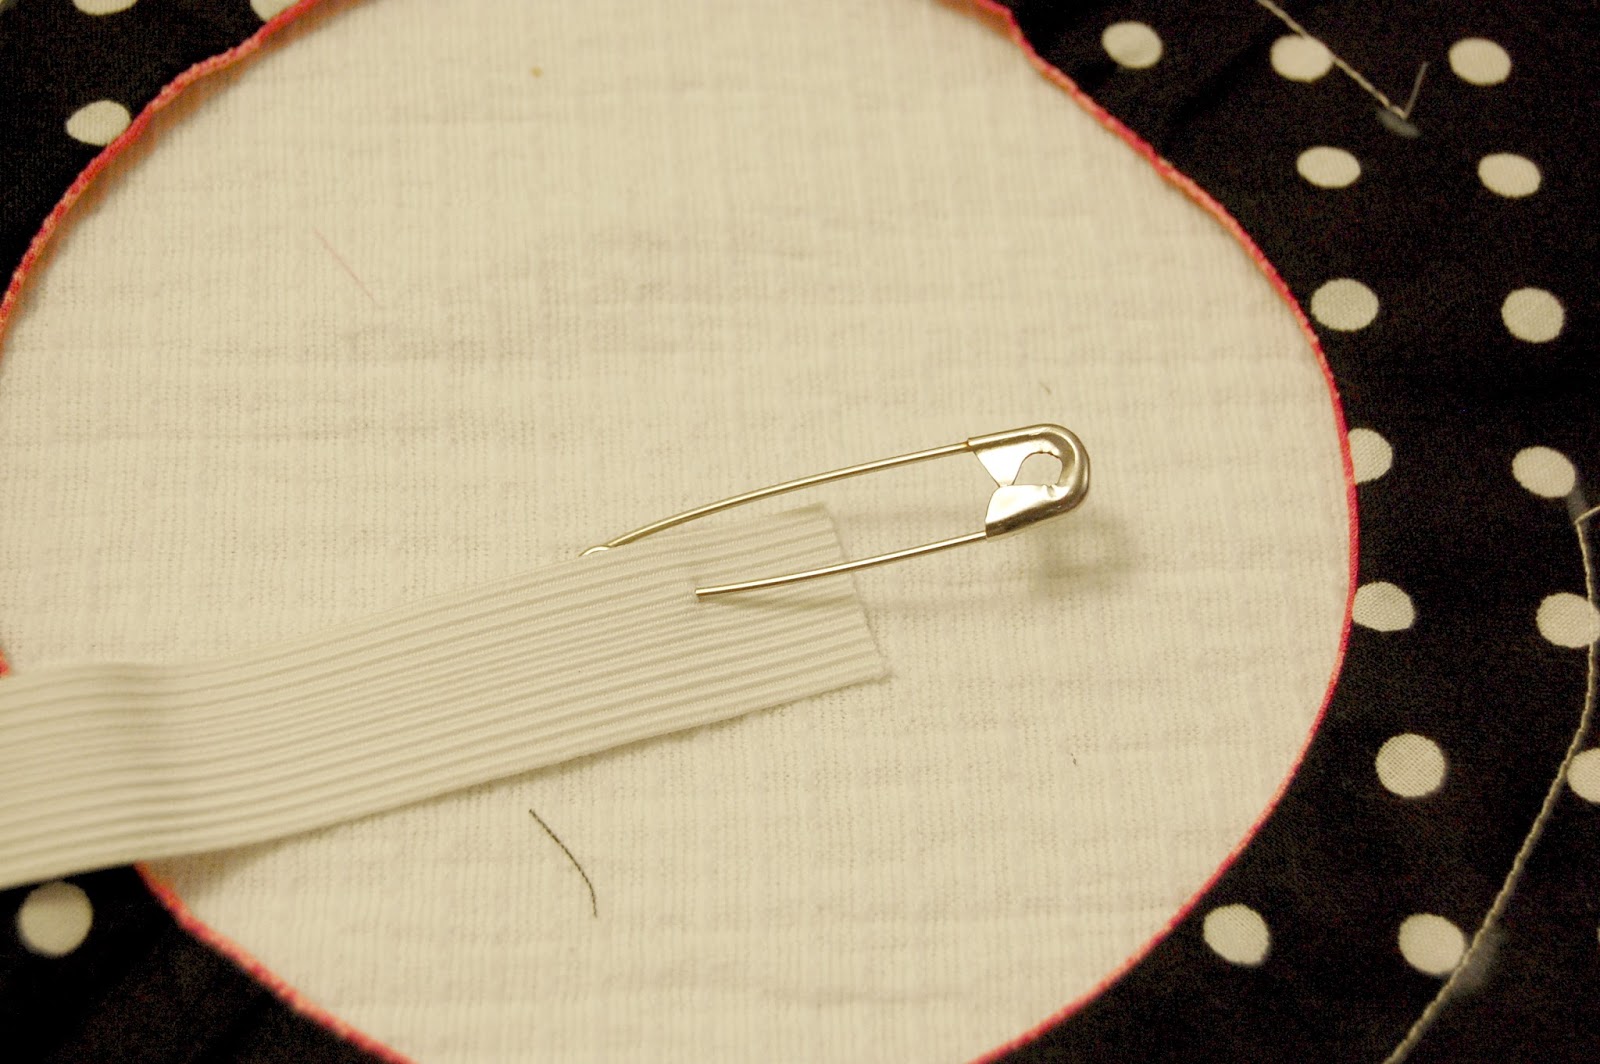
Use your pin to guide the elastic through the casing, between the two layers, until it come back out the same hole.
Zig-zag stitch the elastic together, and fold the raw edge and sew it down.
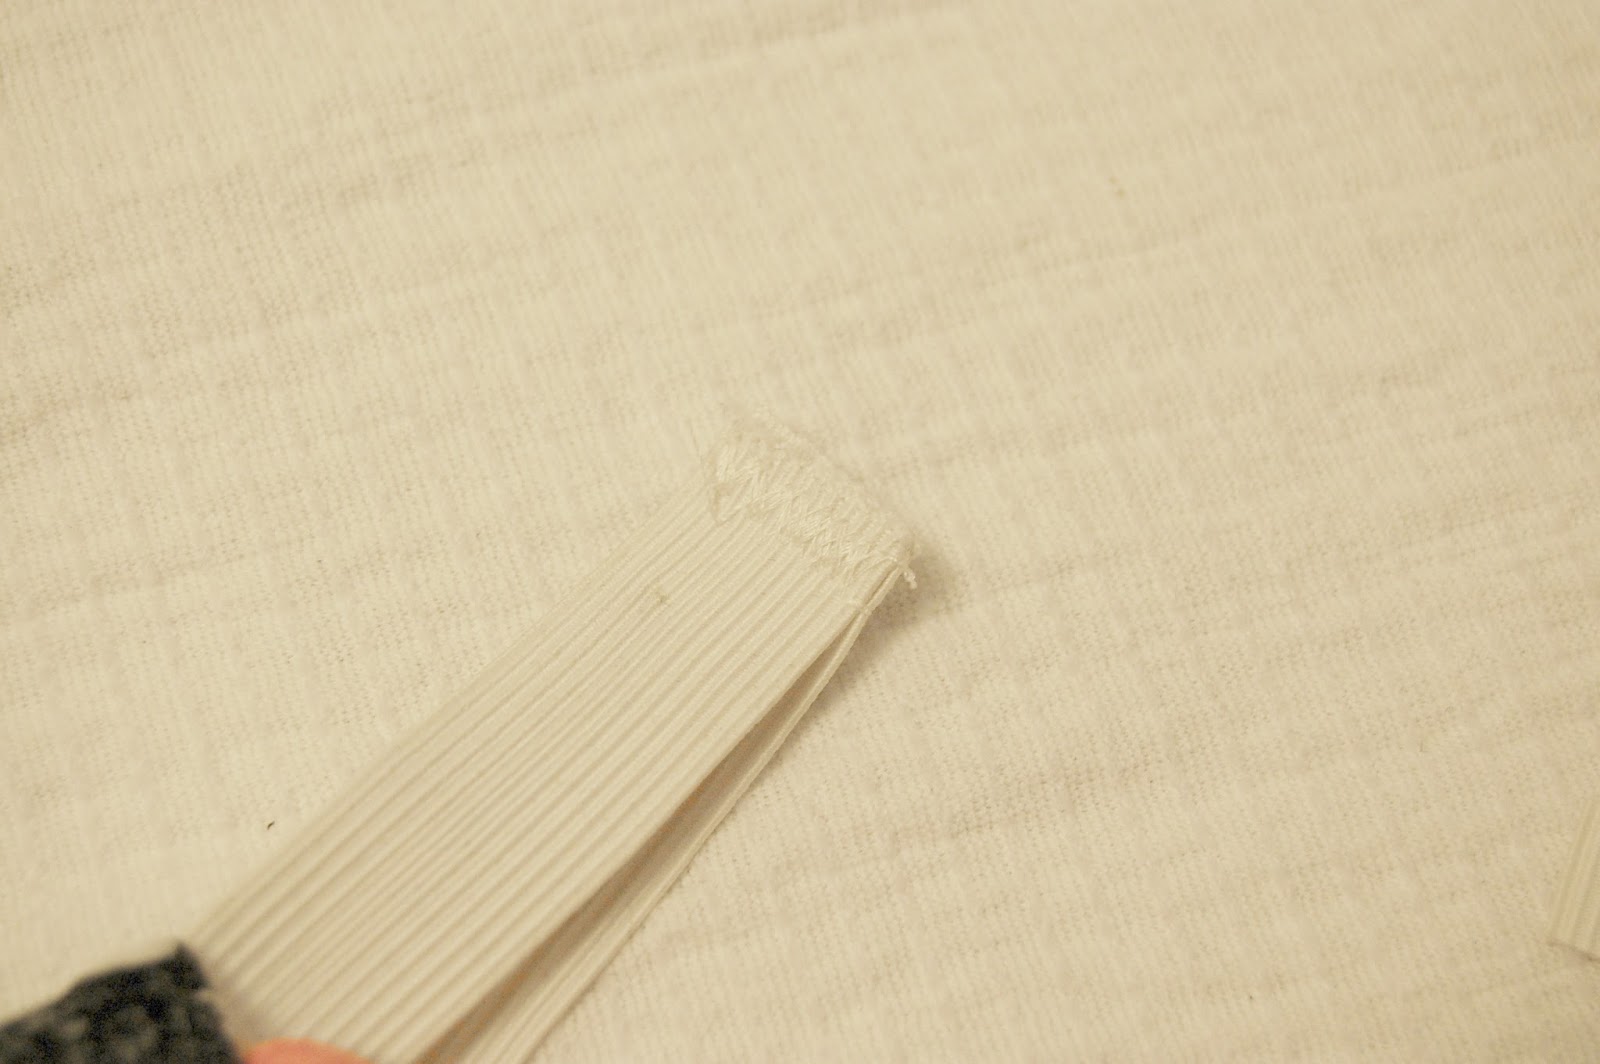
Now, adjust the elastic and finish sewing your circle to close up the hole.
To finish the bottom, pin your bias tape around the bottom of the skirt. Sew the bias tape carefully, taking care to catch both edges.
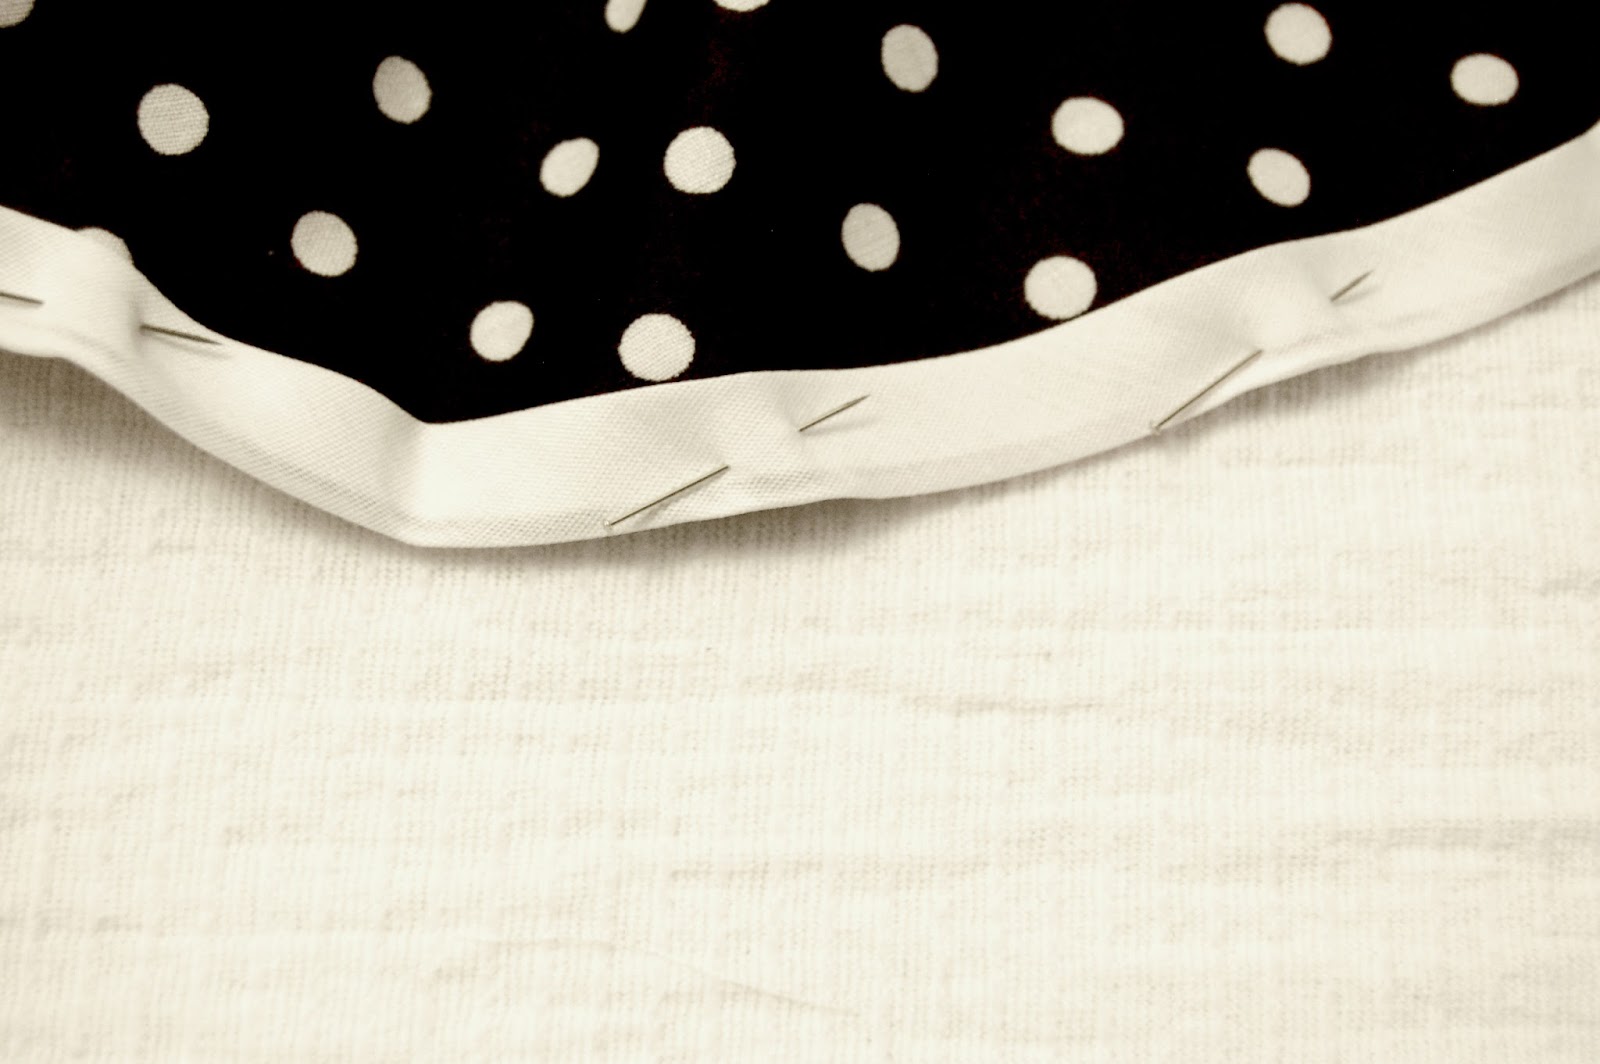
After that, the skirt is done!

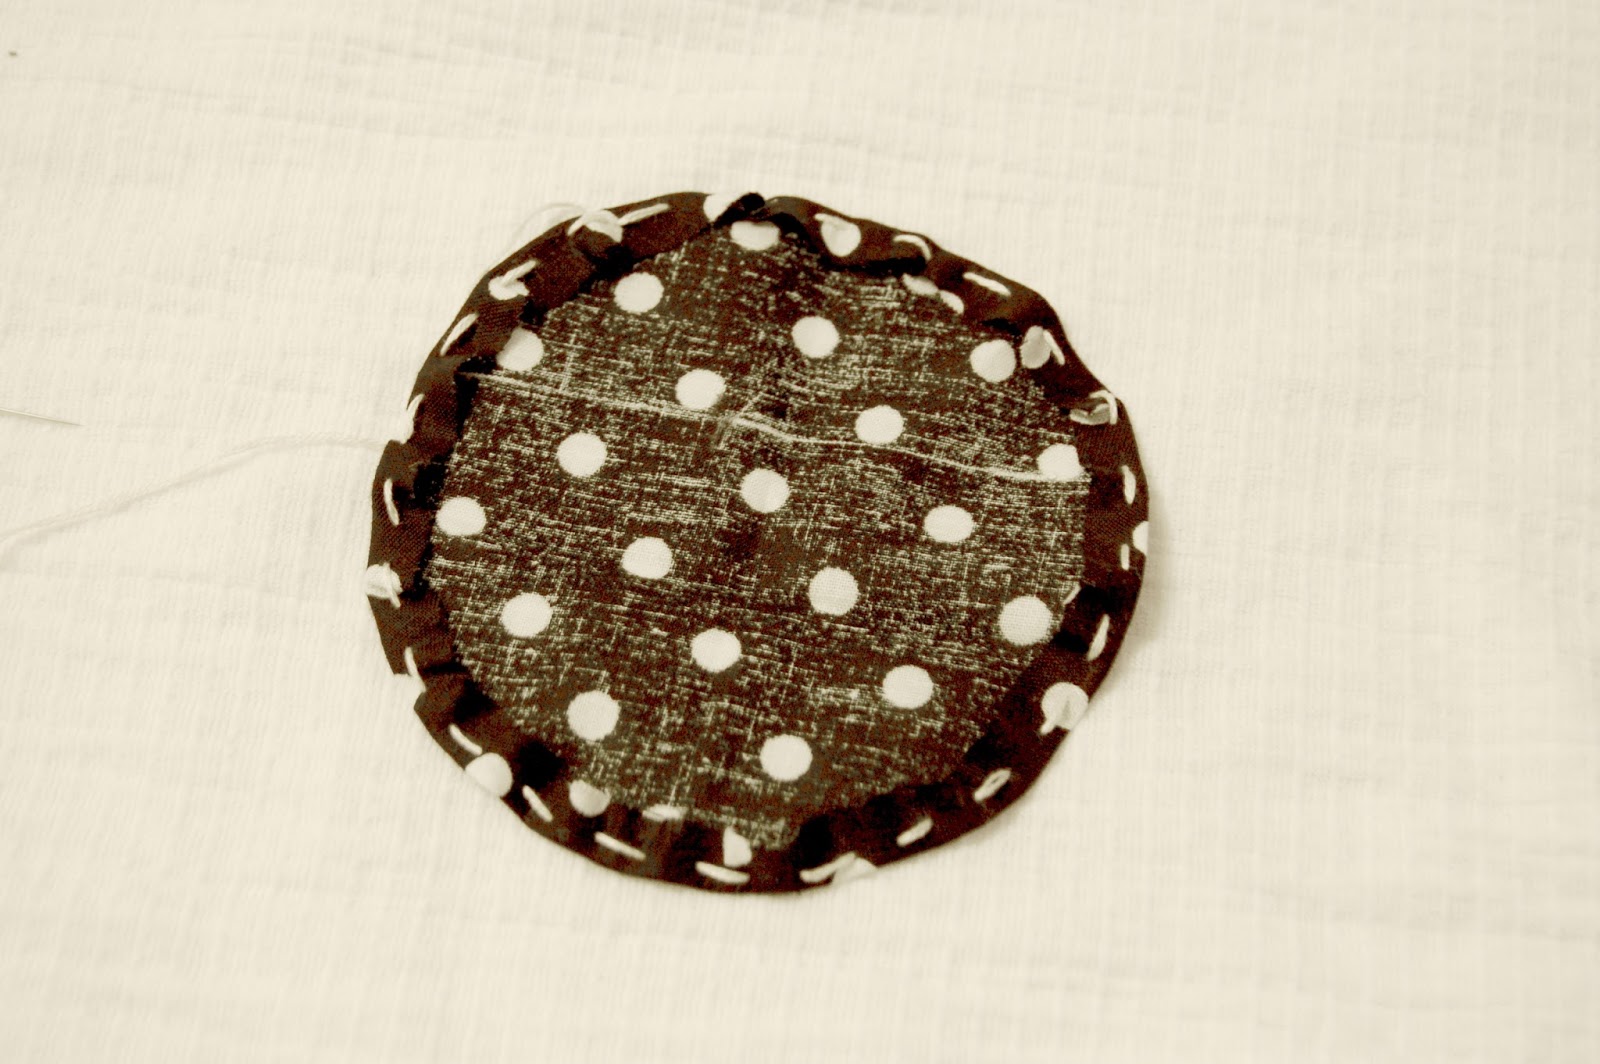
To make matching headbands, take your two circles and hand-stitch around the edges, sewing the edge down. I have found that hand stitching takes a bit longer, but its makes it much easier to ruffle the fabric.
I like using 3 strands of embroidery floss, because I have had thread break in the past, but for the most part, thread is fine.
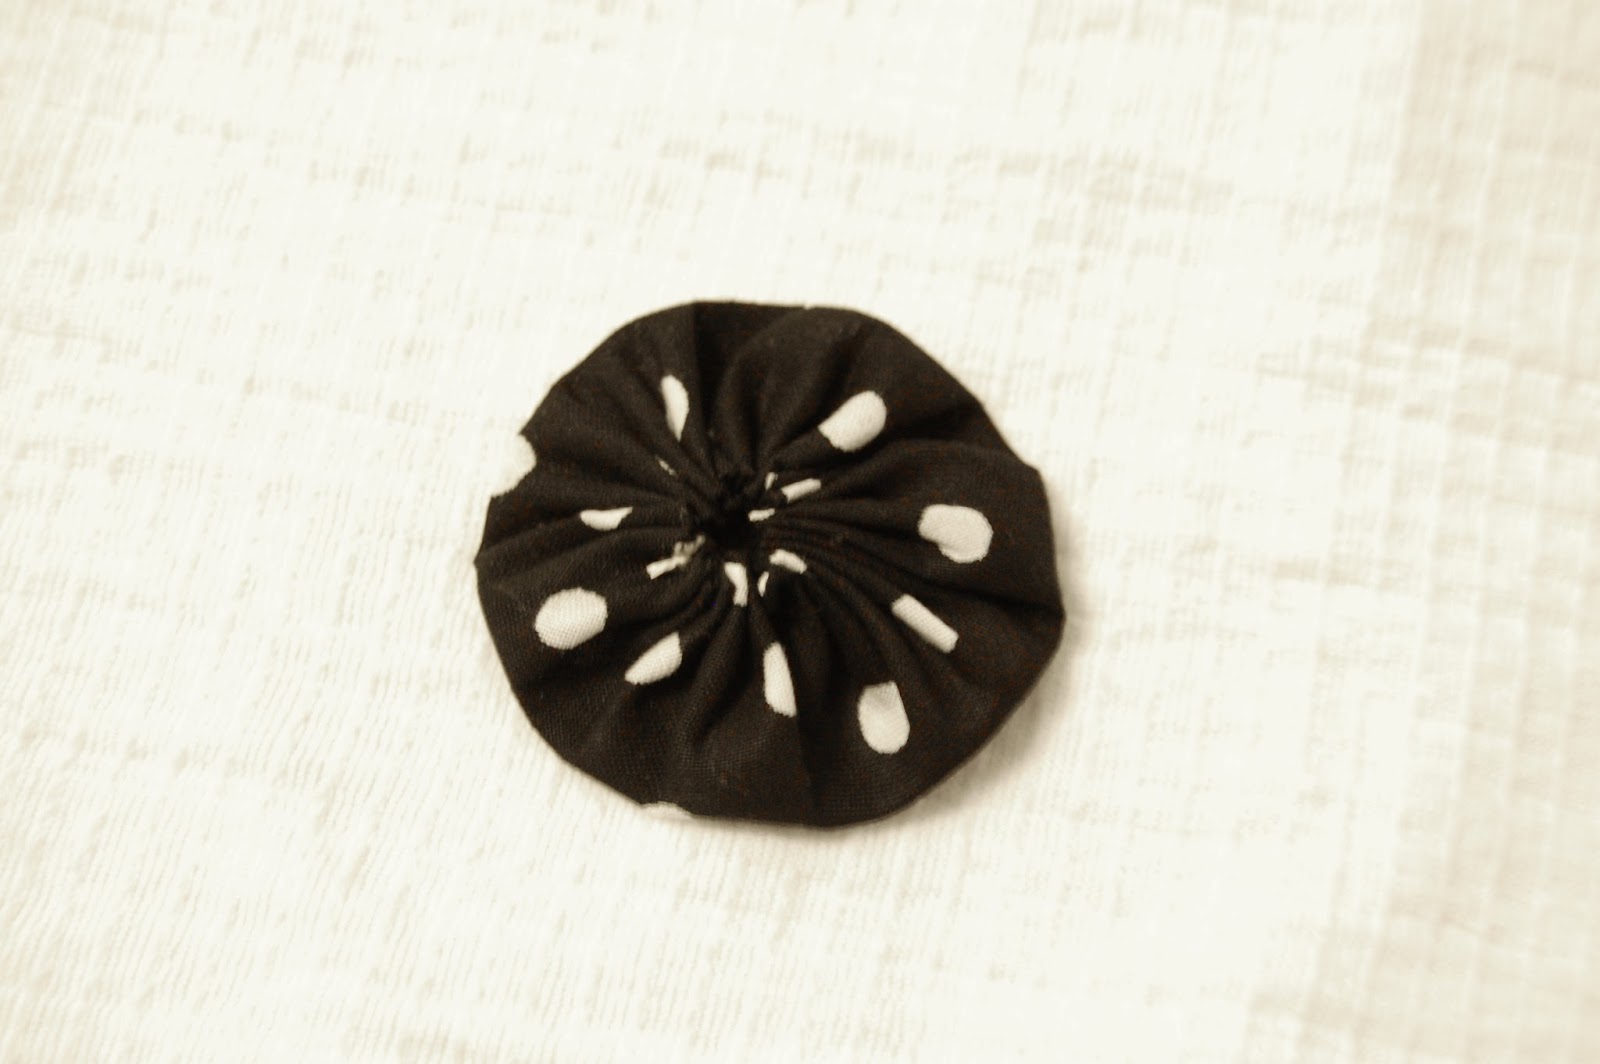
Once you have it stitched all around, pull the threads, ruffling the edges until you have a little “pouch”. Then flatten it, and you have a pinwheel!
If you bought little bands, you can just use a little hot glue and glue your pinwheel to it. I like to crochet a band.
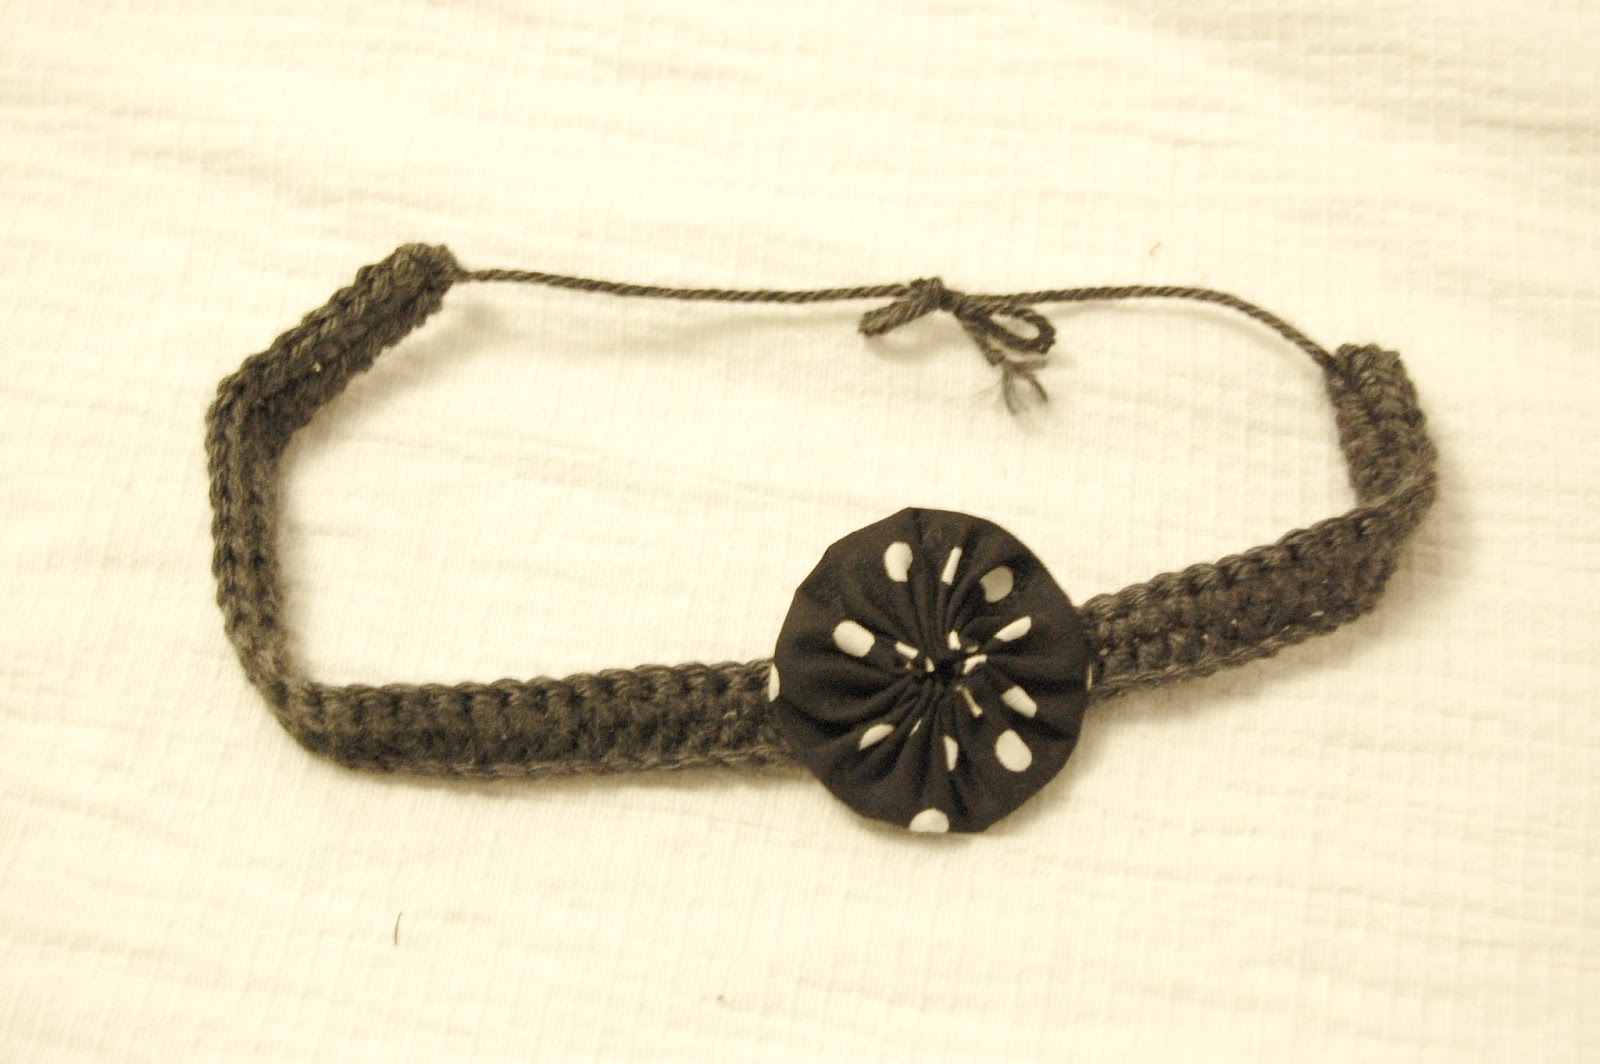
And there you have it, a cute baby skirt and matching headband.
Thanks for reading!


This skirt is adorable! It would be such a cute baby shower gift. Thanks for linking up to An Oldie but a Goodie!