
I use affiliate links. For more information, click here.
I am feeling my baby kick as I write this post. I forgot how wonder-some that is. Although the pregnancy is making my brain fuzzy, so blogging has been a bit harder than usual!
But I am excited to share this tutorial with you today. Some of you may remember my Paper Feather Earrings. Well, making jewelry out of paper was so fun, and so easy, I decided I had to do it again.
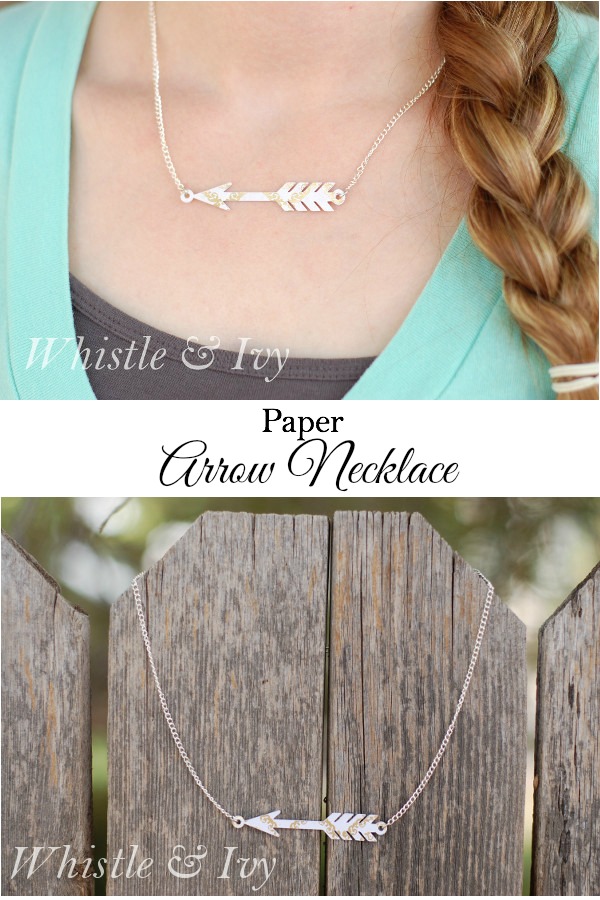
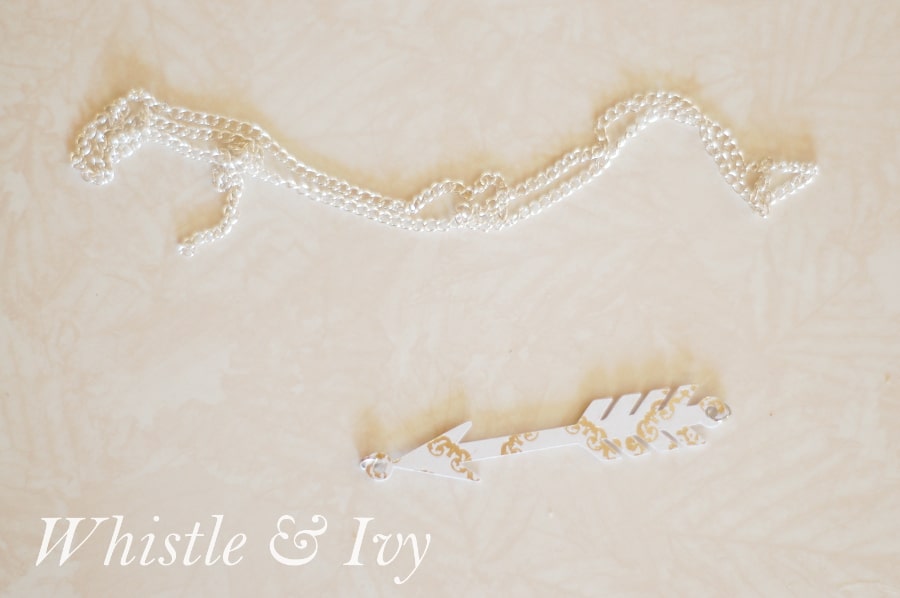
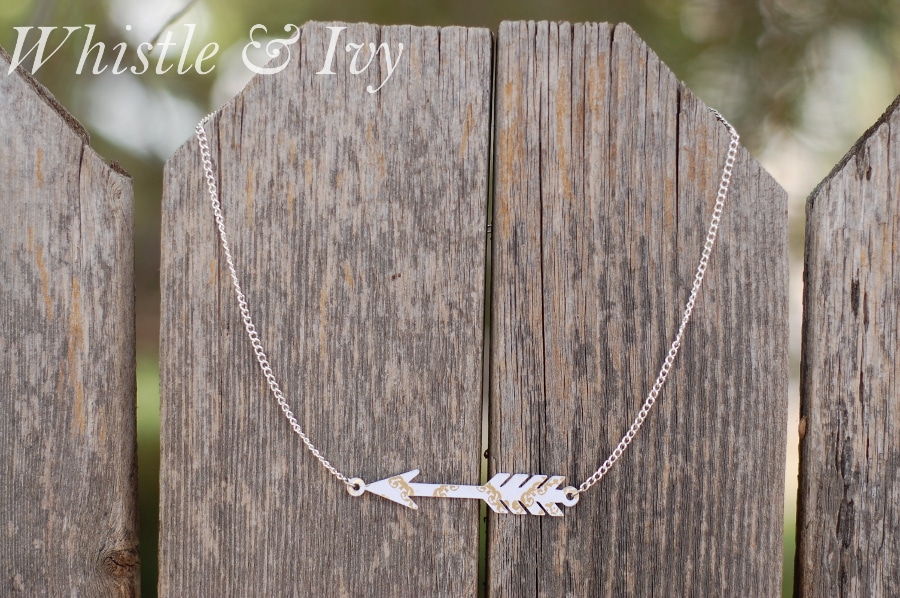
This arrow necklace turned out so cute! And I absolutely love this metallic paper I found, it was perfect for the project. It’s hard to take photos of metallic finished, but this paper is white with a vintage gold foil pattern. I also made some earrings to make it a set.
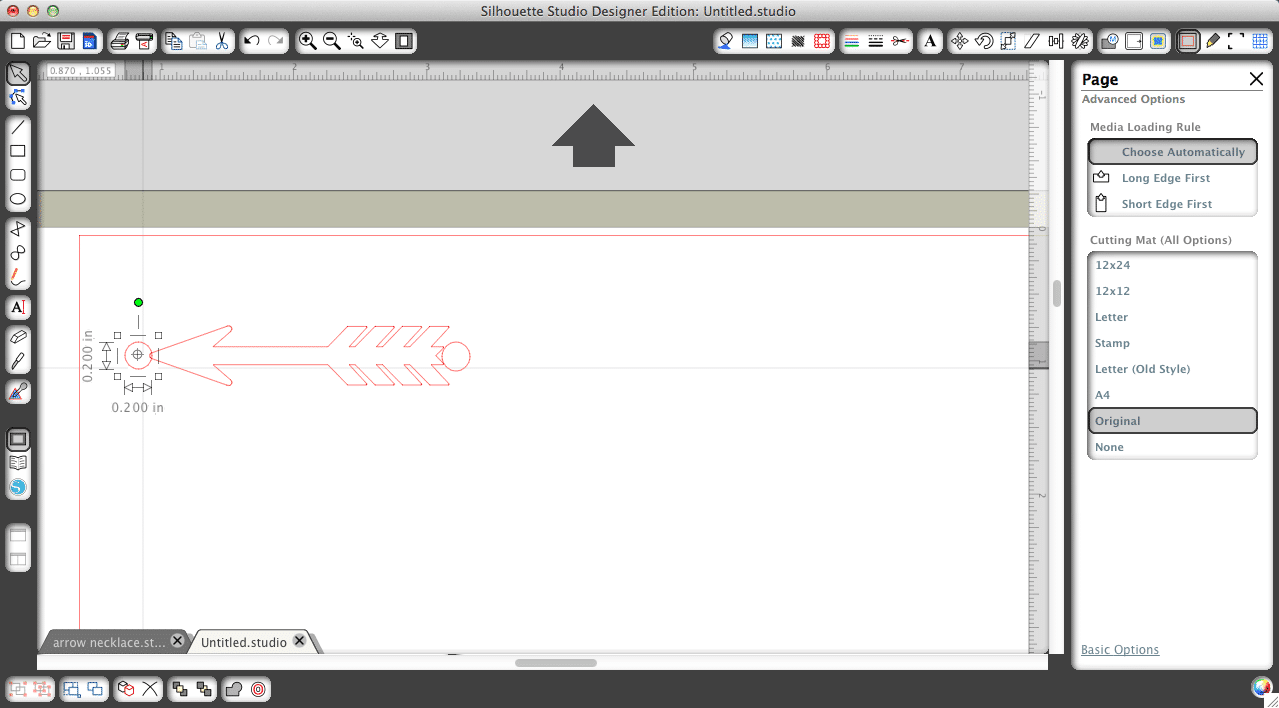
To start, download this Silhouette file.
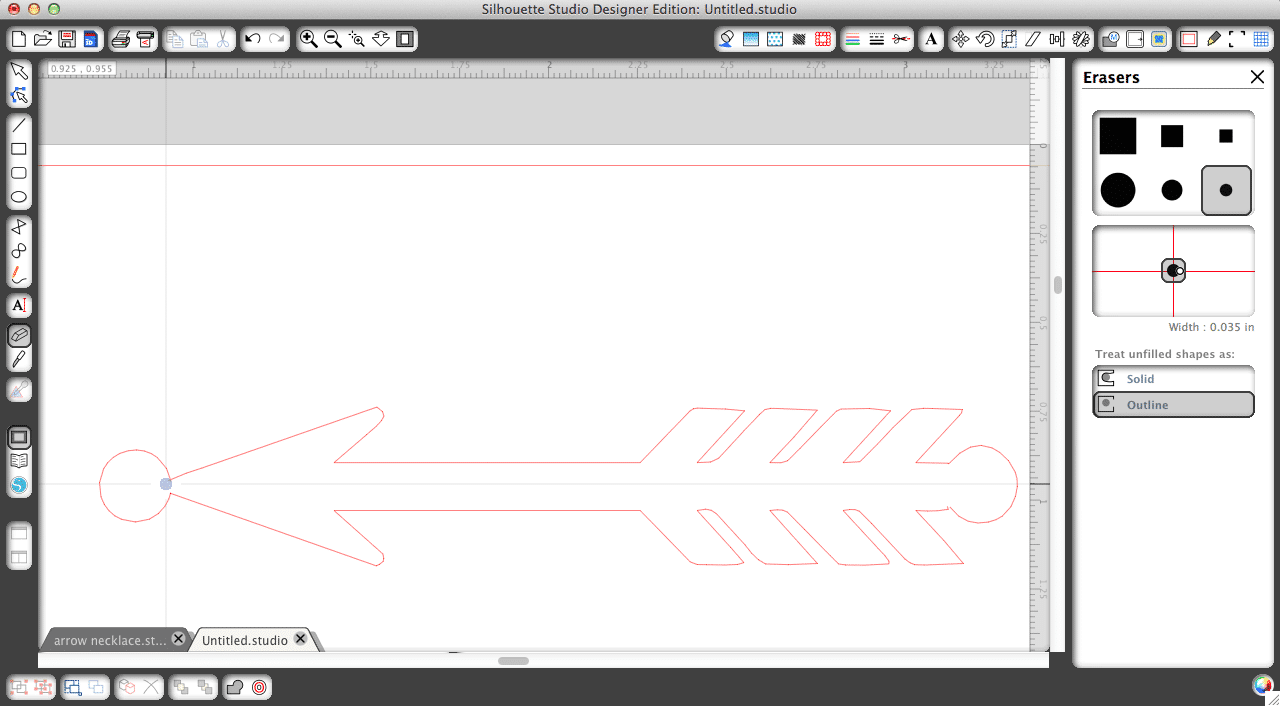
I used the bottom blue one, so ungroup and delete all the others, and resize to about 1/2 inch high.

Then, make two small ellipses, about .200 high. Place them on each end of the arrow.
Then, using your eraser tool, erase the lines so that the ellipse is part of the arrow. Make sure you have it on “outline” instead of “solid”. Zooming in makes it easier!
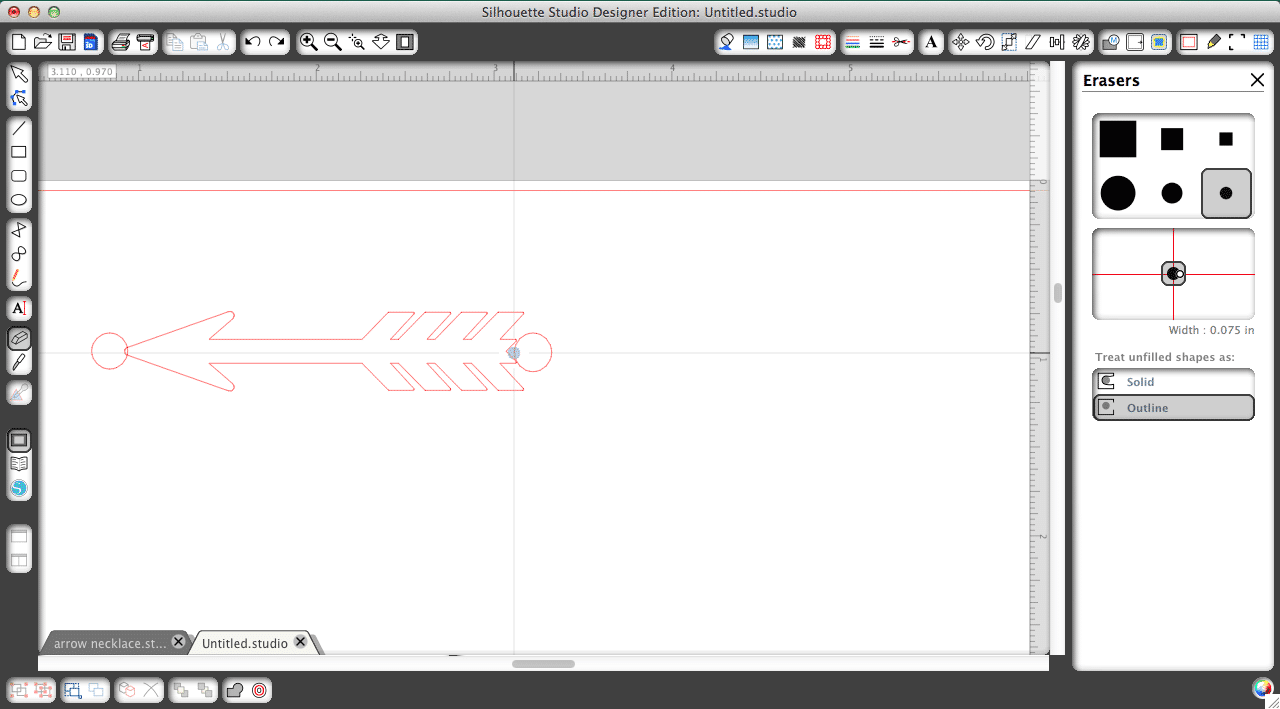
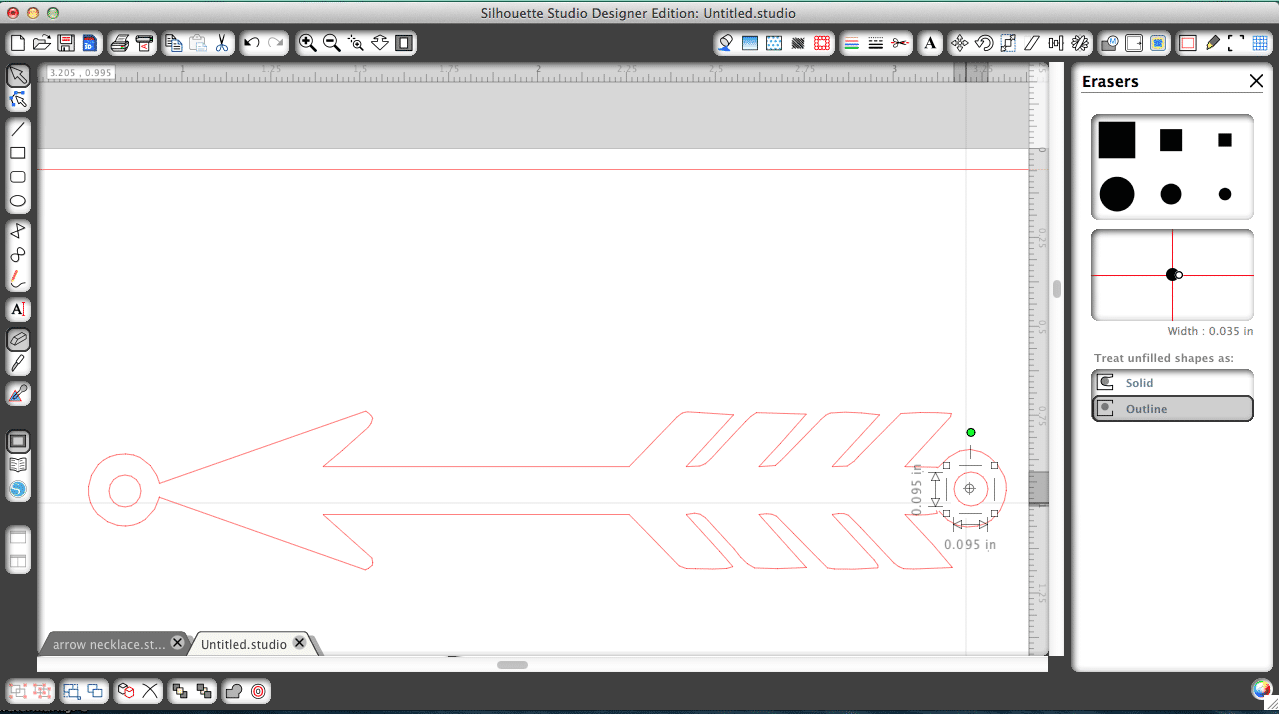
Add a smaller ellipse inside each end, to make a hole for your jump ring to attach.
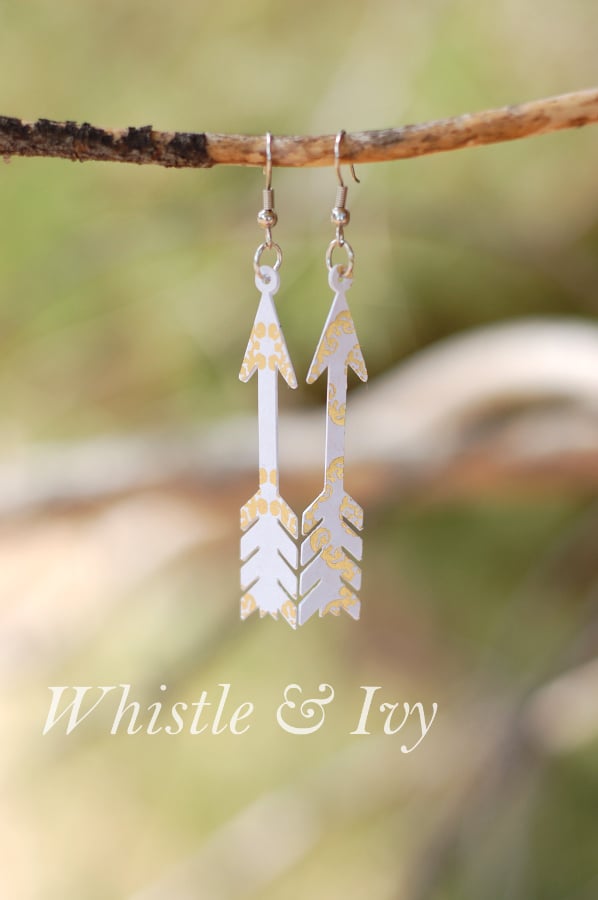
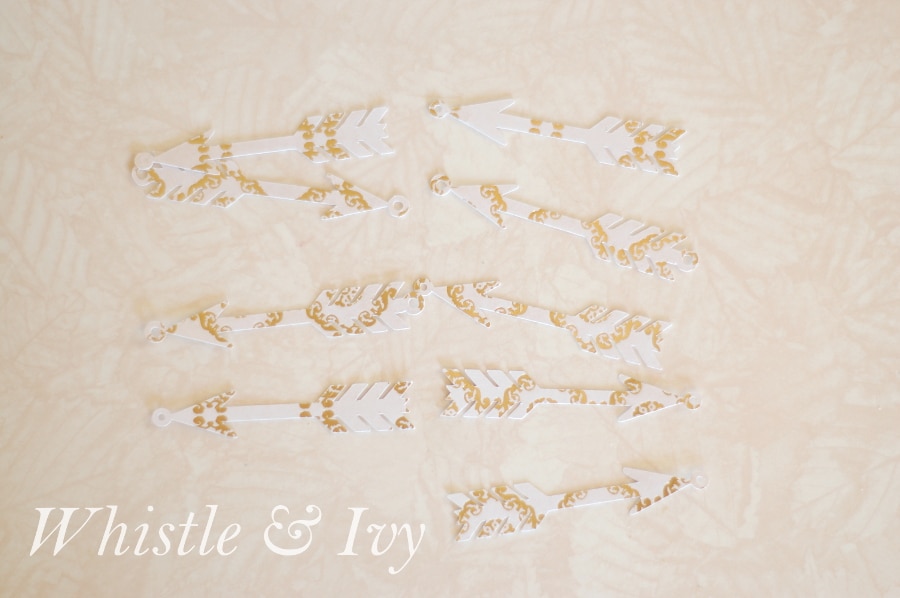
Next, group the whole thing together and copy and paste twice, so you have three total. I thought three was a good number. I cut it on cardstock, so it ended up being nice and thick when glued together. I also made the earrings as well, and cut them at the same time. Follow the same method, but only add the ellipse to the top. I cut it on the Cardstock setting, but turned the speed down to 1 to make sure it cut carefully.

They came out perfect!
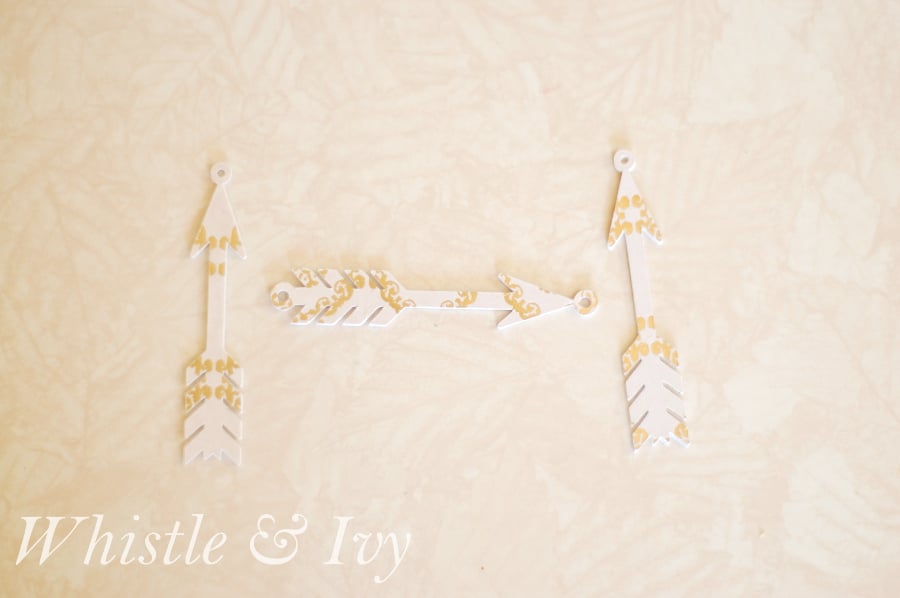
From here, glue three layers together to make the necklace and two earring pieces.
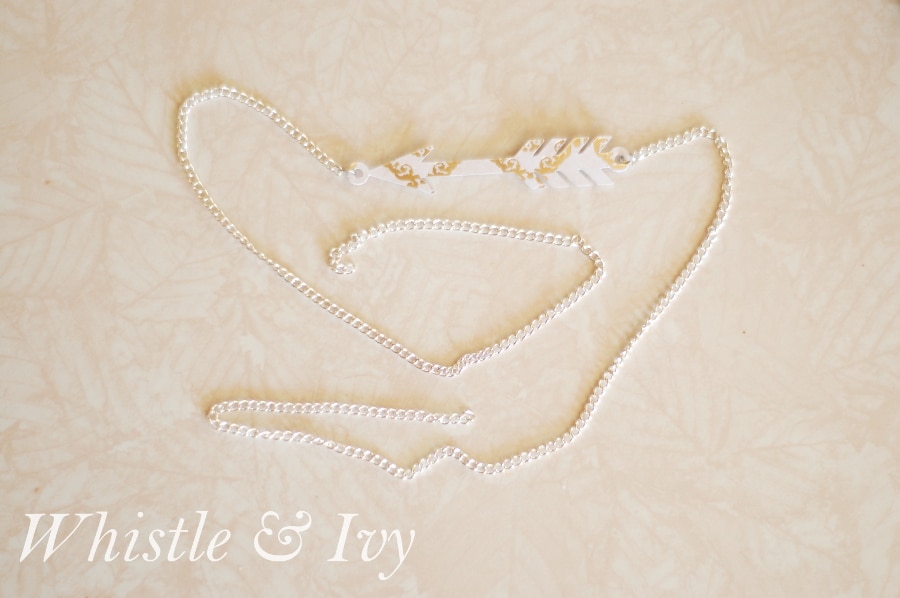
For the necklace, add a jumpring on each end of the arrow, and cut a length of thin chain. Measure it around your neck to get the size right, then cut it in half.
Attach one end of each chain to the arrow, and finish with a jumpring and lobster claw clip.
Done!
Happy crafting!


These are so cute! I love them, I wonder what other shapes would be cute for this same design! =)
Thanks! I know! You could do so many things!
I am wondering if you had to seal it overall with Modge podge or anything?
I didn’t, my paper was foiled and rather thick, but you can definitely add a top coat for extra durability!
This necklace is really pretty. Well done.
Thank you so much!
SO SO cute! I love this necklace…pinning. Stopping by from the DIY Sunday Showcase. Hope you have a lovely weekend.
Thank you so much, Katie!
The necklaces are beautiful, what a creative use for your silhouette machine. I think I know what I will be adding to my Christmas list this year!
Thank you so much, Jillian! I have gotten a few requests :) And they are SO easy, you can oblige!
I love how the necklace and earrings turned out. I would love for you to join us this Friday at our weekly linky. I have a vinyl plotter and a cricut. I am curious about the pretty paper you used.
Thank you! I linked to the paper pad that I used under the first photo :)
Hi Bethany, I’m visiting from “Hit me with your best shot.” This necklace is so cute and would be a great DIY gift. I would love for you to link up to Your Designs This Time, monday morning at 8:00! Have a great week :)
Thanks!
Going to be featuring this over at Hawthorne and Main on my favorite things Friday!
Yay! Thank you so much!
Turned out so cute!! Love love love it.
Thank you Shonee!