
This post is brought to you by Blueprint Social and Polyform. All opinions and content are (as always!) 100% my own.
I never thought I would be old enough to say “Well, back in my day…”.
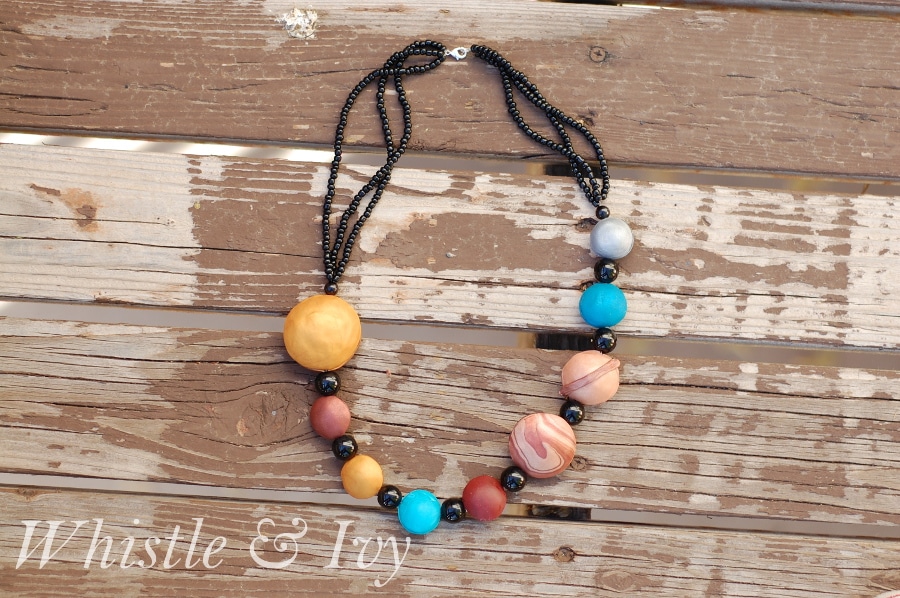
Well, back in my day our Solar System had nine planets, which included a little teeny planet named Pluto. Thou will be missed. So when I made this nerdy Solar System necklace with Polyform Clay, I only had to make eight planets. Boo.

Now, I don’t have very much experience with clay, but I had so much fun making this necklace! I was given the opportunity to work with this cool hollow bead maker by Polyform. It’s a great way to make large, chunky beads without using an entire brick of clay (that stuff doesn’t grow on trees!). Plus, it works great for a novice like me.
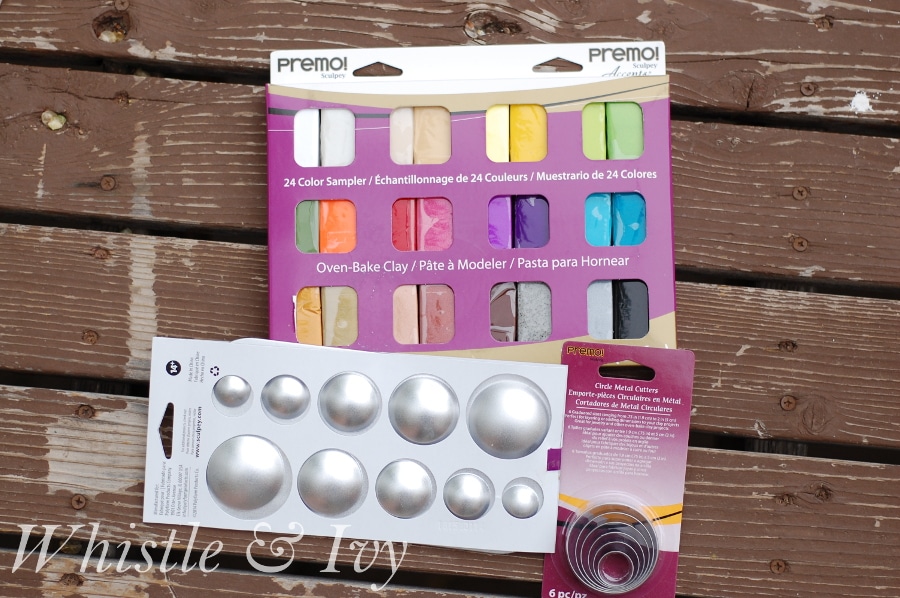
What you need:
Polyform Clay in desired colors
Hollow Bead Maker
Circle Cutters
Precision Knife
Ruler
Basic Jewelry Supplies/Beads
Fine Sandpaper (320 Grit or finer)
Super Glue
To make these beads, I just rolled out a thin piece of clay (about 1/8” or thinner). I had best results when I made the piece big enough to fit both sides of the bead (instead of making two different pieces), so they were both the same thickness. Using the corresponding circle cutter, I cut two circles and then molded them onto the bead maker. Work them so they are completely covering the dome on the mold, and try to keep your two sides uniform.
As you can see, I took some creative license with the colors for the planets. These are the colors that I used:
The Sun: Gold
Mercury: Bronze
Venus: Gold
Earth: Mixture of white and Turquiose
Mars: Mixture of Brown and Red
Jupiter: Mixture of Bronze and Copper
Saturn: Copper with Bronze Ring
Uranus: Peacock Pearl
Neptune: Silver
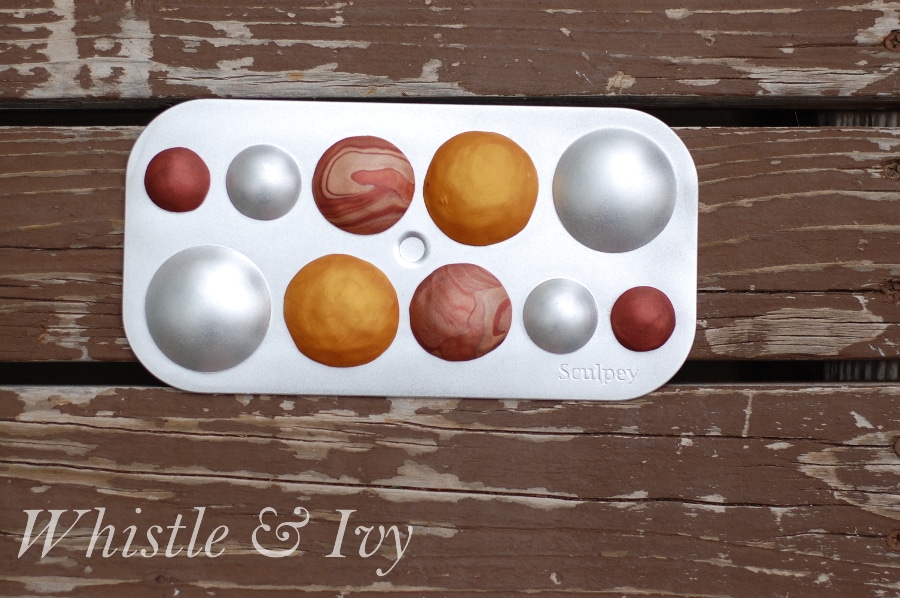
From here, bake them in the oven for about 15 minutes at 275°. I made the sun with the second largest, Jupiter with the next largest, and Saturn with the third largest. The rest of the planets I made using the smallest dome on the mold. Once I finished all the larger beads, the smaller ones needed to be baked one bead (two sides) at a time. I let them cool about 30 minutes before I molded on the next batch. It doesn’t need to be completely cooled, you just don’t want to be working with a hot mold. The beads will take a bit of pressure to get them off the mold. Don’t be afraid you will break one. I was intentionally rough to see what they would do and I didn’t break a single one.
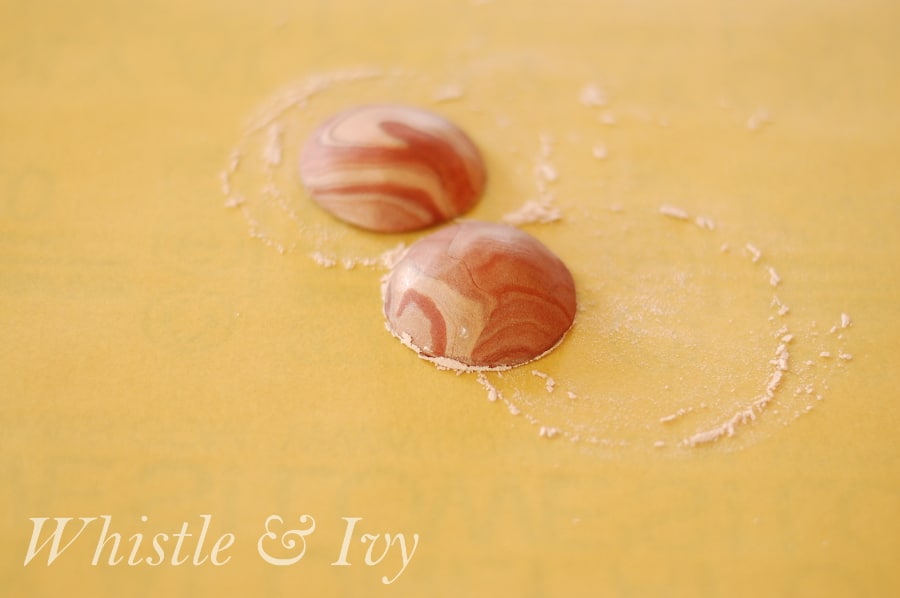
After all your beads are formed, you want to sand the bottoms slightly. Don’t go overboard! I sanded my Mars down way too much, and the two sides didn’t meet up very well. Sand just enough to give them a nice flat surface.
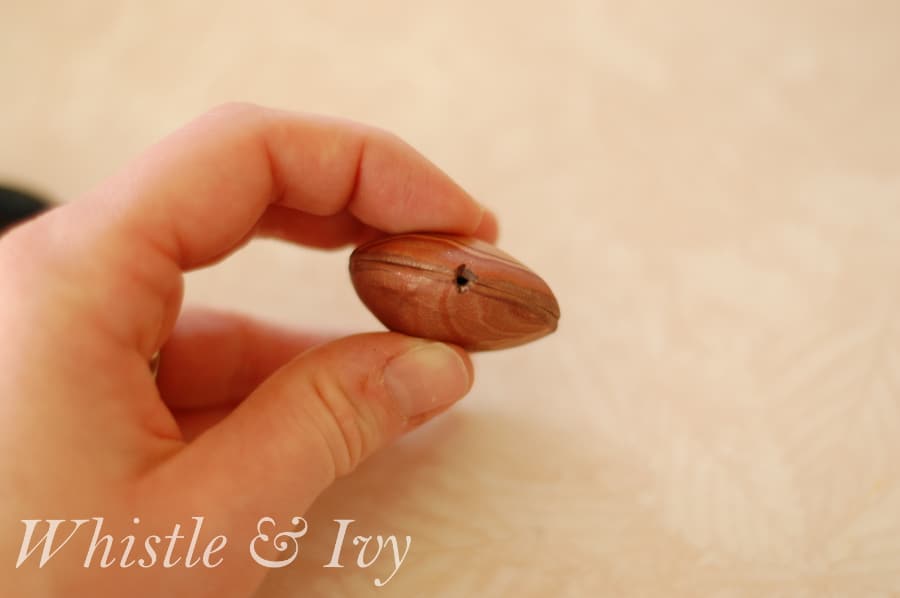
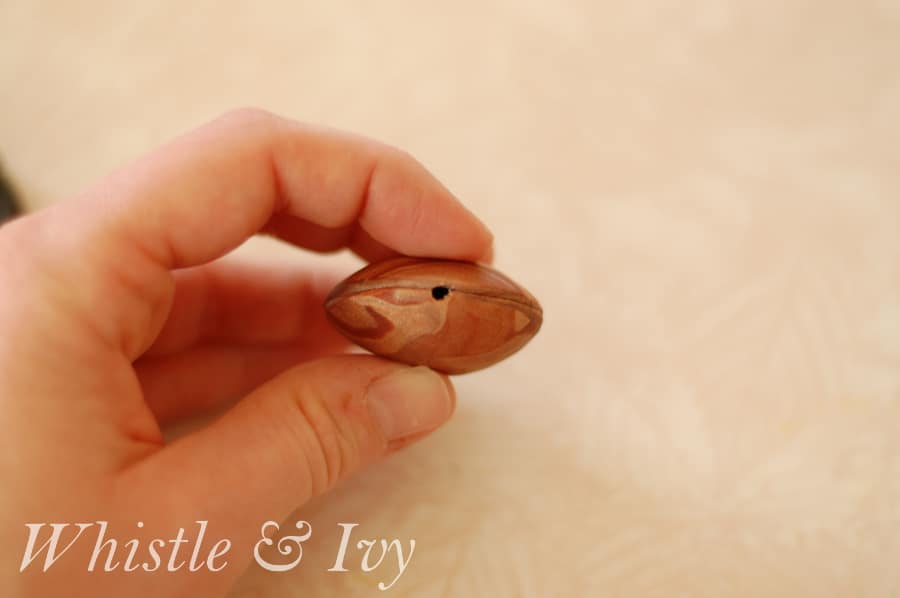
Now you can carve the holes. I thought this would be difficult, but the cooked clay is still soft enough to easily carve holes with your precision knife. I used a ruler as a straight edge and made two marks, then I carved a small divot at each mark. Make sure you are carving it half as big as your final hole, the other side will have a hole as well. I found it easy to just carve the first holes, hold up the other side of the bead, and carve the other half of the hole. My first hole was a bit rough, but my second (and subsequent) holes looked pretty good.
Next, you can glue the two sides together. Make sure you wipe off any powdery residue from sanding. If you know exactly what you want, you can glue your pieces together around your string/cord. I didn’t have a perfect vision yet, so I glued them together without the string. Dab a bit of super glue around one edge and press the top down firmly.
Once all the beads are finished, you should be ready to string them! Since these beads are hollow, pushing a string through one side and out the other can be nigh impossible, but I found using a long sewing needle relieved any frustration. In one side, right out the other!
Be sure to follow Polyform for more clay inspiration:
Facebook
Twitter
Pinterest
Instagram
And here are some awesome blogger projects using Polyform clay and tools!


So cute & clever!! Love this idea!
Thank you so much, Heather!
First of all, I miss you, friend! Second of all, Pluto will always be a planet in my book. Finally, this is such a clever idea! And it looks great too! Thanks for linking up over at The Makers. :)
I miss you too! Do you ever come my way ? :) And I totally agree about Pluto! Pluto got a tough break… Thanks so much for hosting!
Oh my gosh! What a creative idea! I love the swirls in the ones that you mixed together. Love it!
Thanks so much, Jessica! :) I decided that clay is pretty darn fun!