
This darling woodland crochet mushroom pouch features cute little red polkadot toadstools. The design comes to life using the tapestry crochet technique in this crochet pattern. This post contains affiliate links, which means I get a small commission if you make a purchase, at no extra cost to you.
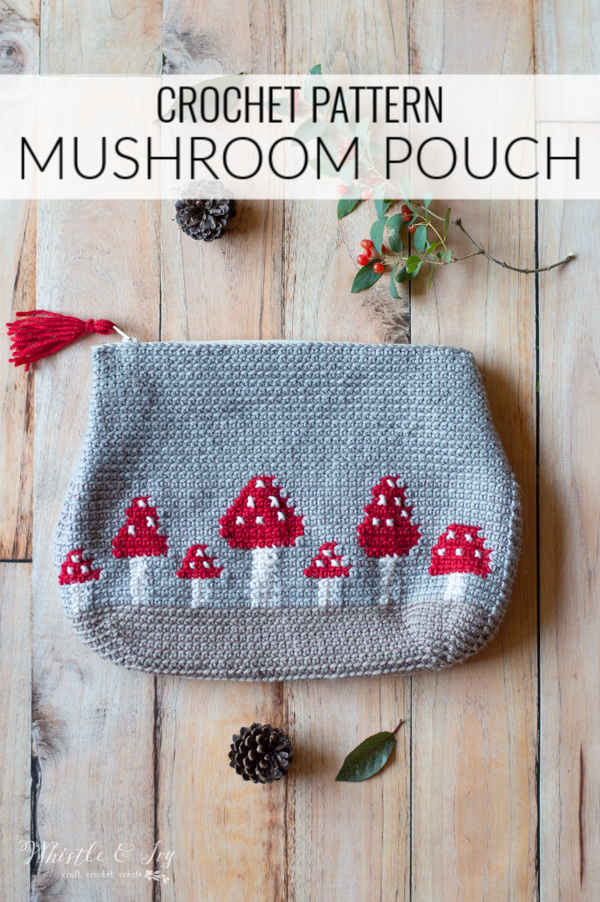
Happy Monday! Summer is winding down around here. We went shopping today and got The Boy a few essentials for the upcoming school year. The main point of excitement is his new lunch box. He is beyond stoked that he will have 3 recesses and lunch at school each day! With school starting, it means fall will be upon us soon. I have finished up all my summer designs and have started planning my fall designs. I had the idea to do a fair isle mushroom design a couple years ago but it never came to fruition. I took my original mushroom idea and made this Crochet Mushroom Pouch, isn’t it darling?

I SEE YOU, BUSY MAKER
You’re tired of sifting through complicated tutorials and daunting patterns that leave you feeling overwhelmed.
Let me help.
Picture this:
🧶 Joining a thriving community of fellow crocheters who share your passion.
📚 Access to our ENTIRE library of patterns that will buildsyour confidence.
🎁 Gifting handcrafted treasures to be cherished by your loved ones.
🌟 Modern, easy-to-follow patterns that will leave you feeling accomplished.
It’s time to make your crafting experience as joyful as it should be. We can’t wait to meet you!
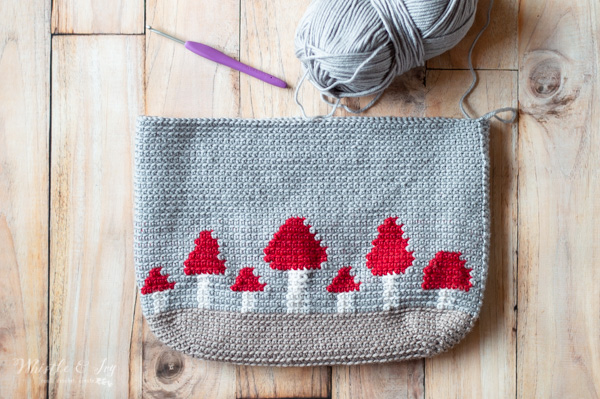
The key to this pretty crochet mushroom clutch is working in the back loops only. This will align your stitches and your design won’t slant to one side.
Because you will be working with 3 colors on a few of the rows, I suggest mixing tapestry crochet and fair isle crochet. (watch the video below if you need help). For instance, in the first 3 rows of the graph, I worked the tapestry crochet technique and carried the unused yarn. But when I joined a third color, I alternated between two colors using tapestry crochet, and then used the fair isle technique with the third, meaning I didn’t carry it, I dropped it and picked it back up when needed. When I joined Lipstick, I began dropping Linen and working tapestry crochet with the Sterling gray and Lipstick only. This is how the inside will look:
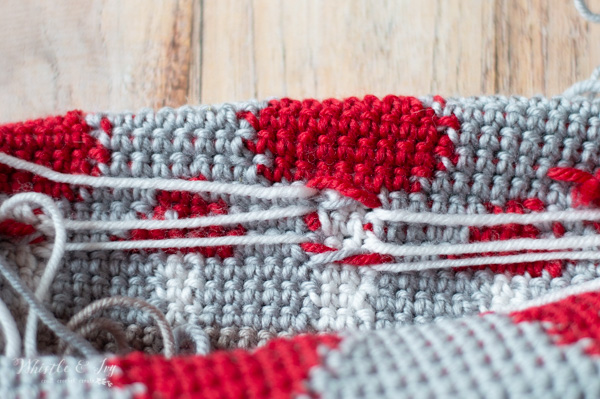
You can simply work tapestry crochet with all the yarns and carry two at a time if you prefer. Some colors may peek out from inside the stitches if you do it that way.
Watch this video if you need help with Tapestry crochet:

READY TO MAKE YOUR CROCHET MUSHROOM POUCH?
This pattern can be purchased in my shops! Where would you like to shop today?
CROCHET MUSHROOM POUCH – CROCHET PATTERN
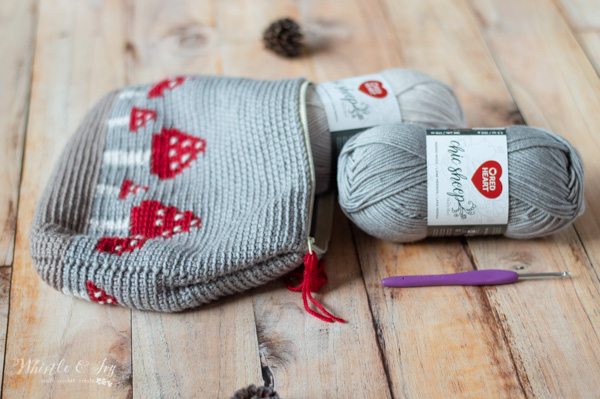
What you need: (affiliate links)
– 4mm hook (G)
– Medium weight yarn in red, tan, cream and heather gray
– Darning Needle
– 9″ zipper
Abbreviations: US Terms
Ch – chain
Sc – single crochet
Sl st – Slip Stitch
St – stitch
BLO – Back Loops Only
Gauge: approx. 19 sc =4″ (Gauge Pattern)
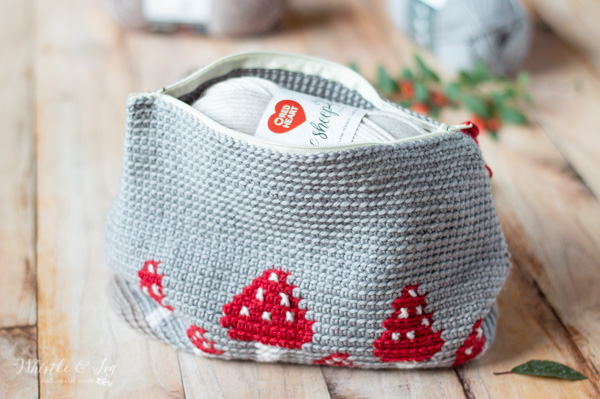
Approx. size (laid flat): 10″ wide across the bottom, 8″ tall.

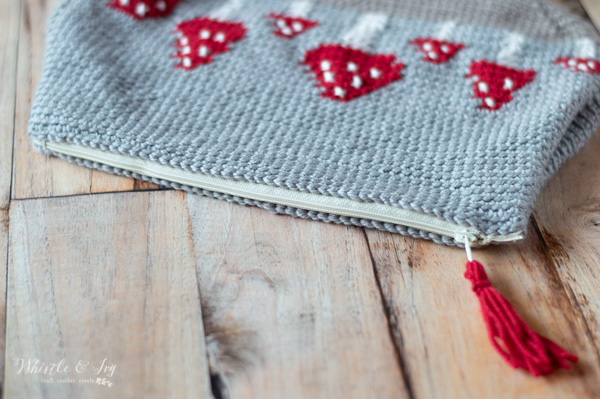
Be sure to add a tiny tassel to the zipper!
My grandma is a professional seamstress, and since I was too itiminated to try lining this bag with fabric, I intend to take some sewing lessons from her during our next visit (why have I never asked her before?!). Hopefully I will be able to share some sewing expertise with you soon.
I would love to see your crochet mushroom pouch!
xoxo,


Hello there! can you tell me where you saw it was free? Thanks so much! If you wouldn’t mind, please reply via email and I can help :)
Hi J! Send me an email: Bethany (at) whistleandivy (dot) com
What kind of stitch did you use to sew the zipper on? I would love to see a video tutorial of this if possible or pictures. Thank you! It’s gorgeous, can’t wait to make one!
🤟❤🤟
I just used a running stitch!
Do you think that a sparkly Christmas red yarn would look Okay with an ombré to replace the grey background yarn? X
I like the sound of that!
Hello,
1- I have tried tapestry in back loop only, and the single crochet same as you are doing in the video, the only difference is working in spiral and not joining.
The work did not align and it slanted to one side 😐.
2- I tried the modified single crochet on another piece which is yarn under than yarn over and close .
It aligned well but the stitch shape is like x and not v which I like. (Also worked in spiral)
So why it didn’t work ? Can you help please ?
I see a lot of ladies working the normal single crochet stitch in spiral yet keeping the work aligned. ???
I do count my stitches every other row to make sure they are right.
Thank you
Hm. I usually join rounds as I don’t love the look of spiraling. That may be your issue but I am not sure. Can you send a well-lit focused photo?
The sc will naturally slant to one side, so it’s possible you are seeing the waistcoat stitch. This looks more like knitting, but the fabric will be more stiff and tight, so keep that in mind. https://daisyfarmcrafts.com/waistcoat-stitch/
Thank you so much Jodi!
This bag is so. cute, love it!
Love the pattern. Just what I need for a gift to a mushroom loving friend.
Oh perfect!
Thanks for your pattern, it’s beautiful i’ll make it for my aunt !
You are very welcome!
So cute. Love mushroom decor. Thank you for sharing.
Thank you so much, I am glad you like it!
This bag is so cute! I don’t like eating mushrooms, but I love cute mushrooms as embellishments/decorations. I’m also with you on not usually liking wool that much – it can be way to scratchy!
haha! I like eating them, but they are very cute as embellishments! This wool is different, it is very soft :)
love this little pouch…thanks!
Thank you! You are welcome!
Oh my goodness! 😍 I am in love with this pouch!! 🍄 So cute! (Love the BLO trick, too!)
Thank you so much! The BLO changed my life! I learned it when I bought a Tapestry crochet book by Alessanda Hayden. It changed my graph crochet life!
That is adorable!! Now I have to go buy more yarn. 😁
Haha! More yarn is always the answer :)