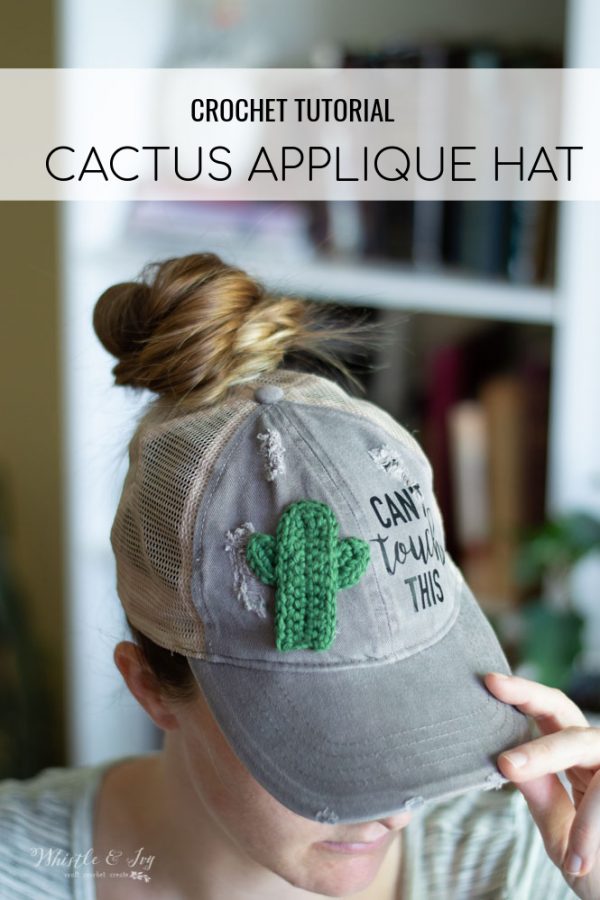
Using a simple appliqué, you can make this crochet cactus appliqué hat in an afternoon! Add a special crochet touch to your favorite hat or get a new hat make one for your best friend. You will love adding crochet appliqués to all your stuff! This post contains affiliate links, which means I get a small commission if you make a purchase at no extra cost to you. Thank for your continued support.
Even though I have summer ideas on the brain, I have been doing a lot of fall and plaid designing behind the scenes, so my ideas have been a bit jumbled. I was so very pleased how my Cactus Earrings turned out, because I spent a lot of time trying to make the cactus shape look nice but have easy construction as well.
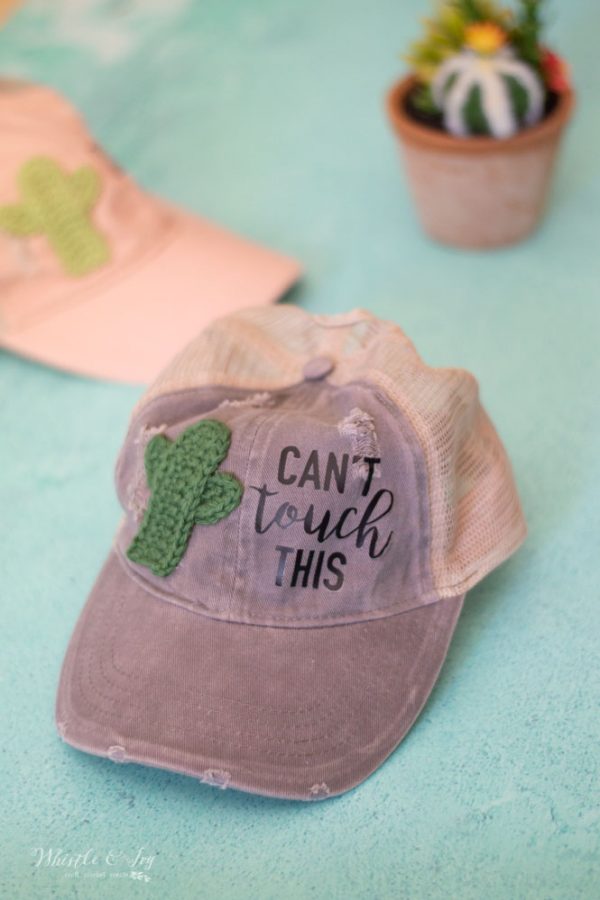
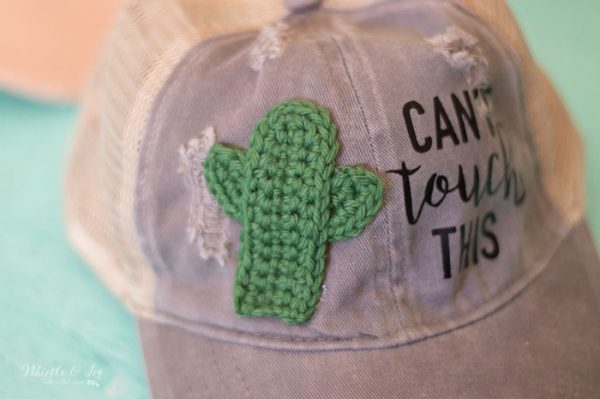
Last week an idea hit me that the crochet cactus would look really cute as an appliqué, specifically on a hat. This whole project was a bit outside my comfort zone, but it worked up easy and fast, so I have full confidence yours will be successful as well!

I SEE YOU, BUSY MAKER
You’re tired of sifting through complicated tutorials and daunting patterns that leave you feeling overwhelmed.
Let me help.
Picture this:
🧶 Joining a thriving community of fellow crocheters who share your passion.
📚 Access to our ENTIRE library of patterns that will buildsyour confidence.
🎁 Gifting handcrafted treasures to be cherished by your loved ones.
🌟 Modern, easy-to-follow patterns that will leave you feeling accomplished.
It’s time to make your crafting experience as joyful as it should be. We can’t wait to meet you!
CROCHET CACTUS APPLIQUE HAT
Please remember: You are free to use this pattern to make and sell, but do not republish or distribute this pattern in any way. DO NOT use my photos in your listings.
What you need: (affiliate links)
– 3.5mm Hook
– Medium/Worsted Cotton Yarn
– Hot Glue Gun
– Cactus Applique Pattern
– Lettering Files (dropbox folder)
– Cotton Blend Baseball Cap (see below)
– Heat Transfer Vinyl
– Iron
– Cutting Machine

READY TO MAKE YOUR CROCHET CACTUS APPLIQUÉ?
An ad-free, comment-free PDF with pattern and instructions is available in my shop
First, you need to get a baseball hat. Make sure you are using a hat that is cotton or at least a cotton blend on the front. The main part of this hat will be Heat Transfer Vinyl, so the front fabric of the hat will need to withstand a hot iron.
I found my cute hats on Jane.com, which is an online boutique and one of my favorite online placse to shop! The exact hats I bought are not for sale anymore, as the deals change every few days, but I think if you look you will find something similar. Another favorite is Groopdealz.com. which is an online boutique with similar items. (I like to look on both and find the best deal!).
Once you have your hat(s), gather your materials and let’s get started!
(Note: I highly recommend that you wash your hats before you begin, so the vinyl sticks better. Check your hat care instructions, but a light wash and air dry should be fine for it.)
STEP ONE: MAKE YOUR CROCHET CACTUS APPLIQUÉ
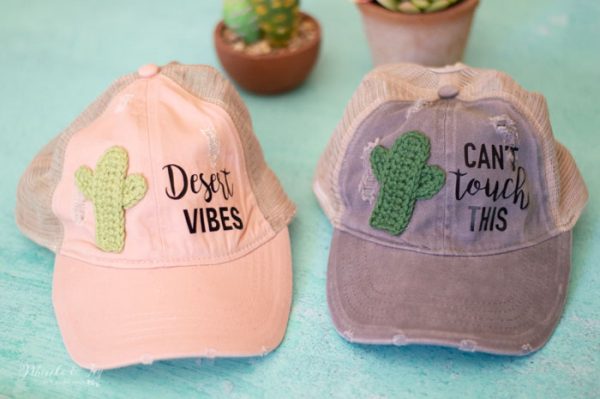
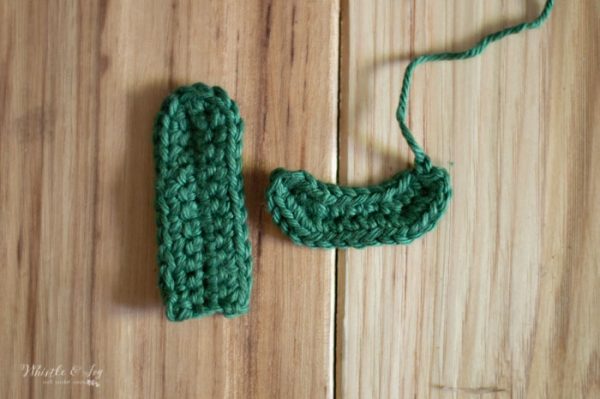
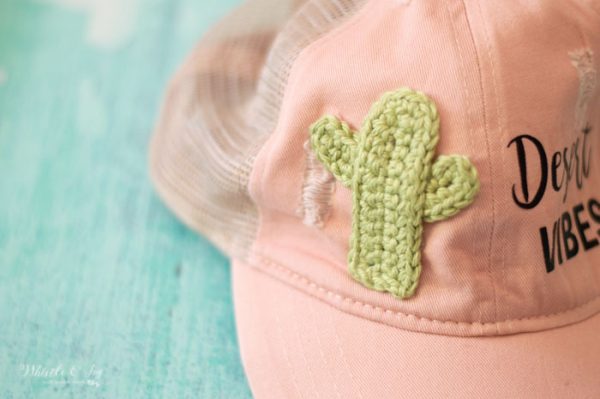
For the crochet cactus appliqué, I simply used the exact pattern for my Cactus Earrings, making one per hat. I dug through my stash and found a few green cotton yarns that I liked (I used Comfy Worsted in Honeydew and Jalapeño) . Then, using my 3.5mm hook, I worked up the exact pattern. It was perfectly sized for my hat, but you can play with the size by going down or up hook sizes or choosing bulkier or finer yarn.
You will use the same construction, and sew the arm piece on the back of the trunk piece. Make sure all your ends are woven in and set the cactus appliqué aside for later.
STEP TWO: CUT YOUR VINYL DESIGN
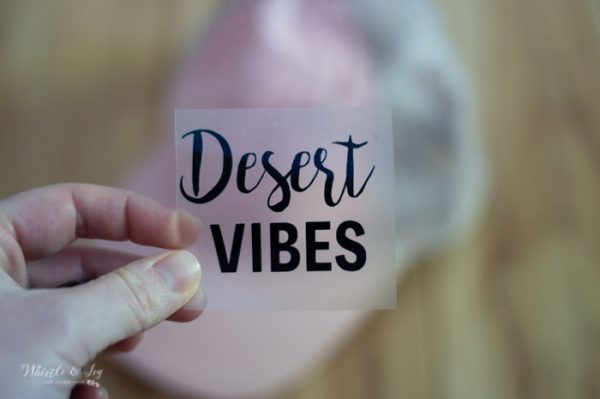
I created a couple designs for you that I hope you will like, but you can create your own as well. You can download both the SVG and the PNG in this file on drop box. Upload them to your digital cutter, like a Cricut or Silhouette and cut your Heat Transfer Vinyl. I gave you a large size, but make sure you resize so it will fit on your hat. I resized mine to about 2 1/2″ wide.
You should mirror your design and place the HTV glossy side down.
Because my friend Alexis from Persia Lou wrote a lovely in-depth post explaining on how to cut HTV, I will send you over to her article of you need help. Read it here.
STEP THREE: IRON ON YOUR DESIGN
BEFORE IRONING, I HIGHLY RECOMMEND THAT YOU WASH YOUR HAT FIRST SO THE VINYL WILL STICK BETTER.
Ironing your design to your hat is a bit different than ironing onto a flat shirt, but it’s still very doable. If your hat opens on the back, I suggest opening it so your hat will lay flatter. Place your plastic sheet with your words on the hat. It may not stick very well, which is okay. Place it firmly with your hand, lay a pillowcase or thin cloth over the plastic, then iron it (while keeping it firmly in place with one hand).
You will need to iron it way longer than you think, at least 60 seconds, and your arm should burn a little bit from the pressure you are applying!
It’s also very important that you do not try to lift the plastic before the design cools. Let it cool 5-10 minutes, then try to peel off the plastic. If a few spots did not take, DO NOT lift the entire plastic, let it fall back exactly where it was and try ironing this spots again, repeating the process.
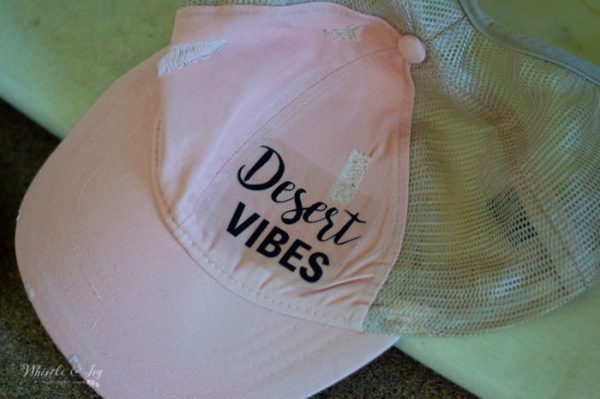
Once the vinyl is in place and cooled, you can remove the plastic and your design will be set.
STEP FOUR: APPLY YOUR CROCHET CACTUS APPLIQUÉ TO YOUR HAT
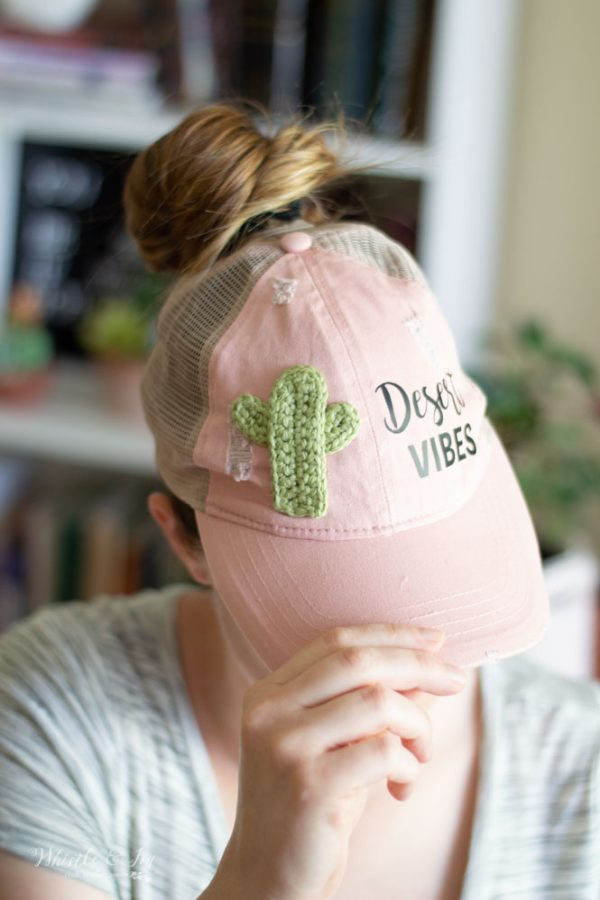
I attempted to sew my crochet cactus on the hat, but it was rather difficult to get my darner through the canvas, and to be totally honest, my sewing is not very nice looking. So I opted to use a hot glue gun. It really worked great, so I would suggest it.
Attach it slowly going from the bottom up in rows.
Start with one line of glue at the bottom, and press the cactus appliqué in place on the hat. Once, cooled and in place, flip the unglued part of the cactus down and place another line of glue above where it’s already attached to the hat. Continue going up one line at a time until the cactus is fully attached to your hat, and laying nicely. Make sure you apply glue as near to the sides of the cactus as possible, as it will want to curl back over time. The arms will need to be glued last.
Once cooled, your crochet cactus appliqué hat is finished! It was a very fun afternoon project and I love my new hats!
xoxo,