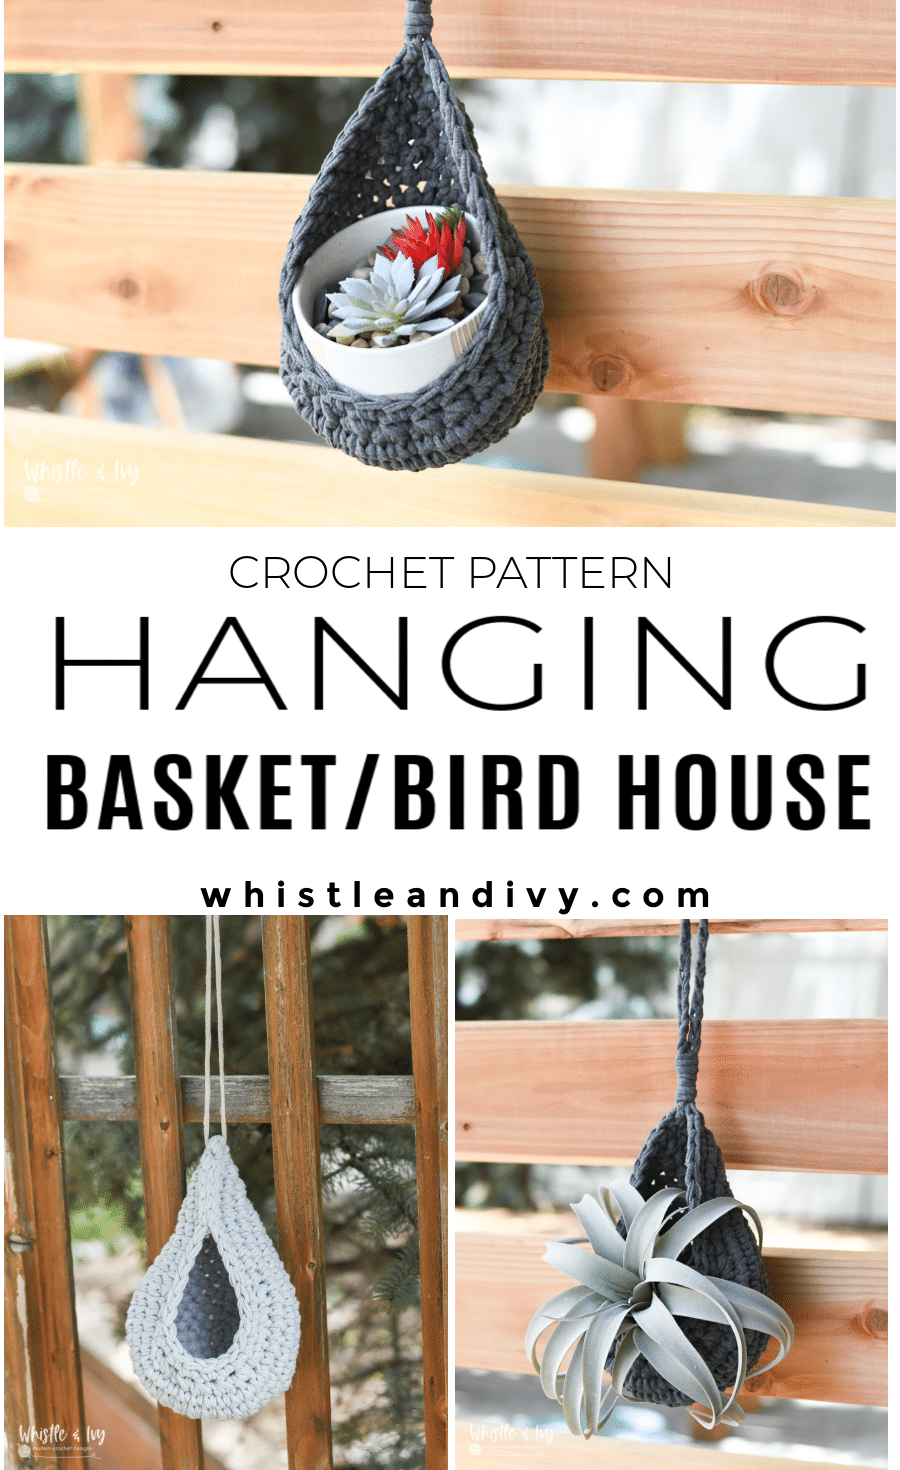
This darling pattern is two in one! Make either a crochet hanging basket or with one more step, turn your basket into a charming crochet birdhouse! Perfect addition to your outdoor space, or it can even hold toiletries inside. This post contains affiliate links which means I get a small commission at no extra cost to you. Thanks for your support!
Some of you may remember at the end of 2021, I bought the pattern library of Jonna from Frayed Knot. It was an exciting acquisition! It means I can bring even more value and content to you faster, and Jonna was thrilled to have her patterns live on.
These past few months, I have been doing a bit of wheeling and was able to buy the pattern library of Vivian of Vanilla Tuesday! Her designs are darling and I am excited to work through them and get them available to you.
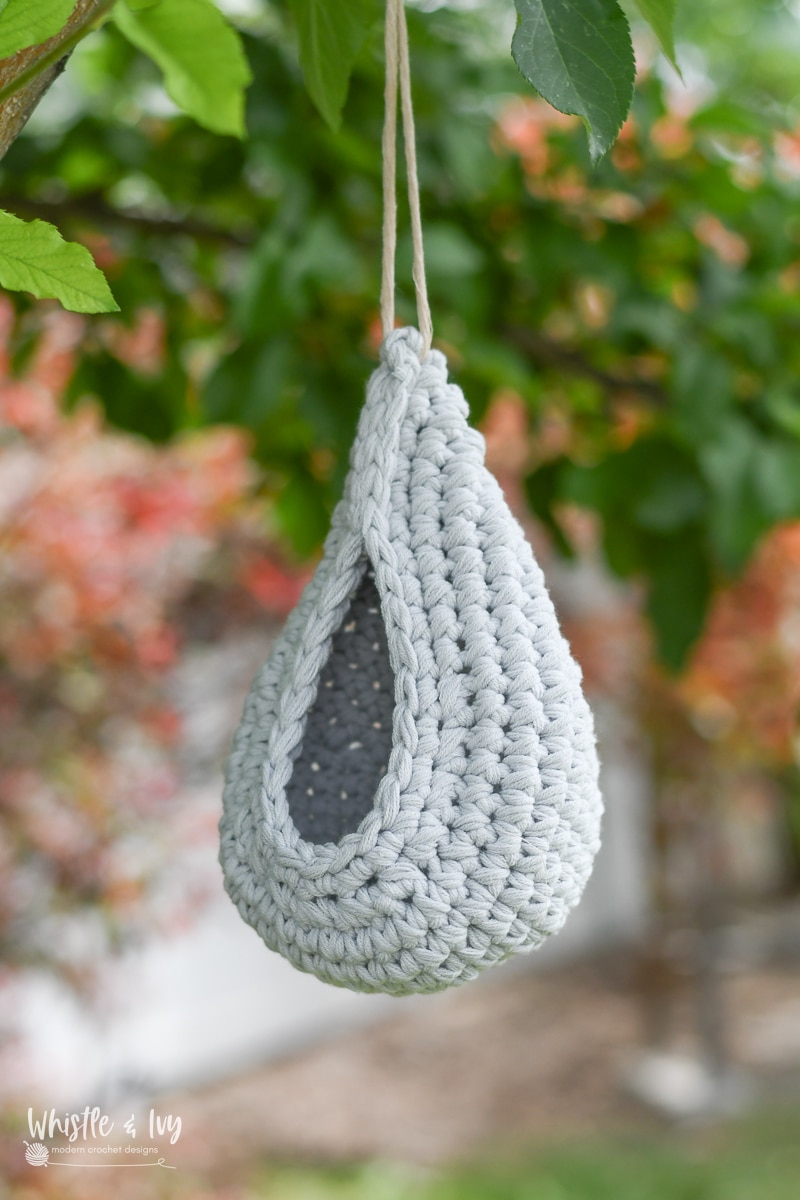
This cute crochet hanging basket can be given a slightly different finish and it becomes a crochet birdhouse 😍. At first sight, this pattern screamed summer camp!

I SEE YOU, BUSY MAKER
You’re tired of sifting through complicated tutorials and daunting patterns that leave you feeling overwhelmed.
Let me help.
Picture this:
🧶 Joining a thriving community of fellow crocheters who share your passion.
📚 Access to our ENTIRE library of patterns that will buildsyour confidence.
🎁 Gifting handcrafted treasures to be cherished by your loved ones.
🌟 Modern, easy-to-follow patterns that will leave you feeling accomplished.
It’s time to make your crafting experience as joyful as it should be. We can’t wait to meet you!
CROCHET HANGING BASKET / CROCHET BIRDHOUSE – CROCHET PATTERN

READY TO MAKE YOUR HANGING BASKETS?
This crochet pattern can be purchased in my shops! Where would you like to shop today?
What you need: (affiliate links)
– T-shirt Yarn
– 10mm or 12mm hook
– hot glue/super glue
Abbreviations: US Terms
Ch – chain
Sc – single crochet
Sc2tog – Sc decrease
Sl st – Slip Stitch
St – stitch
Know someone would love this? Share it! Thanks for your support!
xoxo,