
This is a sponsored post on behalf of Jo-ann Fabric and Craft Stores.
In celebration of Waverly’s 90th anniversary AND September as National Sewing Month, I was given an ah-mazing opportunity to work with some Waverly fabric from Jo-Ann. This stuff is so cute! I love the vintage look it has, and it’s thick and sturdy, so it works for a variety of projects. Right when I saw it, I knew what I was going to make: a new camera bag!
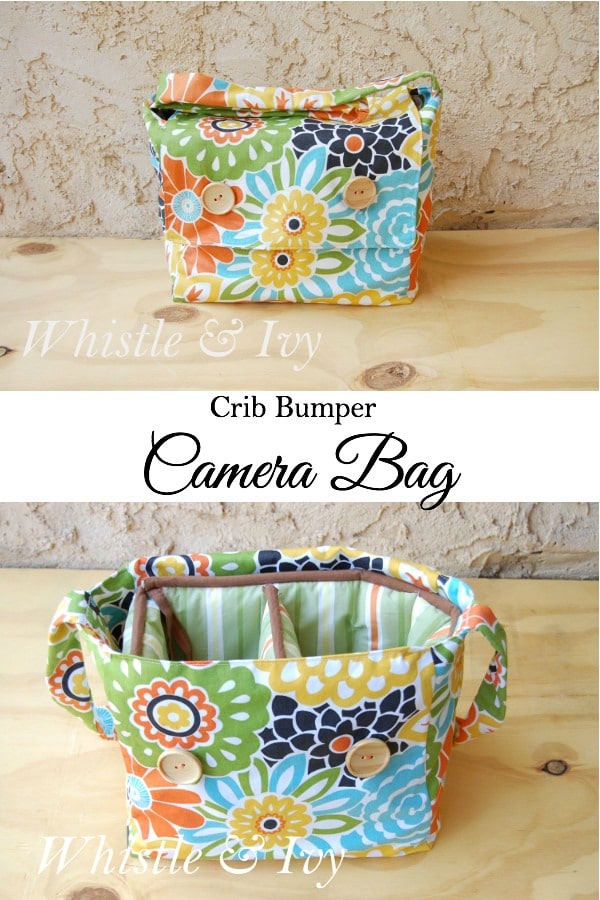
I have held on to my crib bumpers for a while, but I didn’t know what to do with them. I couldn’t bring myself to throw them away. And I am glad I didn’t because they worked out perfectly for this project. As I have mentioned before, I am not an amazing sewer. This bag is so easy, I feel like anyone can do it. I didn’t use a pattern, but I made a diagram of what my my cut fabric looked like.
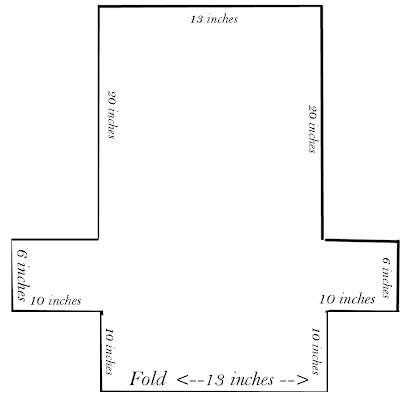 |
| uh, not to scale! |
Once you have your piece cut, fold right sides together and begin sew the sides together, like you have two bags, connected by one side. Since the diagram looks like a flattened box, take the side pieces and fold them up and create the box shape. Your “two bags” should look like this:
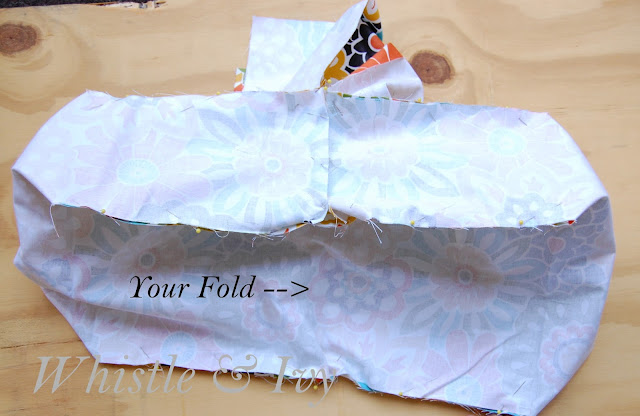
Also, leave your corners unsewn until you get all the sides sewn. I think there is an easier way to do corners, I am just not sure how to do it.

Once you have that sewn, sew the top flap sides, and across the top corners. Be careful to leave a big gap at the very top of the flap.
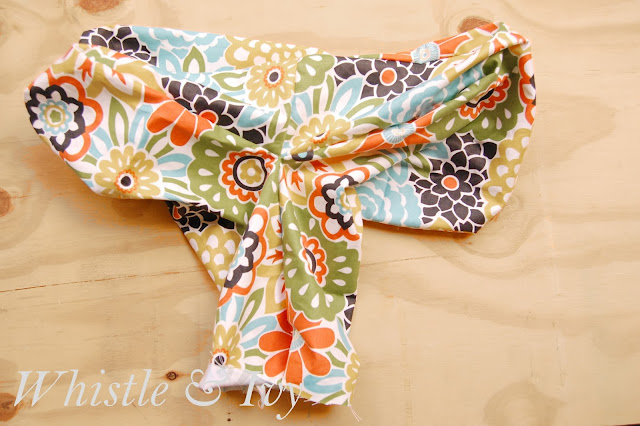
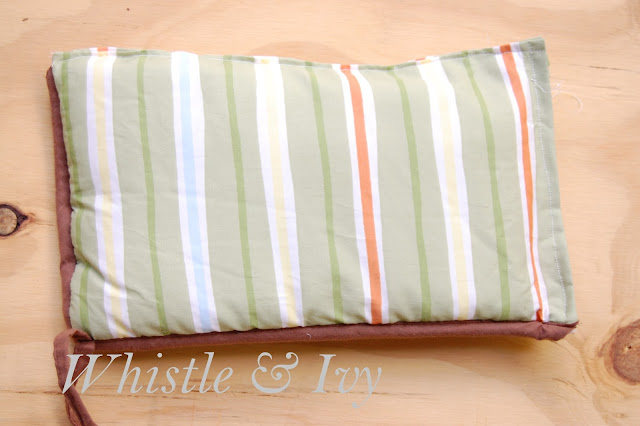
Once this is finished, turn your entire piece inside-out, and tuck one bag into the other. You now have a lined bag!

Make sure to sew up the unsewn edge of the flap.

I sewed all around the top to give it a finished look. I also made a strip of fabric for the handle, but you could buy a piece of belting for a stronger strap.
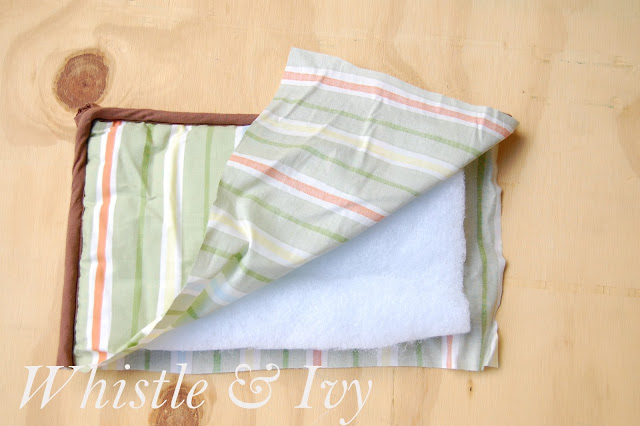
From here, I got my crib bumpers out and ready to go.
Oops! I made my bag too small to fit them the way they were. I had to cut them down bit.
 |
| Clearly not concerned |

To get my bumpers to bend easier, I sewed a straight light across it. It kind of cuts through the batting inside, and makes it more manageable. The left edge and middle are separate pieces that I ended up hot glueing in place. I couldn’t figure out a good way to sew it, but the glue has held quite well, and was very easy. Then, I just bought some chunky buttons and sewed two button holes. You could use Velcro or attach ties instead.

I hope it keeps my camera safe! I am known to be a bit irresponsible with my expensive things..
Happy sewing!


I’m A Little Confused. Do We Cut Two Pieces Of The Diagram? Thanks!
Well, you will have two layers. So fold your piece in half, and line up the fold on your fabric with the bottom of the diagram labeled “fold”.
Amazing project! Lovely fabric! Thanks for sharing!
Hope you have a wonderful weekend!
Hugs and love from Portugal,
Ana Love Craft
http://www.lovecraft2012.blogspot.com
Thanks so much, Ana!
How clever….I’m going to give it a try!
looks great! I just did something like this for my camera bag, but a lot less nicely, lol.
love the colours :)
Oh how I love this! We’re always looking for a bag for cameras and extras when we travel! You made it look easy…I would love to try to make one! Thanks for sharing! Hugs!
Great idea, and beautiful patterns! Thanks for linking up to The DIY’ers!
Thanks, Kayla!
I LOVE this! I am so about upcycling. And that’s an easy way to reuse something all moms have. So cute!
Thanks Cat! I know, I hung onto them for over a year, so I am glad I could find a use for them!
This is so cute!!
Thanks so much!