
Now that I have an Etsy Shop, I decided I really need to get more organized.
First up: tags for my items.
This is actually a really easy way to make your items look more professional, or give your handmade gifts a cute, finishing touch.

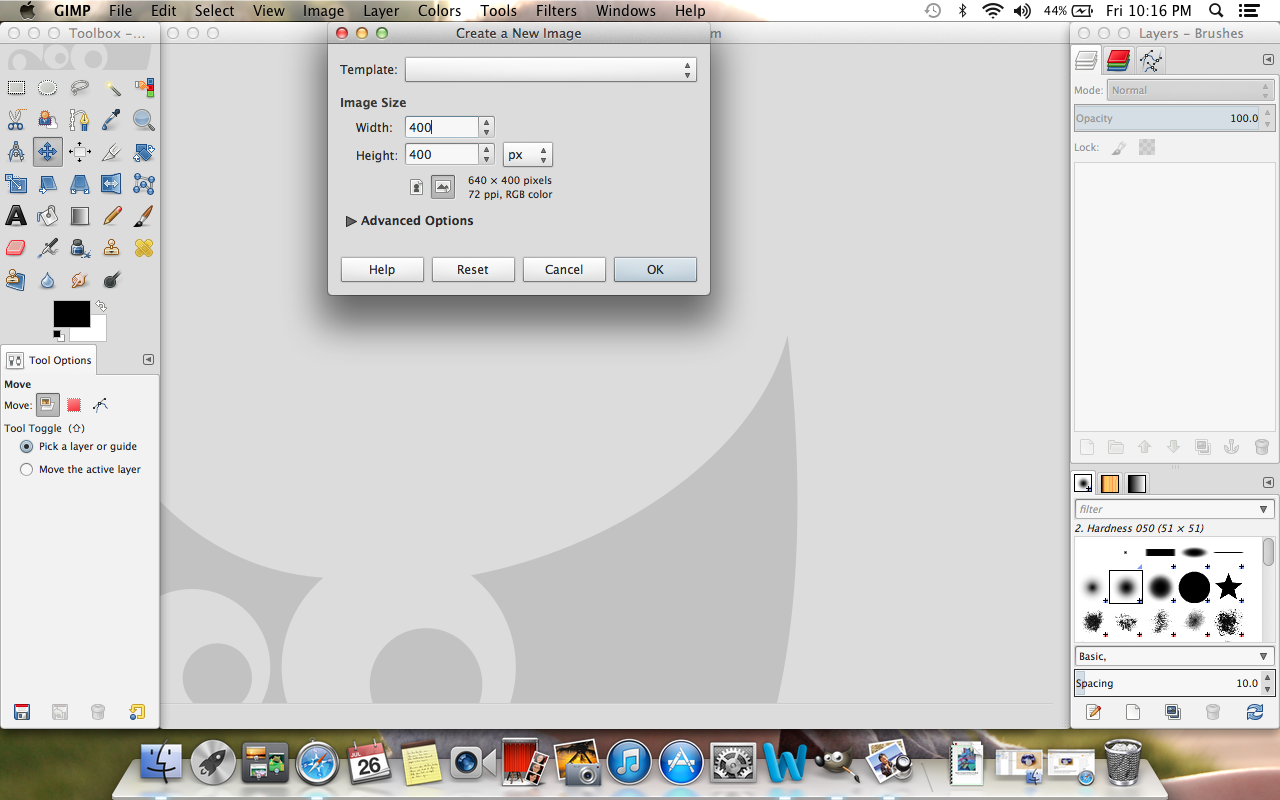
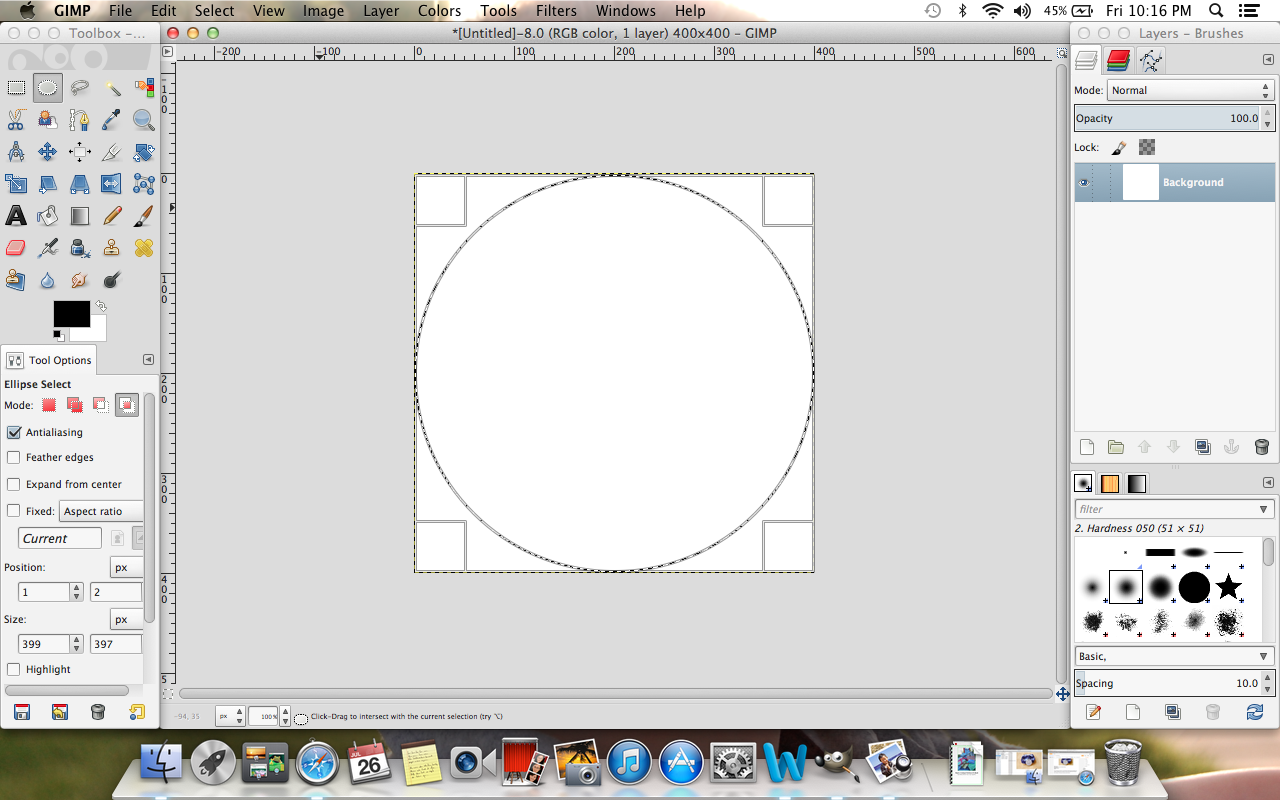
Then, simply paste your logo, or type in your company/shop name.
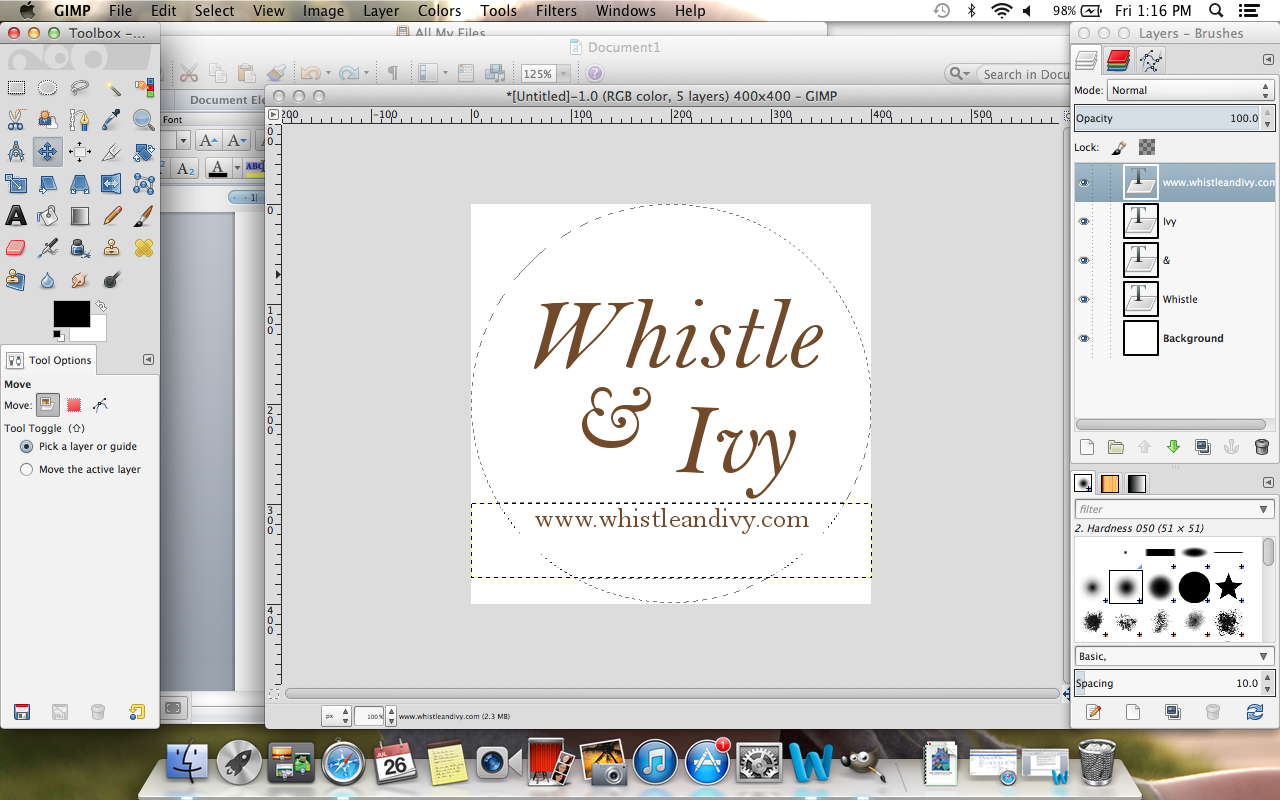
Remember to export it, then you can print it. I opted to print about 12 onto one piece of paper. I used a Word document, but I am not really sure if that is the best way to do it. If you notice, there is a ruler at the top of every Word document, so you can resize your logo to fit in your punch. My punch is 2 inches.
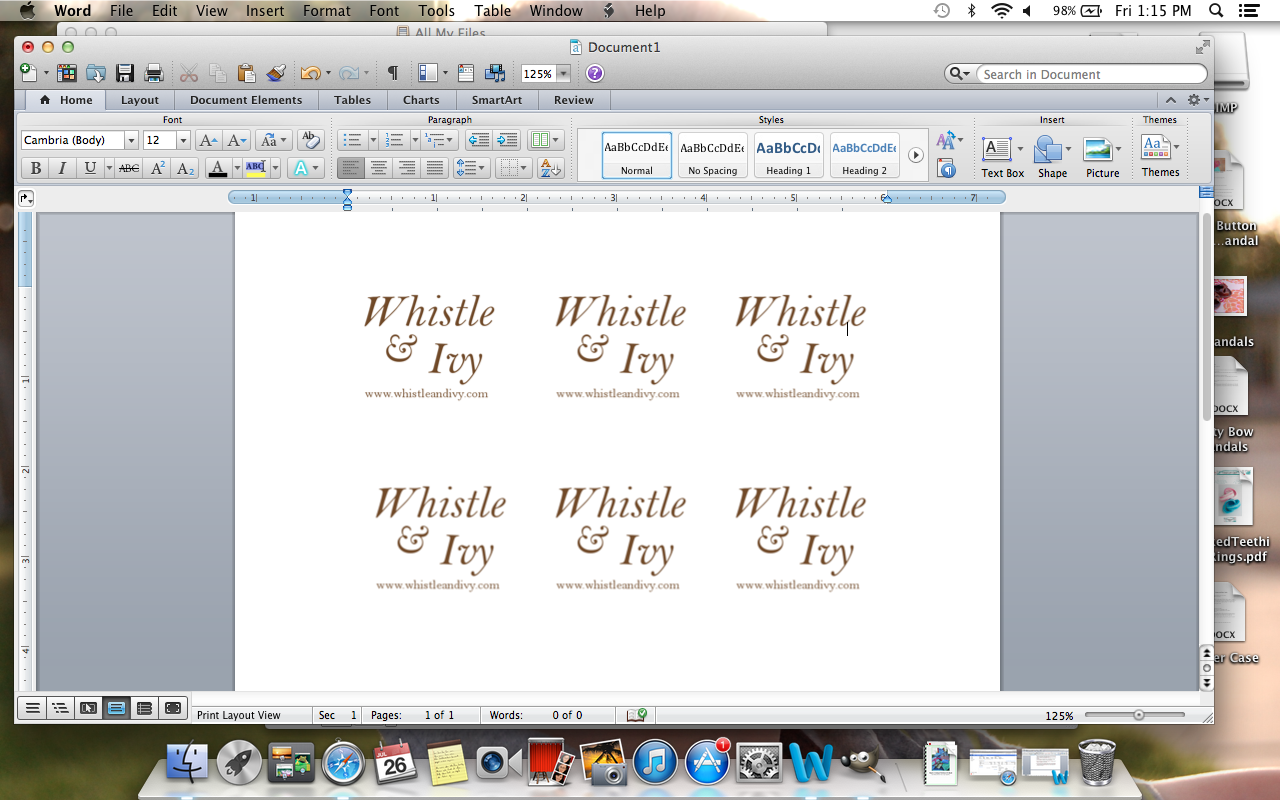
I am sure there is a way to print on both sides of your tags, but I don’t have a great track record with printers, so I decided to use stamps for any additional information I might need to include.


I have this same scalloped edge punch so thank so much for the advice on the program to use and how to do it! I’ll definitely try it out :-)
Thanks for sharing!!
Hannah ♫
Sew Lah Tea Dough
You are welcome! Hope this is useful to you :) Thanks so much for visiting!
What a great idea Bethany! I love handmade items but sometimes remembering to add “a tag” is difficult! Thanks for sharing!
I’d love for you to check out our Pattern Party! Those with free patterns and templates to share are invited to link up! Starts on the 1st of each month.
those little shoes look like they took so much time to make! Wow! Congrats on opening your shop! :D
love, polly
pollybland.com
Thank you! They actually don’t take as long as you think! I have free pattern for them if you click “Patterns” on my menu bar. Thanks for stopping by!
These tags are so cute! Thanks for the great tutorial!
You are so welcome, thank you!
Very nice! I struggled with tags at my first craft fair and ended up creating stamped tags, instead. Yours are way cuter, though!
So cute! Love this :) I need to start doing something like this myself.
Awesome tutorial! They are so cute and dainty! I think they are perfect for your projects. I should do something similar with baking twine for mine.
Thanks so much! Baking twine would be perfect and cute for yours!